Introduction
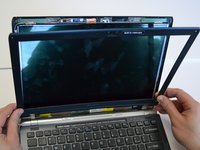
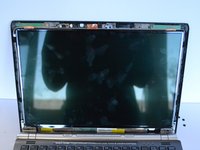
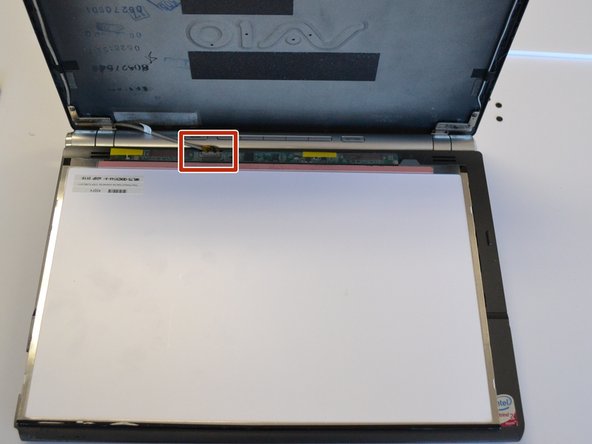
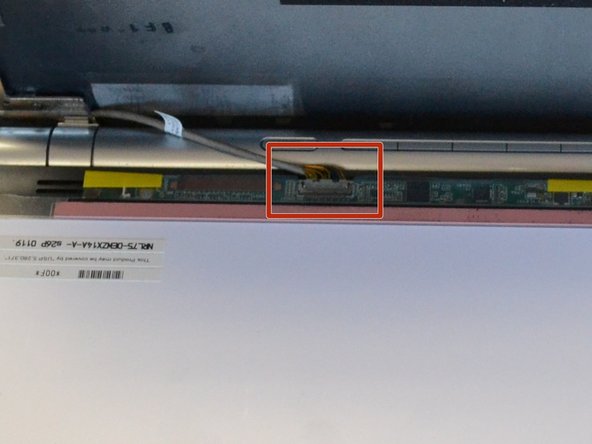
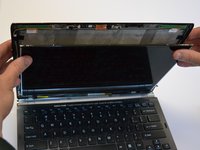
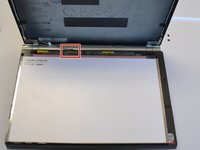
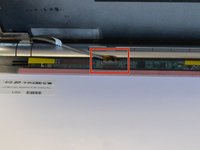
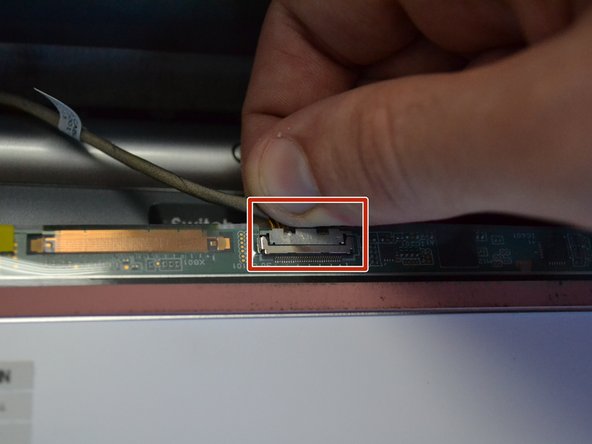
The battery needs to be removed before servicing or removing any other component. The screen is held on by several screws which are hidden underneath small rubber pads. Once the screws are removed, the screen bezel needs to be popped off carefully. Once the bezel is removed, a cable on the back of the screen needs to be disconnected to completely remove the screen.
What you need
-
-
-
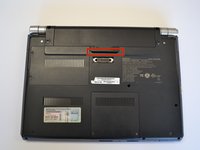
Slide the lock latch to the right to release the battery lock.
-
Slide and hold the release latch to the left.
-
-
-
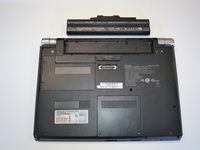
Use a fingernail or plastic opening tool lift the battery while holding the release latch.Rotate the battery up and away from you to remove it from the laptop.
-
-
-
-
-
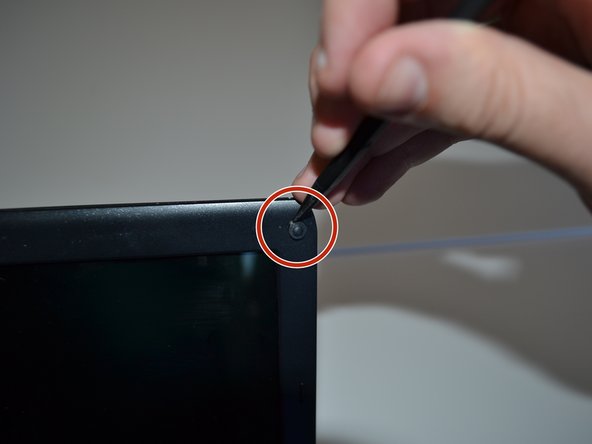
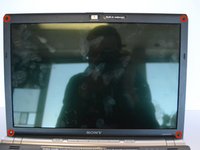
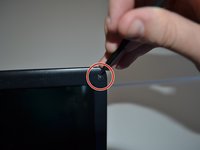
Remove the rubber pads at all four corners of the screen bezel using a spudger. This will reveal four 5mm Phillips screws.
-
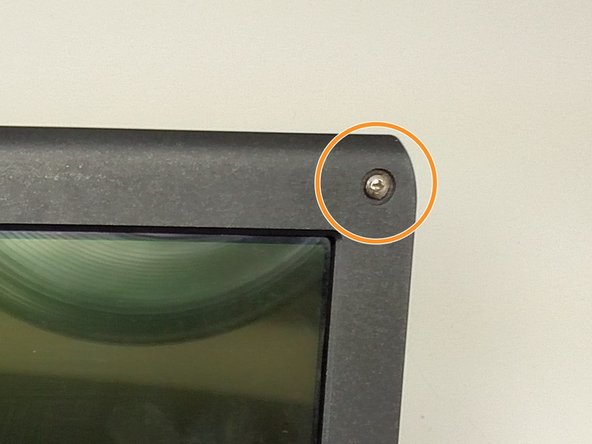
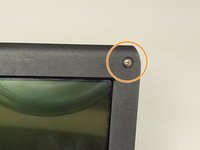
Use a Phillips #1 screwdriver to remove the four screws and set them aside.
-
-
-
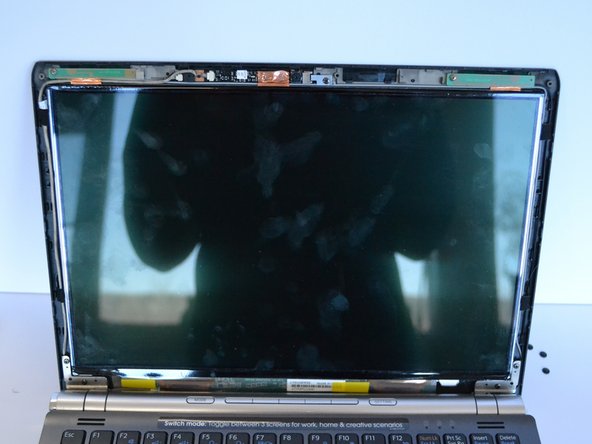
Remove the screen's plastic bezel. You may need to use slight pressure to release the clips that secure the bezel to the laptop.
-
-
-
Close the laptop carefully and slowly while holding the screen with your thumb to prevent it from falling.
-
Lay the screen gently on the keyboard. This will reveal the screen's connector.
-
-

 Ask FixBot







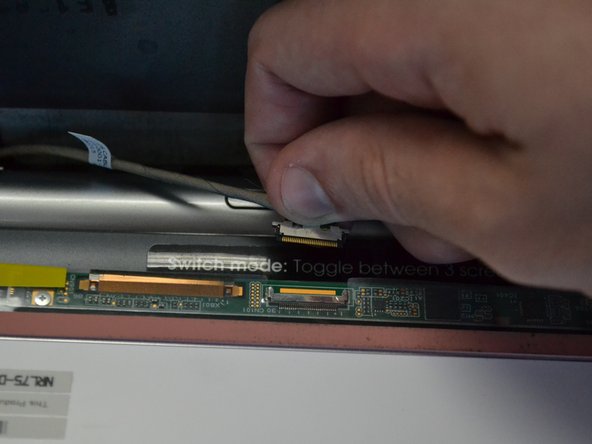
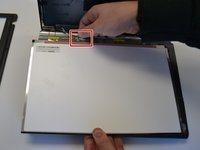
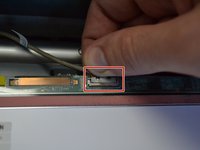
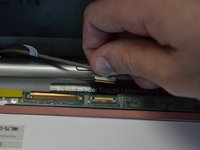

To reassemble your device, follow these instructions in reverse order.

Team

Michigan Tech, Team 1-6, Lauer Spring 2015 Member of Michigan Tech, Team 1-6, Lauer Spring 2015
MTU-LAUER-S15S1G6
2 Members
60 Guides authored
