
Sony Vaio VGN-FS640 Hard Drive Replacement

Matt McCarty and 4 other contributors
Last updated on Dec 2, 2021
Views: 11K
View statistics:
- Past 24 Hours:
- 3
- Past 7 Days:
- 23
- Past 30 Days:
- 95
- All Time:
- 11,293
Comments: 1
1 guide comment.
Go to guide commentsCompleted: 2 3
2 people have marked this guide "completed." Will you be next?
3 people have marked this guide "completed." Including you — great job!
Favorites: 1 2
1 person has favorited (and subscribed to) this guide. Will you be next?
2 people have favorited (and subscribed to) this guide — including you!
Introduction
Go to step 1 ↓This guide will show you how to replace the hard drive in your Sony Vaio VGN-FS640 laptop.
What you need
Tools

-
-
-
Lay the closed laptop on its screen so the bottom is facing towards you.
 Ask FixBot
-
-
-
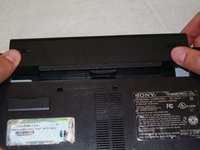
Revome the battery by pushing it away from the laptop.
-
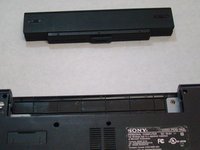
Set the battery away from the laptop.
-
-
-
-
-
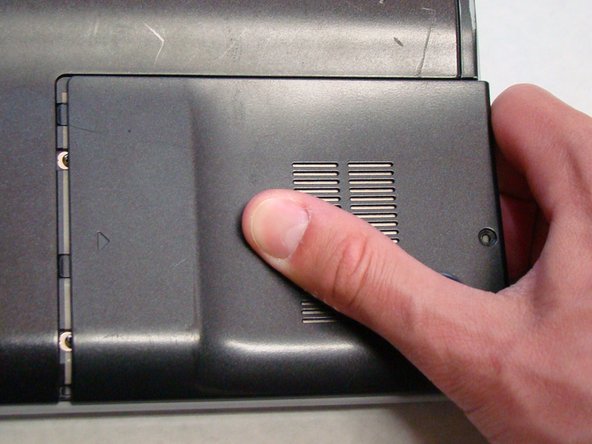
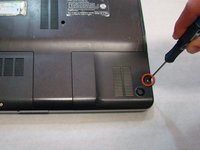
Locate and remove the screw (Length: 7.7mm) for the hard drive cover.
-
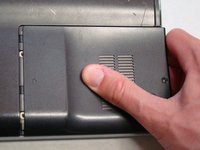
Slide the cover until it is free from the laptop case.
-
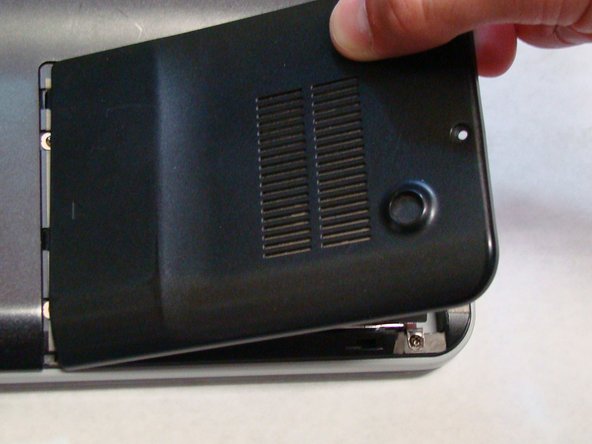
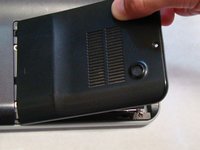
Lift the cover to remove.
-
-
-
-
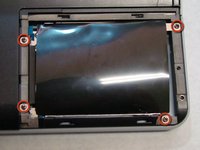
Locate and remove the four screws (Length: 7.7mm) holding the Hard Drive tray in place.
-
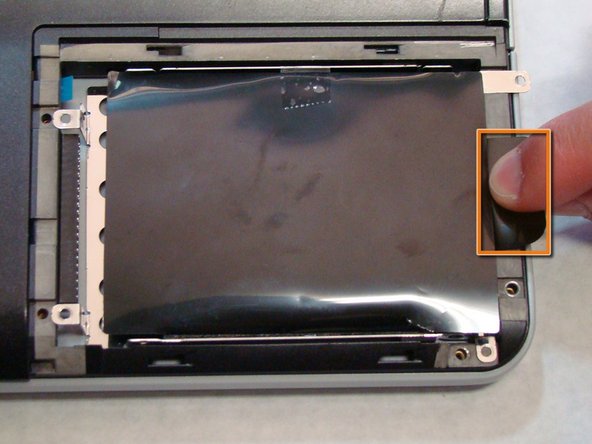
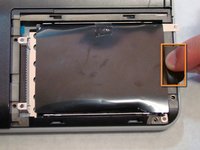
Using the tab on the tray, slide the Hard Drive away from the main body of the laptop.
-
The Hard Drive should now be disconnected.
-
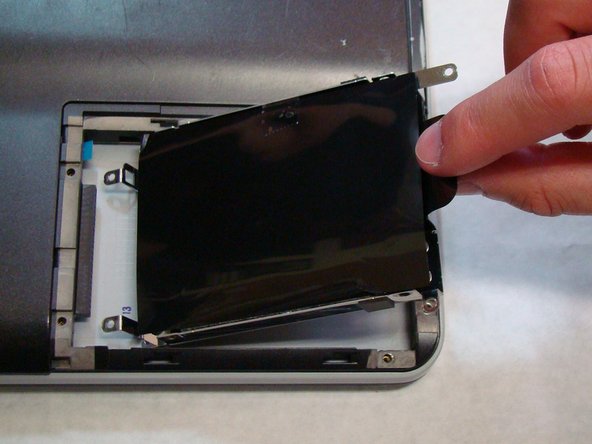
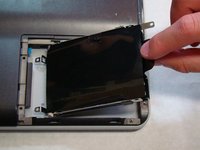
Lift the drive out with the tab on the tray.
-
-




To reassemble your device, follow these instructions in reverse order.
Cancel: I did not complete this guide.
2 other people completed this guide.

Team

Cal Poly, Team 24-32, Regan Spring 2010 Member of Cal Poly, Team 24-32, Regan Spring 2010
CPSU-REGAN-S10S24G32
4 Members
96 Guides authored
