
Sony Vaio Tap 11 Motherboard Replacement

Alexander Bridges and 2 other contributors
Last updated on Dec 16, 2015
Views: 3.3K
View statistics:
- Past 24 Hours:
- 2
- Past 7 Days:
- 27
- Past 30 Days:
- 100
- All Time:
- 3,303
Comments: 4
4 comments on steps.
Completed: 3 4
3 people have marked this guide "completed." Will you be next?
4 people have marked this guide "completed." Including you — great job!
Favorites: 0 1
No one has favorited (and subscribed to) this guide. Will you be the first?
1 person has favorited (and subscribed to) this guide — and that's you!
Needs More Images
A few more images would make this guide's procedures crystal clear.
Introduction
Go to step 1 ↓The motherboard is where the magic happens. It is home to the CPU, the RAM and everything that's needed for those components to work, including fans and power delivery. If you've spilled a beverage onto your device or left it out in the rain, a motherboard swap is likely needed due to the sensitivity of the components. This is the hardest guide for this device since there are many screws and cables connected to this component.
What you need
Tools


-
-
-
Begin by opening the HDMI/USB port cover on the left edge.
-
Remove the three #000 headed, 3 mm long screws located underneath the port cover.
 Ask FixBot
-
-
-
Locate and open the Micro SD slot on the top side of the device.
-
Remove the two screws located beneath the cover.
-
-
-
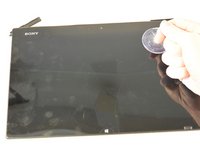
Attach the suction cup to the top right area of the screen.
-
Pull to separate the screen from the rest of the device.
-
Detach the display ribbon cable.
-
-
-
-
-
Disconnect the battery from the motherboard by pulling out the cable below the fan.
-
-
-
Remove the seven 3 mm Phillips #000 screws that hold the battery in place.
-
Carefully remove the battery from the back assembly.
-
-
-
-
-
Remove the nine 3 mm Phillips #000 screws holding in the motherboard.
-
-
-
-
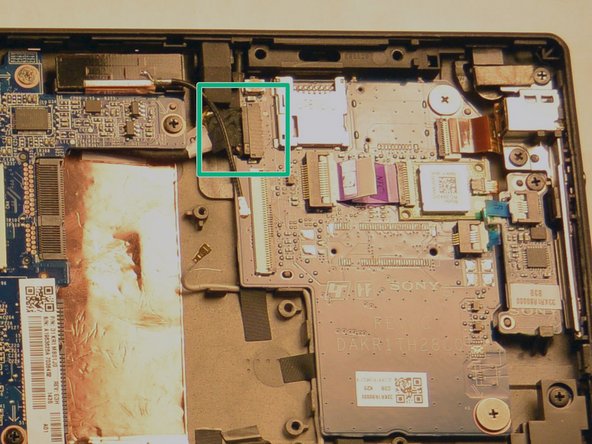
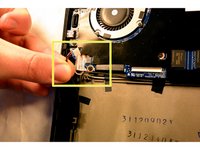
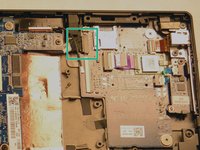
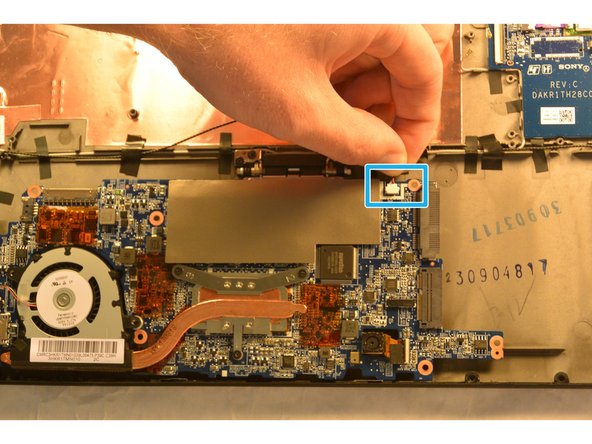
Disconnect the cable connected to the top of the display.
-
Disconnect the power jack connector on the left side of the screen.
-
Disconnect the daughterboard connector located above and to the right of the WiFi chip slot.
-
-
-
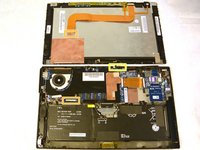
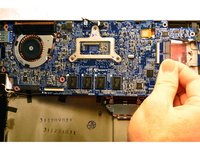
Gently pull the motherboard out by pulling from the right side of the board and flip it so that the motherboard now sits where the battery was and the underside is now visible.
-
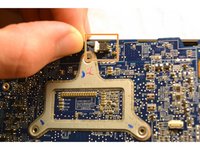
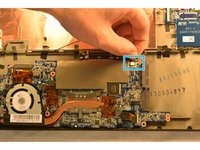
Remove the speaker connector located next to the SSD slot.
-
You may now remove the motherboard from the device.
-
-





To reassemble your device, follow these instructions in reverse order.
Cancel: I did not complete this guide.
3 other people completed this guide.

Team

IUPUI, Team 1-2, Harley Fall 2015 Member of IUPUI, Team 1-2, Harley Fall 2015
IUPUI-HARLEY-F15S1G2
4 Members
120 Guides authored
