Introduction
If your device no longer takes a charge, replacing the battery may breathe new life into the tablet.
What you need
-
-
-
Begin by opening the HDMI/USB port cover on the left edge.
-
Remove the three #000 headed, 3 mm long screws located underneath the port cover.
 Ask FixBot
-
-
-
Locate and open the Micro SD slot on the top side of the device.
-
Remove the two screws located beneath the cover.
-
-
-
-
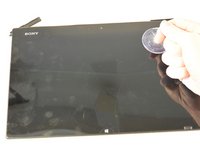
Attach the suction cup to the top right area of the screen.
-
Pull to separate the screen from the rest of the device.
-
Detach the display ribbon cable.
-
-
-
-
-
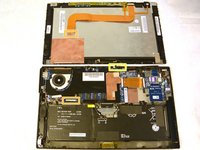
Disconnect the battery from the motherboard by pulling out the cable below the fan.
-
-
-
Remove the seven 3 mm Phillips #000 screws that hold the battery in place.
-
Carefully remove the battery from the back assembly.
-
-




To reassemble your device, follow these instructions in reverse order.
Cancel: I did not complete this guide.
3 other people completed this guide.

Team

IUPUI, Team 1-2, Harley Fall 2015 Member of IUPUI, Team 1-2, Harley Fall 2015
IUPUI-HARLEY-F15S1G2
4 Members
120 Guides authored
