
Sony Vaio Tap 11 Audio Jack Replacement

Kevin and 8 other contributors
Last updated on Jul 3, 2025
Views: 1.8K
View statistics:
- Past 24 Hours:
- 3
- Past 7 Days:
- 25
- Past 30 Days:
- 100
- All Time:
- 1,850
Comments: 4
4 comments on steps.
Completed: 3 4
3 people have marked this guide "completed." Will you be next?
4 people have marked this guide "completed." Including you — great job!
Favorites: 0 1
No one has favorited (and subscribed to) this guide. Will you be the first?
1 person has favorited (and subscribed to) this guide — and that's you!
Needs More Images
A few more images would make this guide's procedures crystal clear.
Step Trimmer
This guide has unnecessary steps. Trim them to be more concise!
Introduction
Go to step 1 ↓Fixing the audio jack on a tablet is important for anyone who relies on wired headphones or external audio devices for everyday use. Whether it’s listening to music, making hands-free calls, or connecting to speakers, a functional audio jack ensures clear sound quality and a consistent connection without the need for Bluetooth or wireless alternatives.
Repairing the jack can save money compared to buying a new phone or switching to expensive wireless accessories. Plus, it helps extend the life of your device and reduce electronic waste, making it a practical and environmentally conscious choice.
This guide will provide the steps necessary to replace the audio jack in your Sony Vaio Tap 11 tablet.
Before you begin this repair, power off your laptop and unplug it from the power adaptor.
What you need
Tools


-
-
-
Begin by opening the HDMI/USB port cover on the left edge.
-
Remove the three #000 headed, 3 mm long screws located underneath the port cover.
 Ask FixBot
-
-
-
Locate and open the Micro SD slot on the top side of the device.
-
Remove the two screws located beneath the cover.
-
-
-
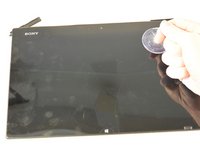
Attach the suction cup to the top right area of the screen.
-
Pull to separate the screen from the rest of the device.
-
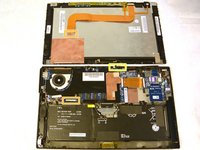
Detach the display ribbon cable.
-
-
-
-
-
-
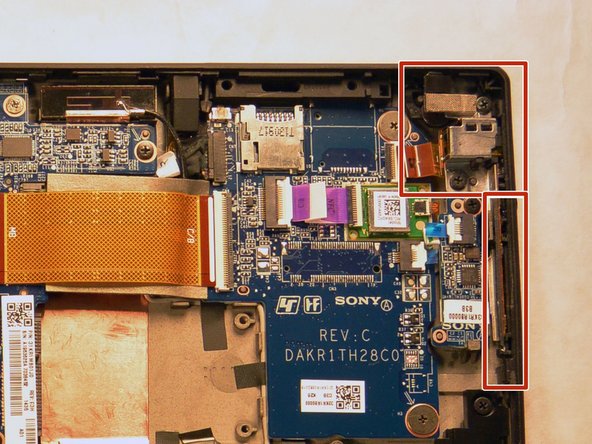
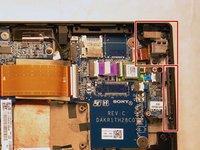
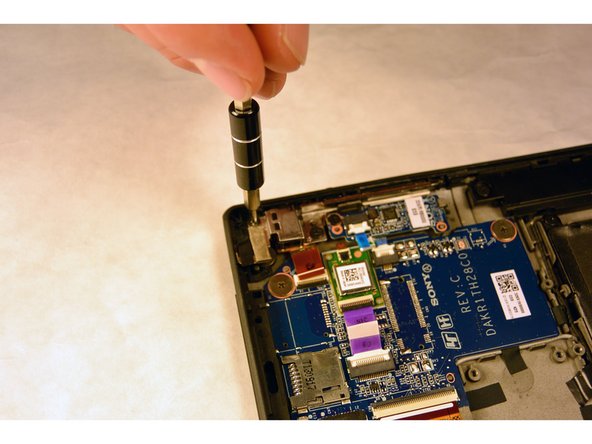
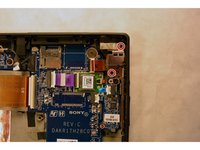
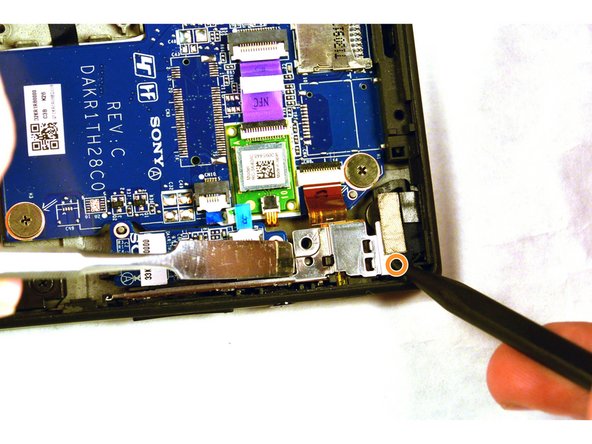
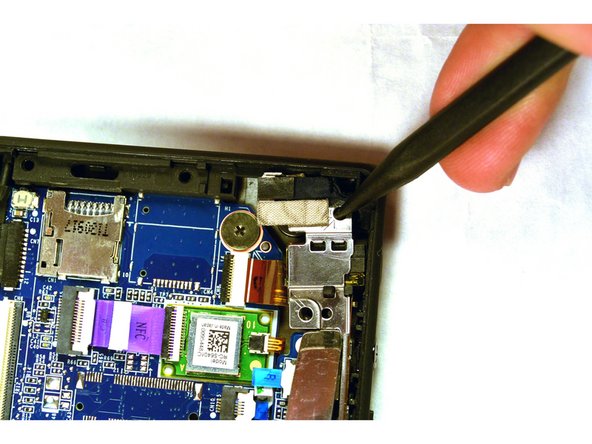
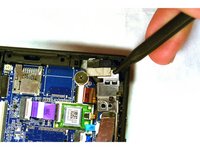
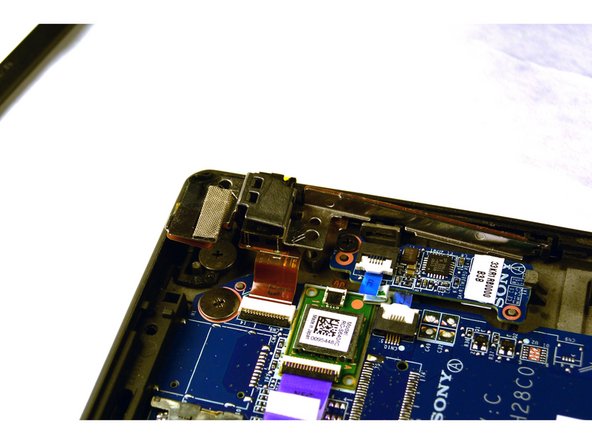
With the screws removed, use a plastic opening tool to lightly pry the board up over a plastic positioning peg.
-
Insert the tip of a spudger where the upper screw was located and push the board inward while prying up with the plastic opening tool.
-
Lightly pry with the opening tool, enough for the board to lift off the positioning peg and then push inward with the spudger. The board should begin to separate from the corner.
-
-
-
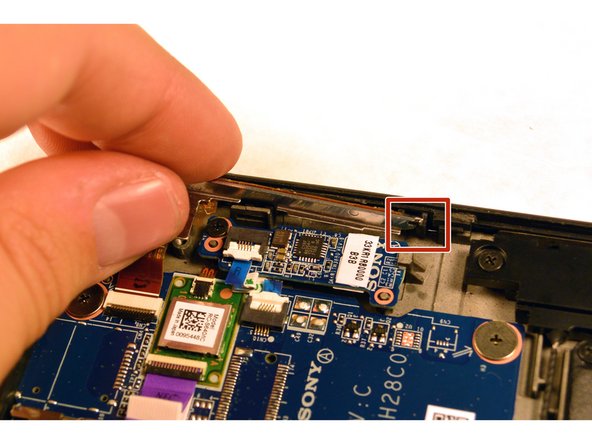
Remove the rest of the board by pulling it up and out.
-
Pull the small narrow end of the board horizontally towards the corner, freeing the board from the panel with the exception of the connector.
-
-
-
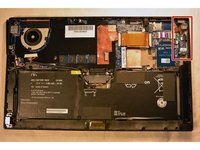
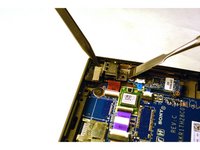
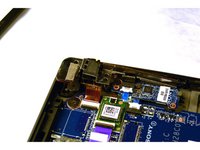
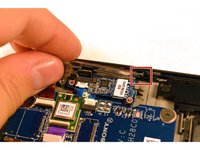
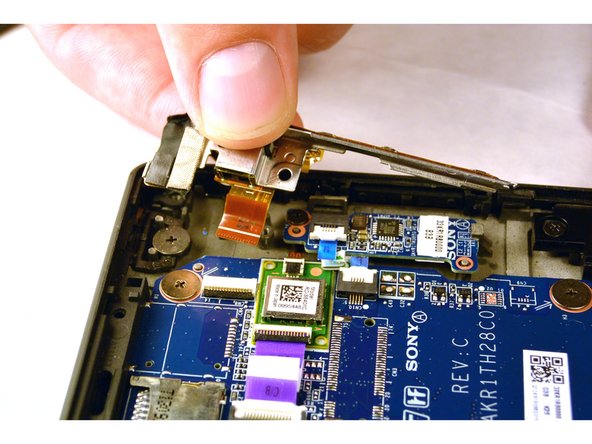
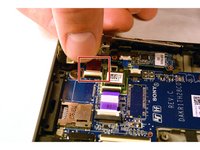
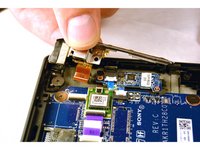
Disconnect the audio jack connector and remove the entire audio jack power volume button board assembly.
-








To reassemble your device, follow these instructions in reverse order. Take your e-waste to an R2 or e-Stewards certified recycler.
Cancel: I did not complete this guide.
3 other people completed this guide.

Team

IUPUI, Team 1-2, Harley Fall 2015 Member of IUPUI, Team 1-2, Harley Fall 2015
IUPUI-HARLEY-F15S1G2
4 Members
120 Guides authored
