Introduction
This guide shows you how to replace a disk reader in a Sony Vaio SVS151190X laptop. Replace your current disk reader if it is not working or if you are making an upgrade. Some symptoms of a faulty disc reader may include the inability to accept or eject disks, read disks, or burn disks. This is mostly occurs if the disk reader is outdated, worn out, or has been damaged somehow. Ensure your device’s disk reader is properly cleaned out before you consider buying or installing a new disk drive.
What you need
-
-
-
Using a #1 Phillips screwdriver, remove the two 5mm screws as directed.
-
Slide off the back cover.
 Ask FixBot
-
-
-
-
-
-
To loosen the keyboard, remove the twenty 5mm screws using the Phillips #1 screwdriver.
-
-
-
Flip the device over and open it up.
-
Using a plastic opening tool and opening picks, pry off the keyboard from the bottom cover. Start from one of the corners of the device and work your way around.
-
-
-
Remove the keyboard from the bottom cover and place it down as demonstrated.
-
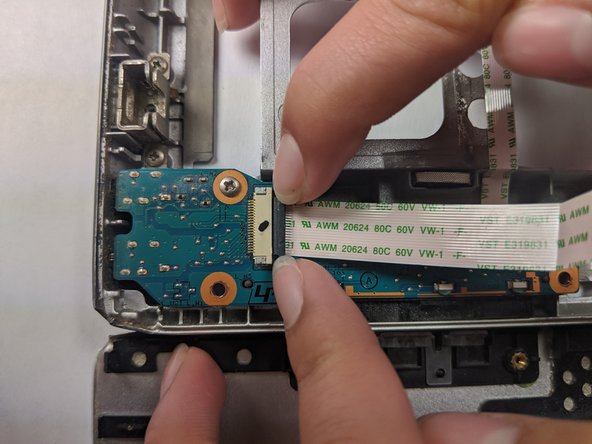
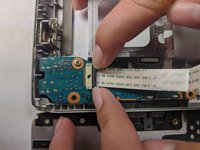
Carefully pull the plastic tab and remove the ribbon wire.
-
-
-
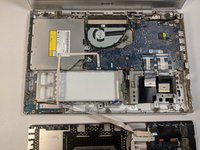
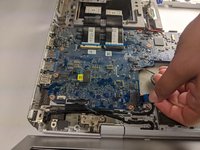
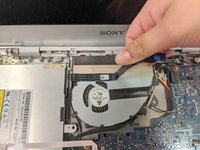
Slightly pull up the black tape covering the disk drive's ribbon wire.
-
Pull up the blue plastic strip attached to the ribbon wire and remove the ribbon wire from the port.
-
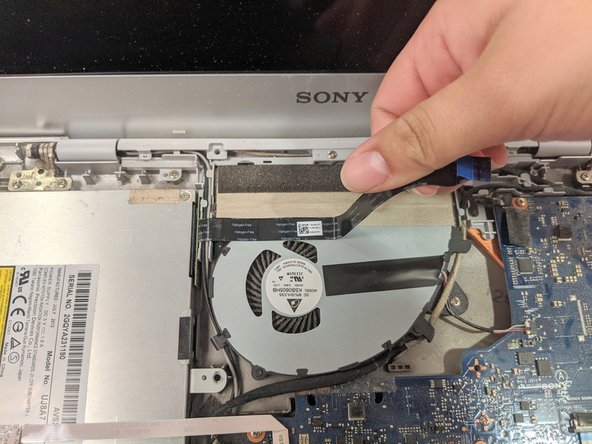
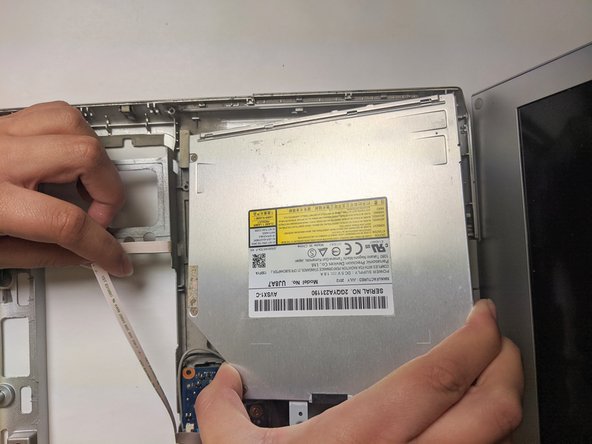
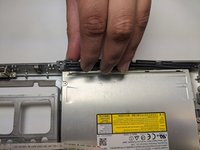
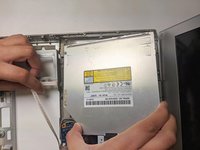
Detach the ribbon wire from the fan so the disk reader can be removed.
-
-





To reassemble your device, follow these instructions in reverse order.

Team

Embry-Riddle Aeronautical University, Team S1-G2, Cromer Twal Spring 2020 Member of Embry-Riddle Aeronautical University, Team S1-G2, Cromer Twal Spring 2020
ERAU-CROMER TWAL-S20S1G2
3 Members
60 Guides authored
