Free Shipping on Domestic Orders $75+

Sony Vaio SVE151G11L Webcam Replacement

What you need

    1. Sony Vaio SVE151G11L Webcam Replacement, Battery: step 1, image 1 of 1
      • Turn the laptop over so its underside is facing upwards and visible.

      Ask FixBot
      Add Comment

    2. Sony Vaio SVE151G11L Webcam Replacement: step 2, image 1 of 1
      • Standing so that the barcode and warning labels are upright and legible, push the left tab up and away from yourself.

      Ask FixBot

      Add Comment

    3. Sony Vaio SVE151G11L Webcam Replacement: step 3, image 1 of 1
      • Standing so that the barcode and warning labels are upright and legible, push the right tab up and away from yourself.

      Ask FixBot

      Add Comment

    4. Sony Vaio SVE151G11L Webcam Replacement: step 4, image 1 of 1
      • Locate the small gap where the battery and the laptop shell meet. Lift from the gap and rotate the battery up and away from yourself.

      Ask FixBot

      Add Comment

    5. Sony Vaio SVE151G11L Webcam Replacement: step 5, image 1 of 1
      • Pull battery away from laptop.

      Ask FixBot

      Add Comment

    1. Sony Vaio SVE151G11L Webcam Replacement, Display: step 6, image 1 of 1
      • Flip laptop over so the bottom is facing upwards.

      • Remove bottom of laptop.

      Ask FixBot

      Add Comment

    2. Sony Vaio SVE151G11L Webcam Replacement: step 7, image 1 of 1
      • Remove antenna wires attached to the WiFi card using a plastic opening tool.

      Ask FixBot

      Add Comment

    3. Sony Vaio SVE151G11L Webcam Replacement: step 8, image 1 of 1
      • Remove the other antenna wire.

      Ask FixBot

      Add Comment

    4. Sony Vaio SVE151G11L Webcam Replacement: step 9, image 1 of 1
      • Remove the display cable by pulling upwards.

      Ask FixBot

      Add Comment

    5. Sony Vaio SVE151G11L Webcam Replacement: step 10, image 1 of 1
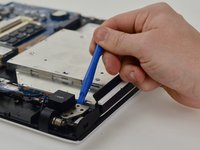
      • Remove the power display cable with a plastic opening tool by pushing outwards.

      Ask FixBot

      Add Comment

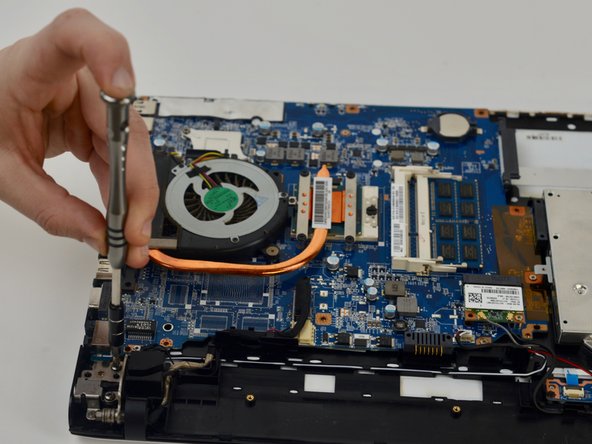
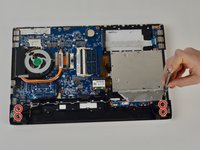
    6. Sony Vaio SVE151G11L Webcam Replacement: step 11, image 1 of 2 Sony Vaio SVE151G11L Webcam Replacement: step 11, image 2 of 2
      • Remove 4 hinge screws with a Phillips #0 screwdriver.

      Ask FixBot

      Add Comment

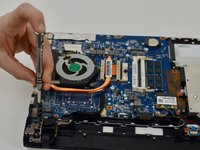
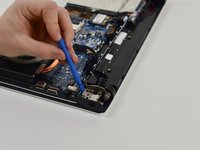
    7. Sony Vaio SVE151G11L Webcam Replacement: step 12, image 1 of 2 Sony Vaio SVE151G11L Webcam Replacement: step 12, image 2 of 2
      • Lift upward on the hinges with a plastic opening tool to release them.

      Ask FixBot

      Add Comment

    8. Sony Vaio SVE151G11L Webcam Replacement: step 13, image 1 of 1
      • Separate the bottom of the laptop from the monitor.

      Ask FixBot

      Add Comment

    9. Sony Vaio SVE151G11L Webcam Replacement: step 14, image 1 of 1
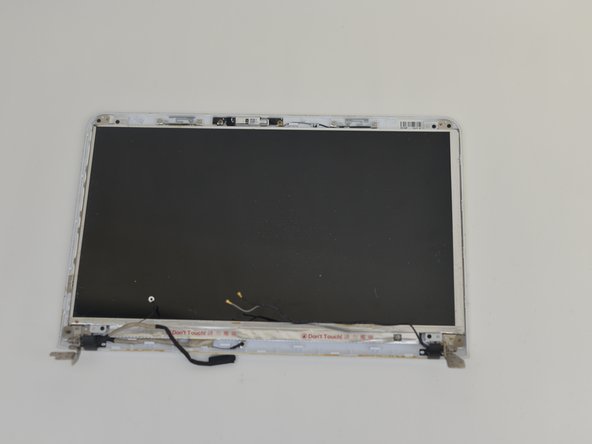
      • Completely detach screen from the laptop.

      Ask FixBot

      Add Comment

    1. Sony Vaio SVE151G11L Webcam Replacement, Webcam: step 15, image 1 of 1
      • Use the pointed tip of a spudger to lift the rubber screw covers along the screen bezel.

      • Set the covers aside for re-use.

      Ask FixBot

      Add Comment

    2. Sony Vaio SVE151G11L Webcam Replacement: step 16, image 1 of 1
      • Remove the exposed bezel screws with a Phillips #00 screwdriver.

      Ask FixBot

      Add Comment

    3. Sony Vaio SVE151G11L Webcam Replacement: step 17, image 1 of 2 Sony Vaio SVE151G11L Webcam Replacement: step 17, image 2 of 2
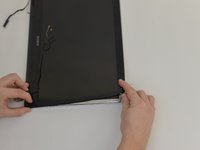
      • Starting at a corner, insert a plastic opening tool between the bezel and the back cover.

      • Work along the edge to pop the plastic clips free.

      • Caution: Do not twist against the LCD panel. Use gentle, even prying to avoid cracking the screen.

      Ask FixBot

      Add Comment

    4. Sony Vaio SVE151G11L Webcam Replacement: step 18, image 1 of 2 Sony Vaio SVE151G11L Webcam Replacement: step 18, image 2 of 2
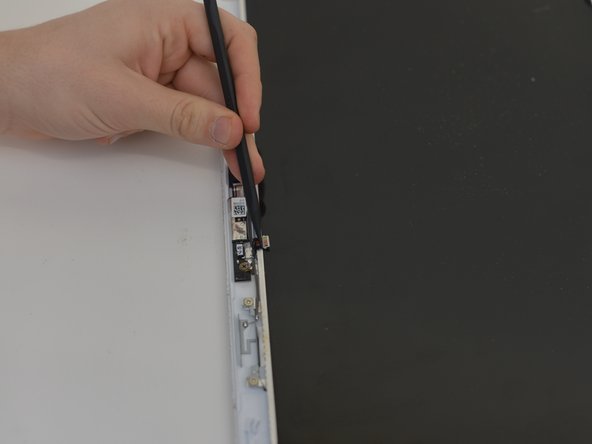
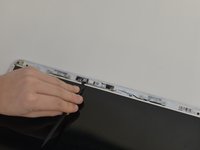
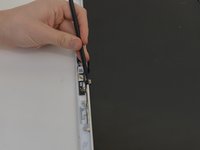
      • At the top of the display, locate the webcam cable connector.

      • Use a spudger to lift the locking tab (if present) and pull the cable straight out of the socket.

      • Caution: Pull on the connector, not the cable, to avoid tearing it.

      Ask FixBot

      Add Comment

    5. Sony Vaio SVE151G11L Webcam Replacement: step 19, image 1 of 1
      • Remove the two screws securing the webcam board with a Phillips #00 screwdriver.

      • Support the board while removing the second screw so it doesn’t drop.

      Ask FixBot

      Add Comment

    6. Sony Vaio SVE151G11L Webcam Replacement: step 20, image 1 of 1
      • Use a spudger to lift the webcam board from its recess.

      • If it feels stuck, check for any remaining screws or tape.

      Ask FixBot

      Add Comment

    7. Sony Vaio SVE151G11L Webcam Replacement: step 21, image 1 of 1
      • The webcam board is now removed. Transfer any brackets or foam pads to the replacement part before installation.

      Ask FixBot

      Add Comment

Conclusion

To reassemble your device, follow these instructions in reverse order. Make sure the webcam cable is fully seated and the bezel clips are engaged along the entire top edge.

Cancel: I did not complete this guide.

Azka Khanani

Member since: 10/17/18

313 Reputation

2 Guides authored

Team

0 Guide Comments

Add Comment

View Statistics:

Past 24 Hours: 1

Past 7 Days: 5

Past 30 Days: 31

All Time: 1,518