Free Shipping on Domestic Orders $75+

Sony Vaio SVE151G11L Display Replacement

Views: 1.6K

View statistics:

Past 24 Hours:
2
Past 7 Days:
15
Past 30 Days:
66
All Time:
1,585
Comments: 0

No one has left comments on this guide. Will you be first?

Go to guide comments
Completed: 2

2 people have marked this guide "completed." Will you be next?

Favorites: 0

No one has favorited (and subscribed to) this guide. Will you be the first?

Time Required: No estimate
Difficulty: Moderate
Missing Details

Some of this guide's details are missing. Help users by adding tools, difficulty, or time.

Sony Vaio SVE151G11L Display Replacement

Introduction

Go to step 1 ↓

This is a comprehensive guide to replace the Sony Vaio SVE151G11L display.

What you need

Tools

    1. Sony Vaio SVE151G11L Display Replacement, Display: step 1, image 1 of 1
      • Flip laptop over so the bottom is facing upwards.

      • Remove bottom of laptop.

      Ask FixBot

      Add Comment

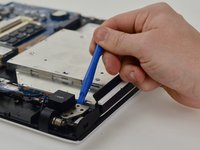
    2. Sony Vaio SVE151G11L Display Replacement: step 2, image 1 of 1
      • Remove antenna wires attached to the WiFi card using a plastic opening tool.

      Ask FixBot

      Add Comment

    3. Sony Vaio SVE151G11L Display Replacement: step 3, image 1 of 1
      • Remove the other antenna wire.

      Ask FixBot

      Add Comment

    4. Sony Vaio SVE151G11L Display Replacement: step 4, image 1 of 1
      • Remove the display cable by pulling upwards.

      Ask FixBot

      Add Comment

    5. Sony Vaio SVE151G11L Display Replacement: step 5, image 1 of 1
      • Remove the power display cable with a plastic opening tool by pushing outwards.

      Ask FixBot

      Add Comment

    6. Sony Vaio SVE151G11L Display Replacement: step 6, image 1 of 2 Sony Vaio SVE151G11L Display Replacement: step 6, image 2 of 2
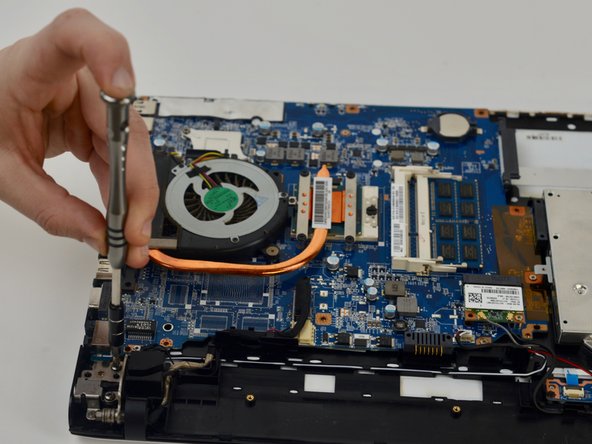
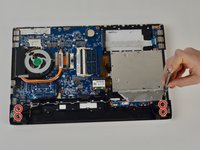
      • Remove 4 hinge screws with a Phillips #0 screwdriver.

      Ask FixBot

      Add Comment

    7. Sony Vaio SVE151G11L Display Replacement: step 7, image 1 of 2 Sony Vaio SVE151G11L Display Replacement: step 7, image 2 of 2
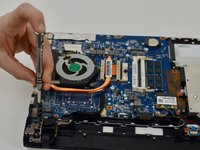
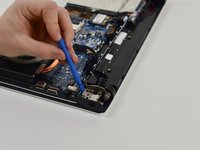
      • Lift upward on the hinges with a plastic opening tool to release them.

      Ask FixBot

      Add Comment

    8. Sony Vaio SVE151G11L Display Replacement: step 8, image 1 of 1
      • Separate the bottom of the laptop from the monitor.

      Ask FixBot

      Add Comment

    9. Sony Vaio SVE151G11L Display Replacement: step 9, image 1 of 1
      • Completely detach screen from the laptop.

      Ask FixBot

      Add Comment

Conclusion

To reassemble your device, follow these instructions in reverse order.

Cancel: I did not complete this guide.

2 other people completed this guide.

Azka Khanani

Member since: 10/17/18

313 Reputation

2 Guides authored

Team

0 Guide Comments

Add Comment

View Statistics:

Past 24 Hours: 2

Past 7 Days: 15

Past 30 Days: 66

All Time: 1,585