Free Shipping on Domestic Orders $75+

Sony Vaio SVE15112FXS LCD Screen Replacement

What you need

    1. Sony Vaio SVE15112FXS LCD Screen Replacement, LCD Screen: step 1, image 1 of 1
      • Power laptop off before beginning.

      • Turn the laptop over so that it is positioned top down with the model number facing you.

      Ask FixBot

      Add Comment

    2. Sony Vaio SVE15112FXS LCD Screen Replacement: step 2, image 1 of 3 Sony Vaio SVE15112FXS LCD Screen Replacement: step 2, image 2 of 3 Sony Vaio SVE15112FXS LCD Screen Replacement: step 2, image 3 of 3
      • Slide the "lock" tab upward to unlock the battery before removal.

      • While pushing the "release" tab upward, lift the battery and pull outward to remove it from the laptop.

      Ask FixBot

      Add Comment

    3. Sony Vaio SVE15112FXS LCD Screen Replacement: step 3, image 1 of 1
      • Turn the computer back over and open the lid.

      • Remove the four rubber screw covers at each corner of the screen to expose the bezel screws

      Ask FixBot

      Add Comment

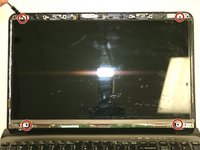
    4. Sony Vaio SVE15112FXS LCD Screen Replacement: step 4, image 1 of 1
      • Use a #0 Phillips screwdriver to remove the four 4.0 mm screen bezel screws in each corner.

      Ask FixBot

      Add Comment

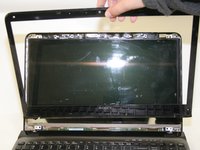
    5. Sony Vaio SVE15112FXS LCD Screen Replacement: step 5, image 1 of 2 Sony Vaio SVE15112FXS LCD Screen Replacement: step 5, image 2 of 2
      • Insert a plastic opening tool between the bezel and laptop lid. Work it around the edge to loosen the bezel.

      • Lift the bezel outward to remove it and expose the screen.

      • Take care when using the spudger near the hinges to avoid breaking the bezel.

      Ask FixBot

      Add Comment

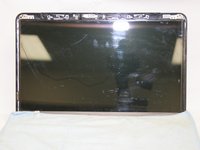
    6. Sony Vaio SVE15112FXS LCD Screen Replacement: step 6, image 1 of 2 Sony Vaio SVE15112FXS LCD Screen Replacement: step 6, image 2 of 2
      • Use a #0 Phillips screwdriver to remove the four 3.0 mm screen screws.

      • Cover the keyboard with a cloth or towel to protect the screen and keep any broken glass out of the keyboard.

      Ask FixBot

      Add Comment

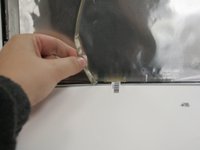
    7. Sony Vaio SVE15112FXS LCD Screen Replacement: step 7, image 1 of 3 Sony Vaio SVE15112FXS LCD Screen Replacement: step 7, image 2 of 3 Sony Vaio SVE15112FXS LCD Screen Replacement: step 7, image 3 of 3
      • Pull the screen toward you and away from the lid until a silver cable behind the screen is visible.

      • Remove the silver cable from the back of the screen. It is glued at the top and the bottom.

      • Do not pull the cable loose from the lid, only remove it from the back of the screen.

      Ask FixBot

      Add Comment

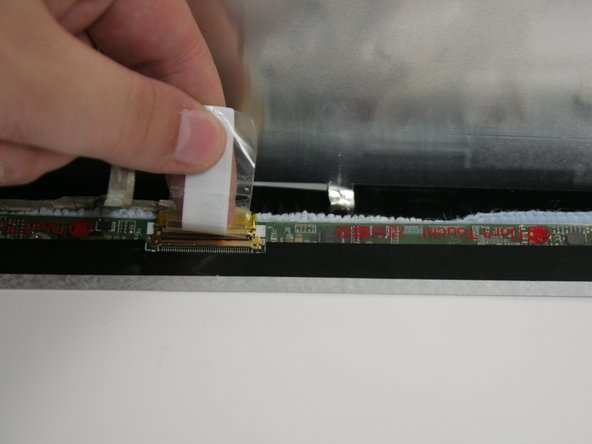
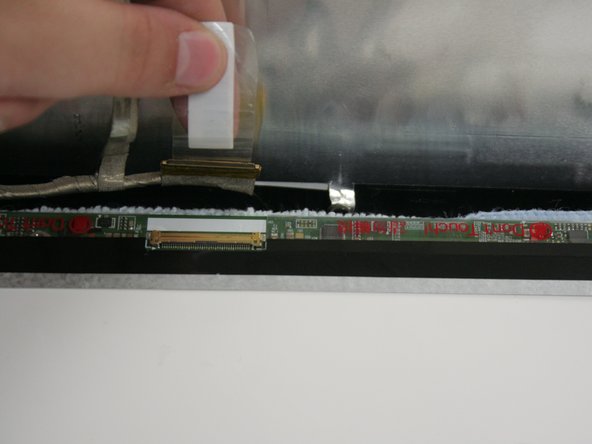
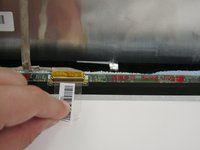
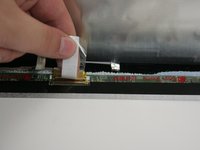
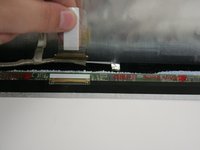
    8. Sony Vaio SVE15112FXS LCD Screen Replacement: step 8, image 1 of 3 Sony Vaio SVE15112FXS LCD Screen Replacement: step 8, image 2 of 3 Sony Vaio SVE15112FXS LCD Screen Replacement: step 8, image 3 of 3
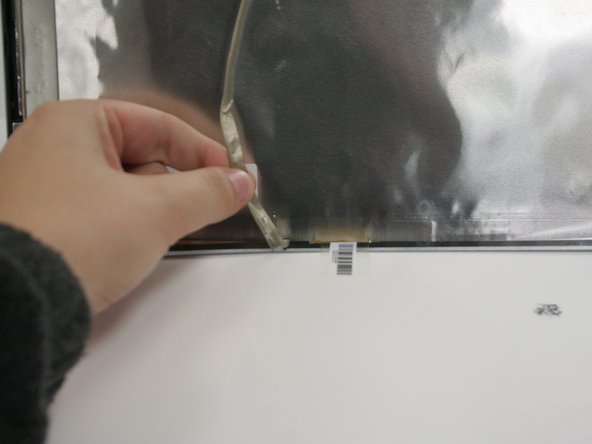
      • Lift the barcode label on the back of the screen upward to loosen the screen cable connector.

      • Once the connector is visible, remove it from the pins on the back of the screen.

      Ask FixBot

      Add Comment

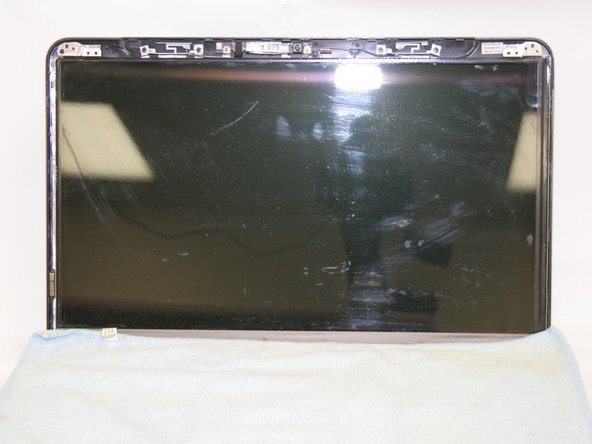
    9. Sony Vaio SVE15112FXS LCD Screen Replacement: step 9, image 1 of 1
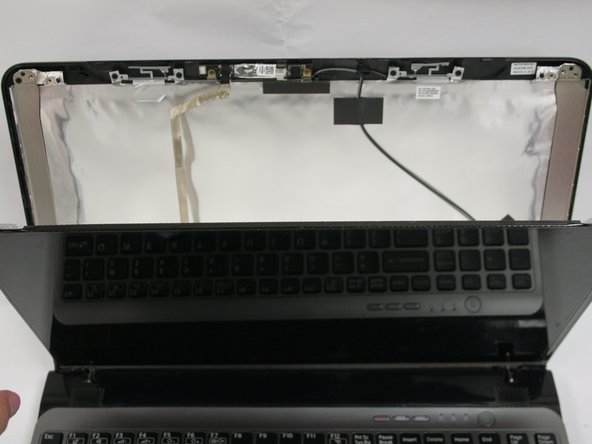
      • Lift the screen toward you to remove it completely from the lid.

      Ask FixBot

      Add Comment

Conclusion

To reassemble your device, follow these instructions in reverse order.

Cancel: I did not complete this guide.

One other person completed this guide.

Ashley Bierman

Member since: 09/06/18

1,301 Reputation

5 Guides authored

Team

Ohio State, Team S1-G1, Whitney Fall 2018 Member of Ohio State, Team S1-G1, Whitney Fall 2018

OSU-WHITNEY-F18S1G1

2 Members

60 Guides authored

1 Guide Comment

How to buy the screen.my screen has gone...

PCG21212w 19.5V Sony vaio - Reply Share

Add Comment

View Statistics:

Past 24 Hours: 0

Past 7 Days: 7

Past 30 Days: 38

All Time: 1,580