
Sony Vaio SVE15112FXS Keyboard Replacement

Ashley Bierman and 2 other contributors
Last updated on Jan 8, 2019
Views: 1.3K
View statistics:
- Past 24 Hours:
- 2
- Past 7 Days:
- 15
- Past 30 Days:
- 69
- All Time:
- 1,256
Comments: 1
1 guide comment.
Go to guide commentsCompleted: 2 3
2 people have marked this guide "completed." Will you be next?
3 people have marked this guide "completed." Including you — great job!
Favorites: 0 1
No one has favorited (and subscribed to) this guide. Will you be the first?
1 person has favorited (and subscribed to) this guide — and that's you!
Introduction
Go to step 1 ↓If your keyboard is damaged or not working properly, you can use this guide to replace it. This process is simple and only requires a #0 Phillips screwdriver, a plastic opening tool, and magnetic project mat to keep track of the screws for each step. Be sure to handle the keyboard with care as it is a delicate part.
What you need
Tools


-
-
-
Turn the laptop over so that it is positioned top down with the model number facing you.
 Ask FixBot
-
-
-
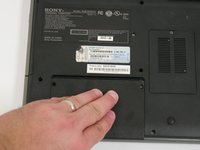
Use a #0 Phillips screwdriver to remove the two 4.0 mm screws securing the hard drive cover.
-
-
-
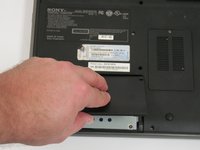
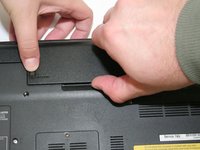
To expose the hard drive, remove the cover by sliding it toward you and pulling up on the panel.
-
-
-
Use a #0 Phillips screwdriver to remove the two 4.0 mm screws attaching the hard drive to the laptop.
-
-
-
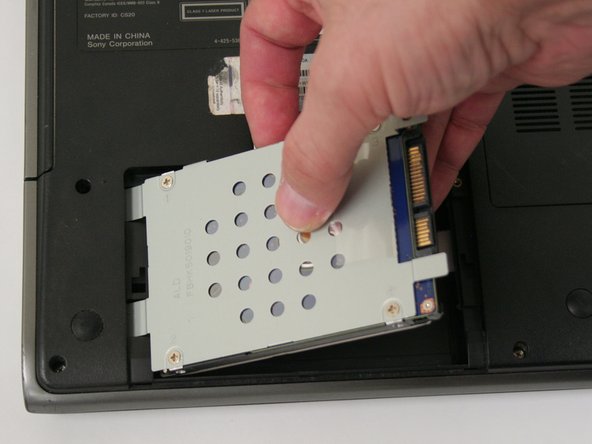
Pull the clear plastic ribbon to the left until the mount is detached from the laptop.
-
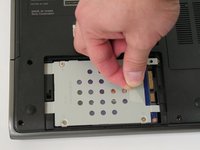
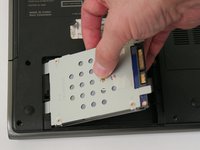
Lift the hard drive out of the well.
-
-
-
Use a Phillips #0 screwdriver to remove the one 4.0 mm screw next to the model number label.
-
-
-
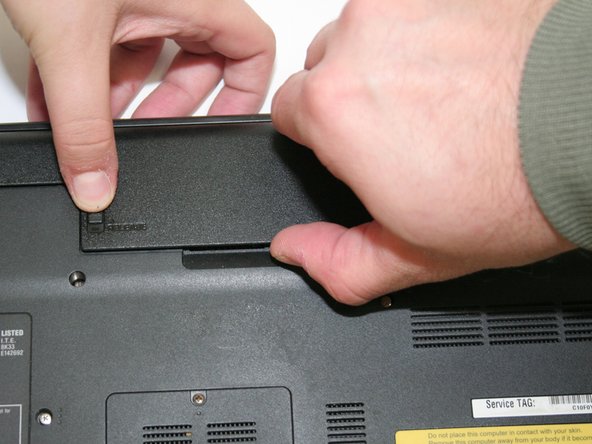
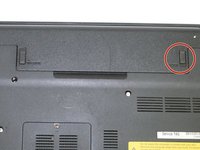
Slide the "lock" tab upward to unlock the battery before removal.
-
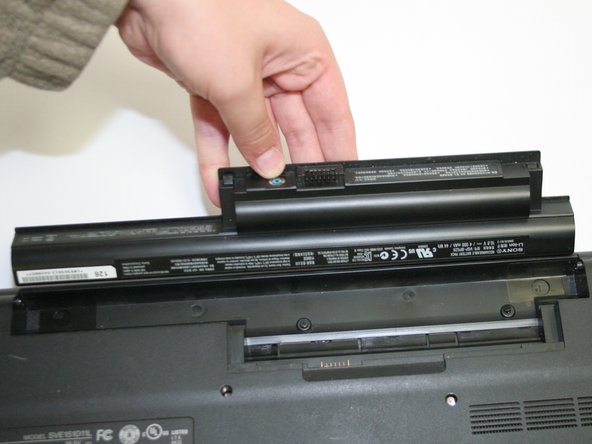
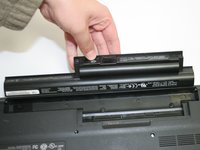
While pushing the "release" tab upward, lift the battery and pull outward to remove it from the laptop.
-
-
-
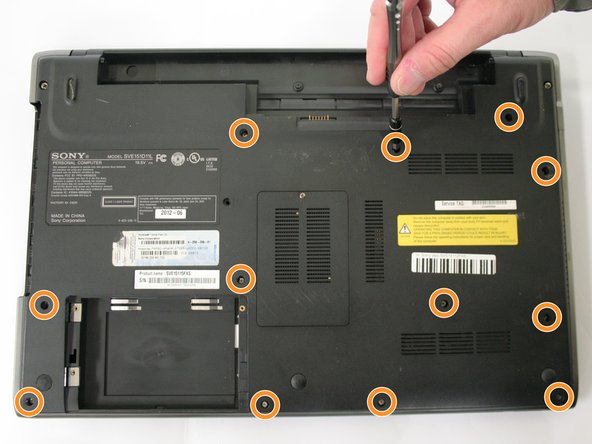
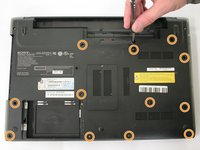
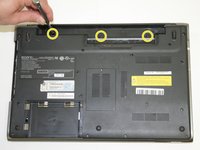
To unsecure the back cover, remove all the case screws using a #0 Phillips screwdriver.
-
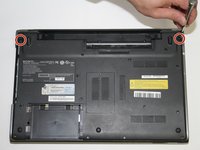
Remove the two 9.0 mm screws on each side of the battery.
-
Remove the twelve 8.0 mm long screws alongside the entire back cover.
-
Remove the three 3.0 mm screws inside the battery well.
-
-
-
-
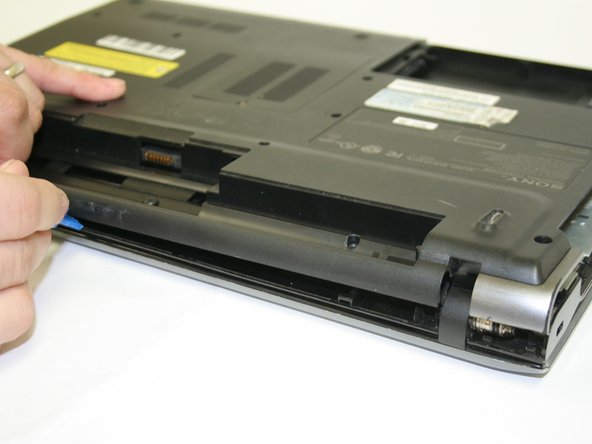
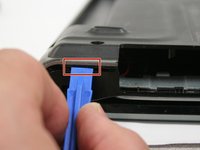
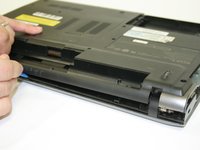
Use a plastic opening tool to carefully pry open the latch points located under the silver plastic trim. Repeat this around the back cover.
-
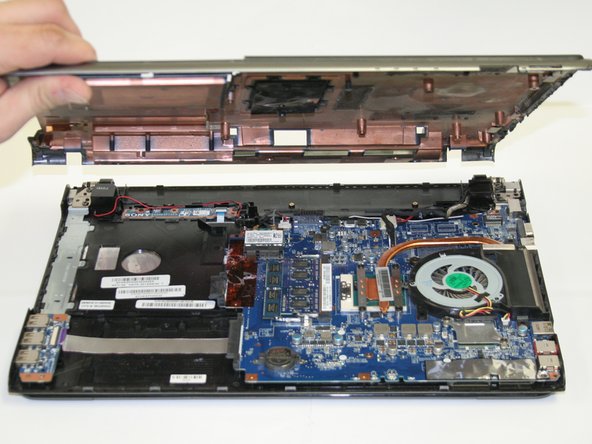
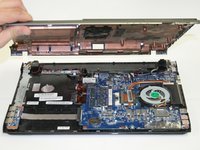
Lift the back cover upward and away from the laptop.
-
-
-
Gently push the rectangular opening on the CD-ROM well to loosen the keyboard.
-
-
-
Use a plastic opening tool to pry upward on the keyboard. Only the top of the keyboard is latched.
-
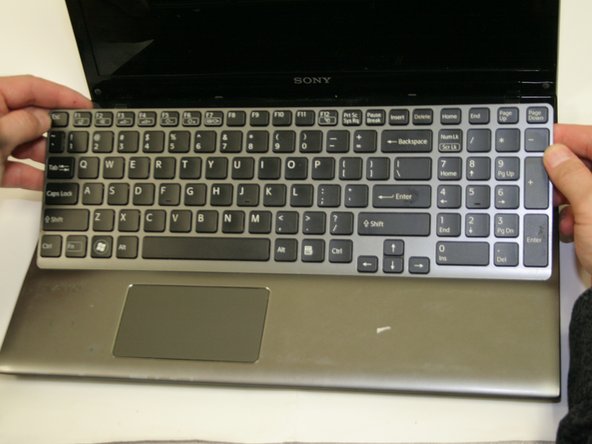
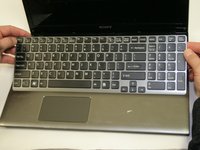
Lift the keyboard toward you and away from the laptop.
-
-
-
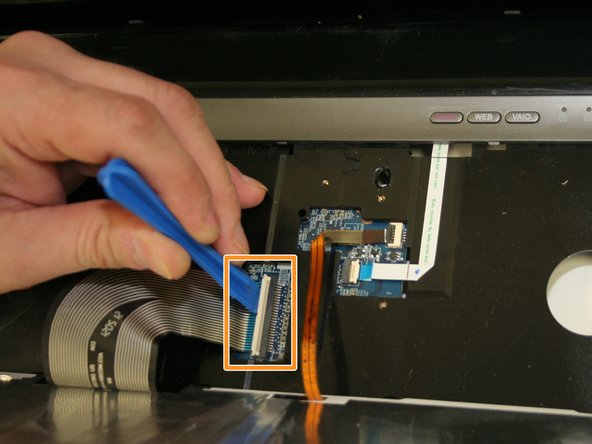
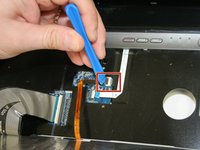
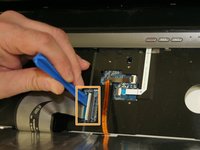
Use a plastic opening tool to disconnect the two ZIF connectors attached to each ribbon. Both are located under the keyboard and have a clear flap that must be lifted upward before removal.
-
Open the white connector attached to the copper ribbon.
-
Open the white connected attached to the black and white striped ribbon.
-
Lift the keyboard away from the body of the laptop.
-
-













To reassemble your device, follow these instructions in reverse order.
Cancel: I did not complete this guide.
2 other people completed this guide.

Team

Ohio State, Team S1-G1, Whitney Fall 2018 Member of Ohio State, Team S1-G1, Whitney Fall 2018
OSU-WHITNEY-F18S1G1
2 Members
60 Guides authored
1 Guide Comment
Tienen teclado para vaio model SVS151C1GL ? Atte saludos de cordoba 3517511265
