Introduction
If your laptop is experiencing performance or storage issues, you can use this guide to replace the internal hard drive. This process is simple, and only requires a #0 Phillips screwdriver and magnetic project mat to keep track of the screws for each step. Be sure to handle the hard drive with care during removal, and do not touch the gold contact points because dirt and debris can damage the part.
What you need
-
-
-
Turn the laptop over so that it is positioned top down with the model number facing you.
 Ask FixBot
-
-
-
Use a #0 Phillips screwdriver to remove the two 4.0 mm screws securing the hard drive cover.
-
-
-
-
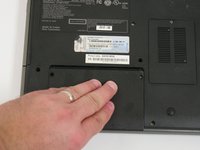
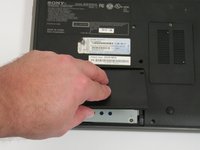
To expose the hard drive, remove the cover by sliding it toward you and pulling up on the panel.
-
-
-
Use a #0 Phillips screwdriver to remove the two 4.0 mm screws attaching the hard drive to the laptop.
-
-
-
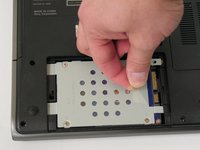
Pull the clear plastic ribbon to the left until the mount is detached from the laptop.
-
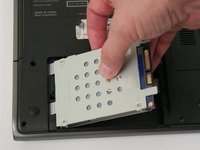
Lift the hard drive out of the well.
-
-
-
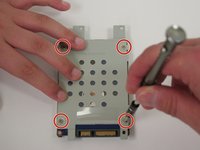
Use a #0 Phillips screwdriver to remove the four 4.0 mm screws attaching the mount to the hard drive.
-
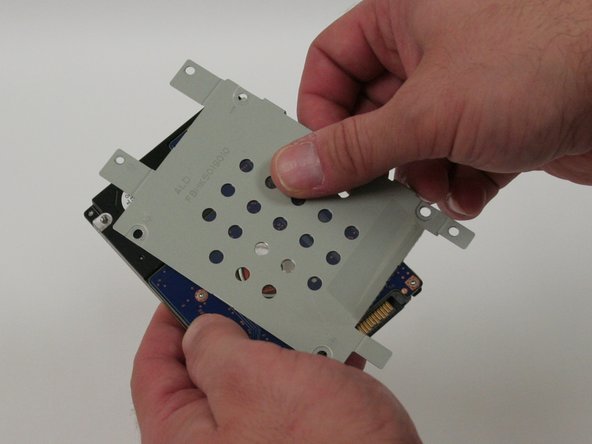
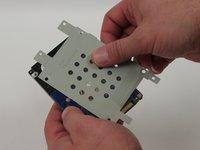
Slide the hard drive away from the mount until it is completely detached.
-
-





To reassemble your device, follow these instructions in reverse order.
Cancel: I did not complete this guide.
2 other people completed this guide.

Team

Ohio State, Team S1-G1, Whitney Fall 2018 Member of Ohio State, Team S1-G1, Whitney Fall 2018
OSU-WHITNEY-F18S1G1
2 Members
60 Guides authored
