Free Shipping on Domestic Orders $75+

Sony Vaio SVE15112FXS Fan Replacement

What you need

    1. Sony Vaio SVE15112FXS Fan Replacement, Fan: step 1, image 1 of 1
      • Power laptop off before beginning.

      • Turn the laptop over so that it is positioned top down with the model number facing you.

      Ask FixBot

      Add Comment

    2. Sony Vaio SVE15112FXS Fan Replacement: step 2, image 1 of 1
      • Use a #0 Phillips screwdriver to remove the two 4.0 mm screws securing the hard drive cover.

      • To avoid losing any parts, we recommend that you place the loose screws on a magnetic project mat.

      Ask FixBot

      Add Comment

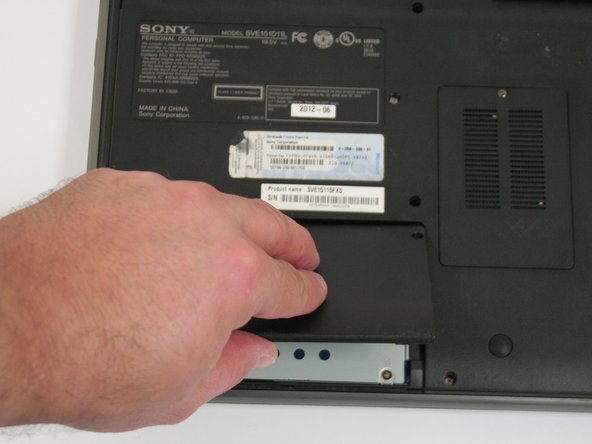
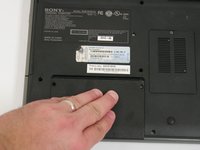
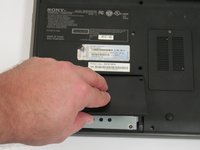
    3. Sony Vaio SVE15112FXS Fan Replacement: step 3, image 1 of 2 Sony Vaio SVE15112FXS Fan Replacement: step 3, image 2 of 2
      • To expose the hard drive, remove the cover by sliding it toward you and pulling up on the panel.

      Ask FixBot

      Add Comment

    4. Sony Vaio SVE15112FXS Fan Replacement: step 4, image 1 of 1
      • Use a #0 Phillips screwdriver to remove the two 4.0 mm screws attaching the hard drive to the laptop.

      Ask FixBot

      Add Comment

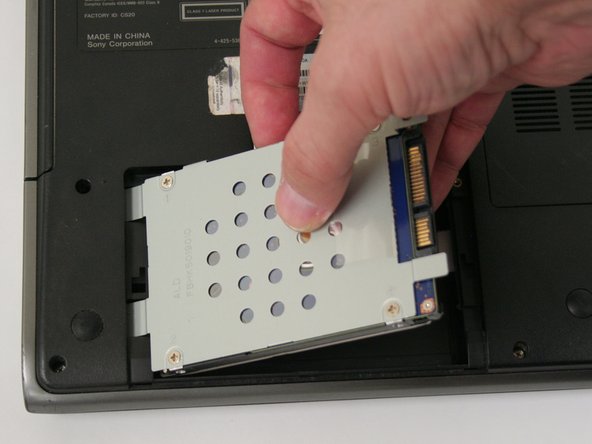
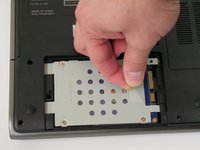
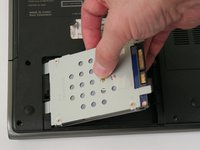
    5. Sony Vaio SVE15112FXS Fan Replacement: step 5, image 1 of 2 Sony Vaio SVE15112FXS Fan Replacement: step 5, image 2 of 2
      • Pull the clear plastic ribbon to the left until the mount is detached from the laptop.

      • There will be some resistance as the hard drive is disconnected. If it does not move at all, check that all anchor screws are removed.

      • Lift the hard drive out of the well.

      Ask FixBot

      Add Comment

    6. Sony Vaio SVE15112FXS Fan Replacement: step 6, image 1 of 1
      • Use a Phillips #0 screwdriver to remove the one 4.0 mm screw next to the model number label.

      Ask FixBot

      Add Comment

    7. Sony Vaio SVE15112FXS Fan Replacement: step 7, image 1 of 1
      • Use a plastic opening tool to slide the CD-ROM out from the laptop.

      Ask FixBot

      Add Comment

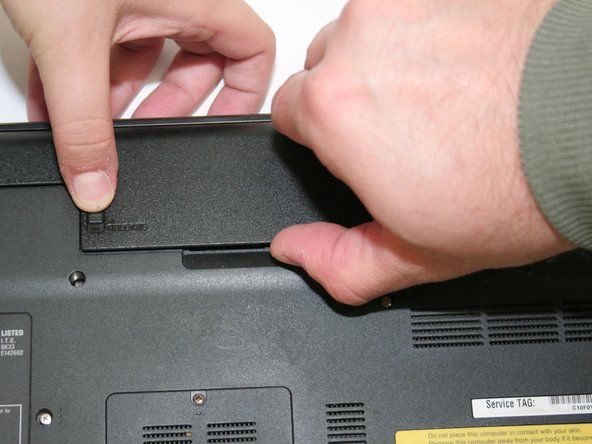
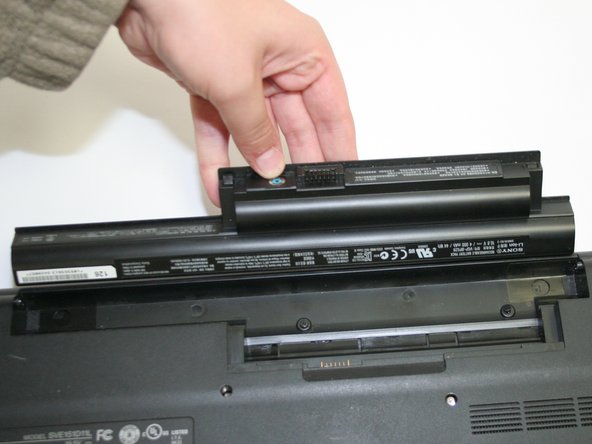
    8. Sony Vaio SVE15112FXS Fan Replacement: step 8, image 1 of 3 Sony Vaio SVE15112FXS Fan Replacement: step 8, image 2 of 3 Sony Vaio SVE15112FXS Fan Replacement: step 8, image 3 of 3
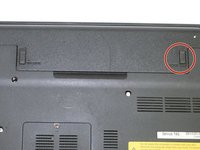
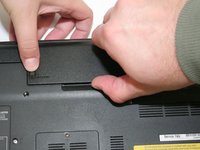
      • Slide the "lock" tab upward to unlock the battery before removal.

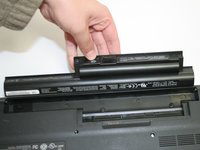
      • While pushing the "release" tab upward, lift the battery and pull outward to remove it from the laptop.

      Ask FixBot

      Add Comment

    9. Sony Vaio SVE15112FXS Fan Replacement: step 9, image 1 of 3 Sony Vaio SVE15112FXS Fan Replacement: step 9, image 2 of 3 Sony Vaio SVE15112FXS Fan Replacement: step 9, image 3 of 3
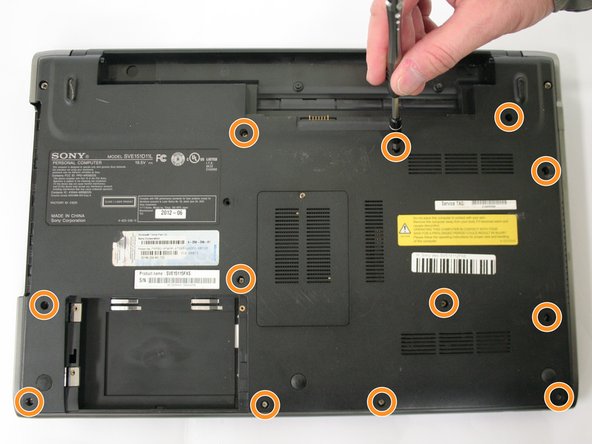
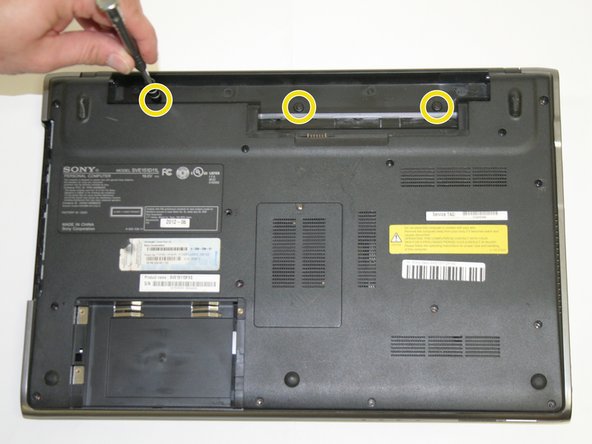
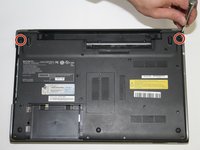
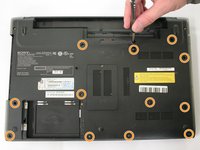
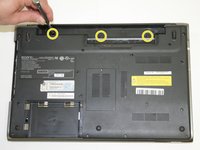
      • To unsecure the bottom cover, remove all the cover screws using a #0 Phillips screwdriver.

      • Remove the two 9.0 mm screws on each side of the battery.

      • Remove the twelve 8.0 mm long screws alongside the entire back cover.

      • Remove the three 3.0 mm screws inside the battery well.

      Ask FixBot

      Add Comment

    10. Sony Vaio SVE15112FXS Fan Replacement: step 10, image 1 of 3 Sony Vaio SVE15112FXS Fan Replacement: step 10, image 2 of 3 Sony Vaio SVE15112FXS Fan Replacement: step 10, image 3 of 3
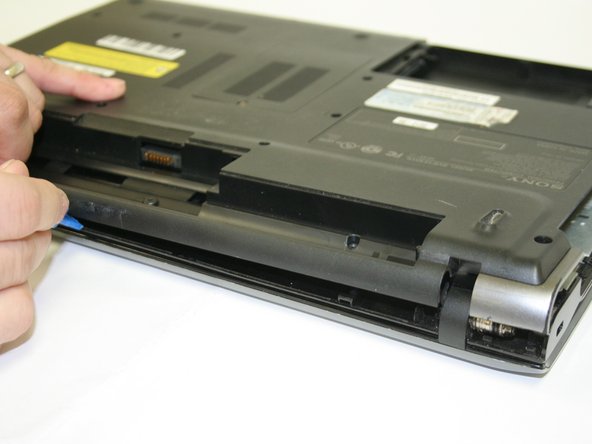
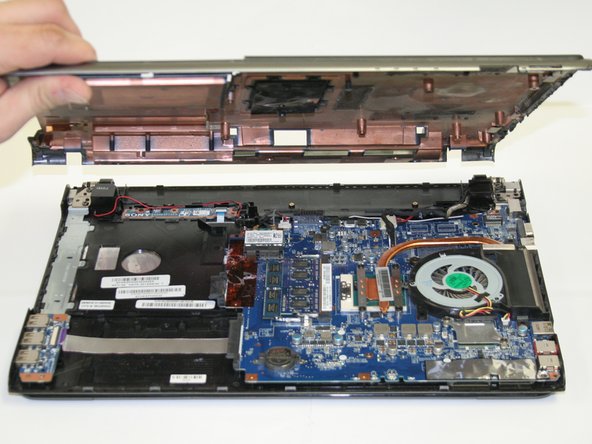
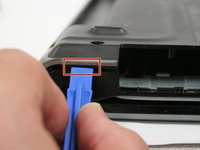
      • Use a plastic opening tool to carefully pry open the latch points located under the silver plastic trim. Repeat this around the back cover.

      • It may be easiest to start around the CD-ROM bay because there is more room.

      • To avoid damaging the plastic trim and cover, do not force difficult areas and make sure the opening tool is completely under the black plastic cover, not just the silver trim.

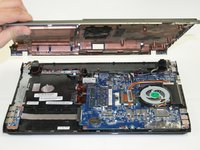
      • Lift the back cover upward and away from the laptop.

      Ask FixBot

      Add Comment

    11. Sony Vaio SVE15112FXS Fan Replacement: step 11, image 1 of 1
      • Use a Phillips #00 screwdriver to remove the three 3.0 mm screws attaching the fan to the heat sink unit.

      Ask FixBot

      Add Comment

    12. Sony Vaio SVE15112FXS Fan Replacement: step 12, image 1 of 2 Sony Vaio SVE15112FXS Fan Replacement: step 12, image 2 of 2
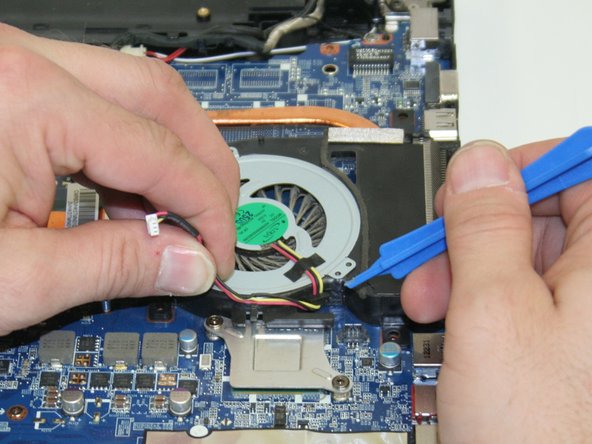
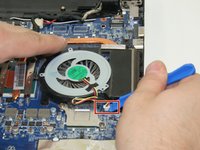
      • Use a plastic opening tool to unsecure the white power cable connector.

      • Do not pull on the wires as this could rip them from the cable connector.

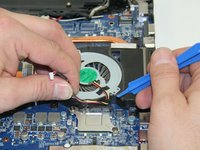
      • Carefully unwrap the red and yellow wires from the hooks.

      • Take note of how the wires are wrapped around the hooks.

      Ask FixBot

      Add Comment

    13. Sony Vaio SVE15112FXS Fan Replacement: step 13, image 1 of 1
      • Lift the fan upward to remove it from the heat sink unit.

      Ask FixBot

      Add Comment

Conclusion

To reassemble your device, follow these instructions in reverse order.

Cancel: I did not complete this guide.

Ashley Bierman

Member since: 09/06/18

1,301 Reputation

5 Guides authored

Team

Ohio State, Team S1-G1, Whitney Fall 2018 Member of Ohio State, Team S1-G1, Whitney Fall 2018

OSU-WHITNEY-F18S1G1

2 Members

60 Guides authored

0 Guide Comments

Add Comment

View Statistics:

Past 24 Hours: 1

Past 7 Days: 1

Past 30 Days: 33

All Time: 967