Free Shipping on Domestic Orders $75+

Sony Vaio SVE111B11L Screen Replacement

What you need

    1. Sony Vaio SVE111B11L  Screen Replacement, Battery: step 1, image 1 of 2 Sony Vaio SVE111B11L  Screen Replacement, Battery: step 1, image 2 of 2
      • Remove the charging adaptor. Some charge may still be in the battery or computer. DO NOT touch connectors or copper yellow connector.

      • Locate the battery on the bottom of the computer.

      • Flip the computer so that the battery faces you.

      Ask FixBot

      Add Comment

    2. Sony Vaio SVE111B11L  Screen Replacement: step 2, image 1 of 1
      • Locate the two latches with the words “lock” and “release” on them.

      Ask FixBot

      Add Comment

    3. Sony Vaio SVE111B11L  Screen Replacement: step 3, image 1 of 1
      • Push the latches towards each other and lift the battery to remove it.

      Ask FixBot

      Add Comment

    1. Sony Vaio SVE111B11L  Screen Replacement, Keyboard Assembly: step 4, image 1 of 1
      • Remove the memory door on the bottom of the computer to access the screw for the keyboard.

      • The screws for the memory door do not come out.

      Ask FixBot

      Add Comment

    2. Sony Vaio SVE111B11L  Screen Replacement: step 5, image 1 of 1
      • Remove the 6.7 mm screw that holds the keyboard assembly in place.

      Ask FixBot

      Add Comment

    3. Sony Vaio SVE111B11L  Screen Replacement: step 6, image 1 of 1
      • Be careful not to break the keyboard wire connection.

      • Slide the wires out, away from the solder connections.

      • Flip the computer over and open it.

      Ask FixBot

      Add Comment

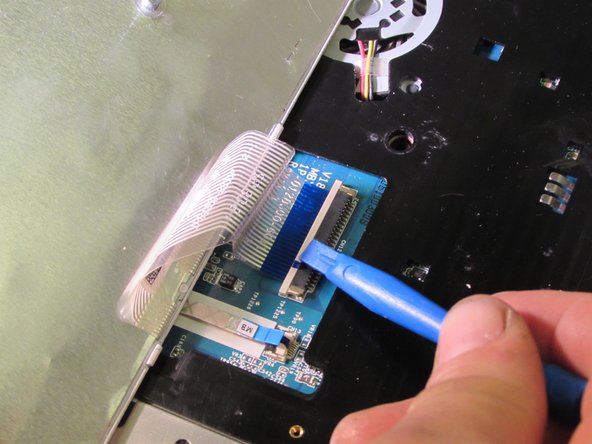
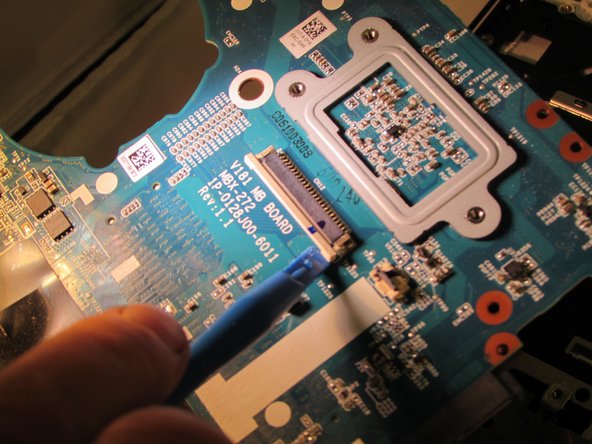
    4. Sony Vaio SVE111B11L  Screen Replacement: step 7, image 1 of 3 Sony Vaio SVE111B11L  Screen Replacement: step 7, image 2 of 3 Sony Vaio SVE111B11L  Screen Replacement: step 7, image 3 of 3
      • Gently pry the keyboard assembly from the screen side, using an opening tool. You will need to lift the keyboard about two inches.

      • Using an opening tool, gently pull out and slightly up on the connector clip.

      • Gently lift the keyboard assembly up and out.

      Ask FixBot

      Add Comment

    1. Sony Vaio SVE111B11L  Screen Replacement, Motherboard: step 8, image 1 of 1
      • Remove charging adaptor. Some charge may still be in the battery or computer.

      • DO NOT touch connectors or copper yellow connector.

      • Take the covers on the bottom of the laptop off.

      Ask FixBot

      Add Comment

    2. Sony Vaio SVE111B11L  Screen Replacement: step 9, image 1 of 1
      • Locate and remove the screws holding the motherboard down.

      • Screws: L 4.6mm X D 1.85mm

      Ask FixBot

      Add Comment

    3. Sony Vaio SVE111B11L  Screen Replacement: step 10, image 1 of 3 Sony Vaio SVE111B11L  Screen Replacement: step 10, image 2 of 3 Sony Vaio SVE111B11L  Screen Replacement: step 10, image 3 of 3
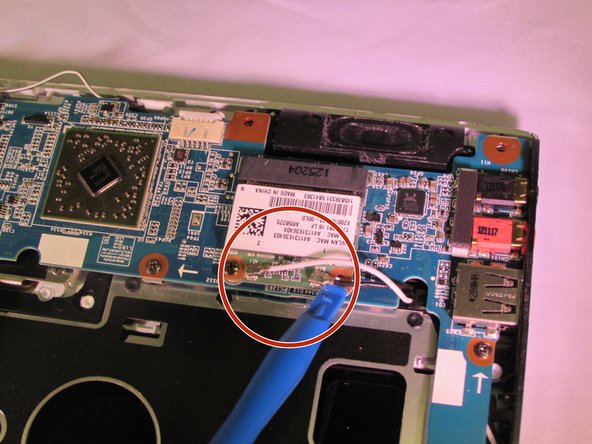
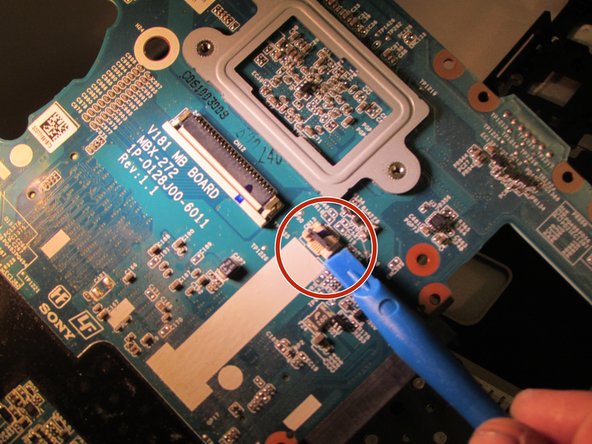
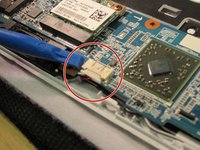
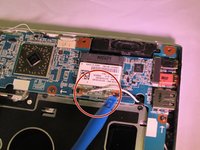
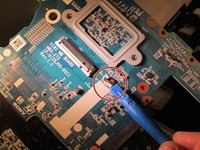
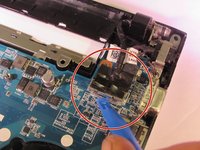
      • Locate the wires and connectors and remove them from the motherboard.

      Ask FixBot

      Add Comment

    4. Sony Vaio SVE111B11L  Screen Replacement: step 11, image 1 of 2 Sony Vaio SVE111B11L  Screen Replacement: step 11, image 2 of 2
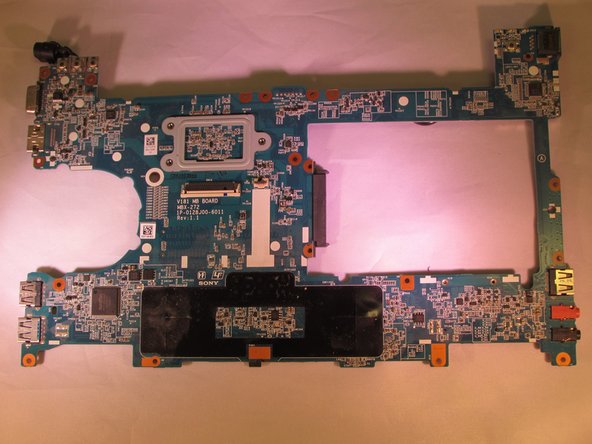
      • Lift the mother board out and safely put it to the side.

      Ask FixBot

      Add Comment

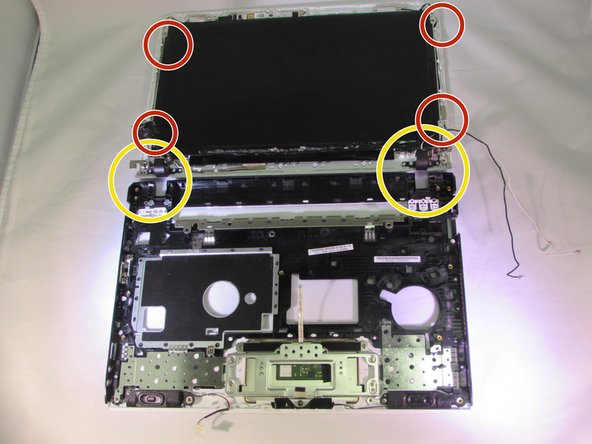
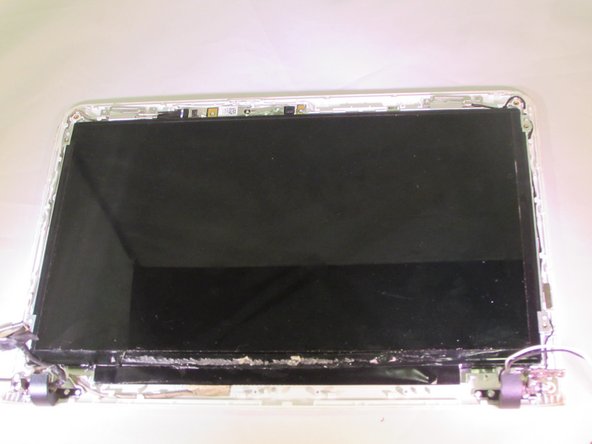
    1. Sony Vaio SVE111B11L  Screen Replacement, Screen: step 12, image 1 of 2 Sony Vaio SVE111B11L  Screen Replacement, Screen: step 12, image 2 of 2
      • Remove charging adaptor and battery. Some charge may still be in the battery or computer.

      • DO NOT touch connectors or copper yellow connector.

      • Locate screws. L 3.35mm X D 1.8mm

      • Remove Screws.

      • Lay the screen on a hard flat surface.

      • Remove hinges and wires for ease of removal.

      Ask FixBot

      Add Comment

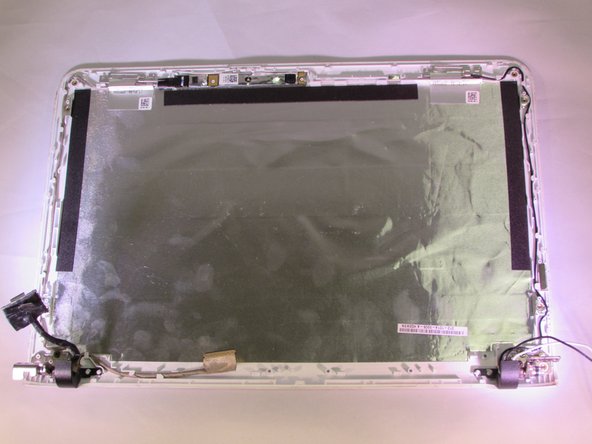
    2. Sony Vaio SVE111B11L  Screen Replacement: step 13, image 1 of 1
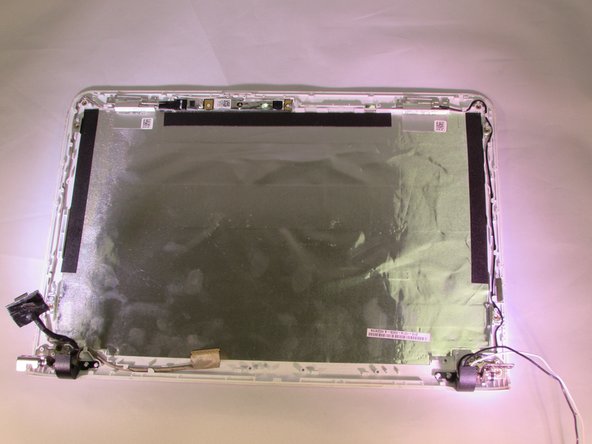
      • Gently remove the screen cover.

      • Be careful of the camera at the top of the screen.

      • Be careful of the seal tape between the cover and the screen.

      Ask FixBot

      Add Comment

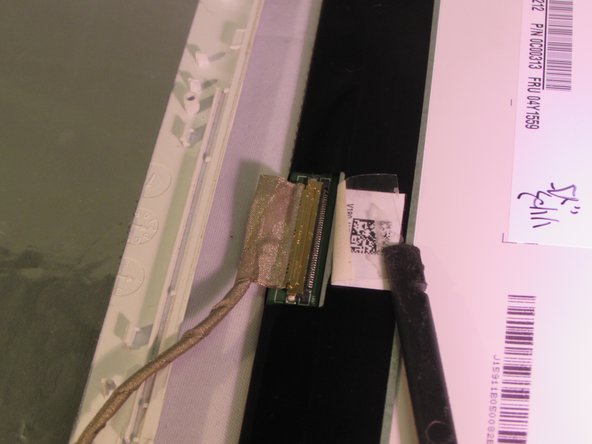
    3. Sony Vaio SVE111B11L  Screen Replacement: step 14, image 1 of 3 Sony Vaio SVE111B11L  Screen Replacement: step 14, image 2 of 3 Sony Vaio SVE111B11L  Screen Replacement: step 14, image 3 of 3
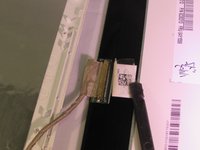
      • Locate the wires and connectors.

      • Unplug the wires from the connectors.

      • Be careful of the yellow tape around the connection.

      Ask FixBot

      Add Comment

    4. Sony Vaio SVE111B11L  Screen Replacement: step 15, image 1 of 2 Sony Vaio SVE111B11L  Screen Replacement: step 15, image 2 of 2
      • Gently lift the screen assembly up and out.

      Ask FixBot

      Add Comment

Conclusion

To reassemble your device, follow these instructions in reverse order.

Cancel: I did not complete this guide.

2 other people completed this guide.

0 Guide Comments

Add Comment

View Statistics:

Past 24 Hours: 1

Past 7 Days: 5

Past 30 Days: 32

All Time: 1,756