Free Shipping on Domestic Orders $75+

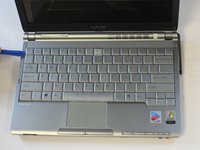
Sony Vaio PCG-4G1L Keyboard Replacement

What you need

    1. Sony Vaio PCG-4G1L Keyboard Replacement, Battery: step 1, image 1 of 1
      • Turn off the computer and disconnect the charging cable.

      • Failing to unplug the cable can result in electric shock.

      Ask FixBot

      Add Comment

    2. Sony Vaio PCG-4G1L Keyboard Replacement: step 2, image 1 of 2 Sony Vaio PCG-4G1L Keyboard Replacement: step 2, image 2 of 2
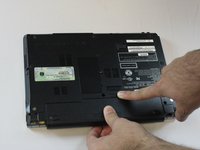
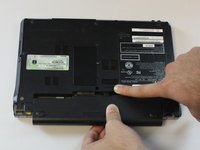
      • Slide battery release toggle switch towards the "RELEASE" print.

      Ask FixBot

      Add Comment

    3. Sony Vaio PCG-4G1L Keyboard Replacement: step 3, image 1 of 3 Sony Vaio PCG-4G1L Keyboard Replacement: step 3, image 2 of 3 Sony Vaio PCG-4G1L Keyboard Replacement: step 3, image 3 of 3
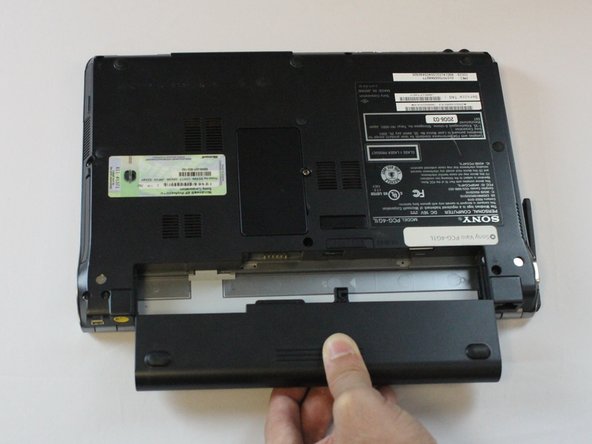
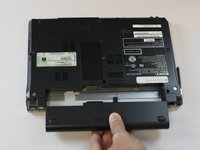
      • Apply pressure with your thumb on the grip.

      • Pull the battery out while simultaneously holding the battery release toggle switch in the release position.

      Ask FixBot

      Add Comment

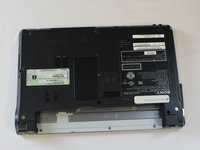
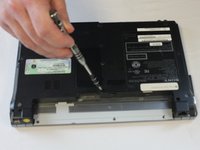
    1. Sony Vaio PCG-4G1L Keyboard Replacement, Keyboard: step 4, image 1 of 2 Sony Vaio PCG-4G1L Keyboard Replacement, Keyboard: step 4, image 2 of 2
      • Remove one 5 mm Phillips #1 pan head screw, in the middle of the laptop, using a Bit Driver with Phillips PH1 bit.

      Ask FixBot

      Add Comment

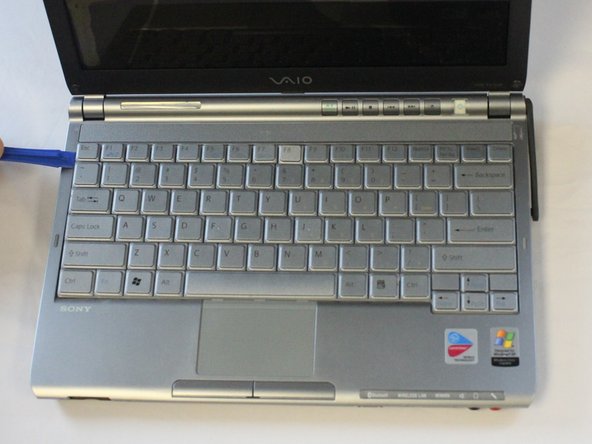
    2. Sony Vaio PCG-4G1L Keyboard Replacement: step 5, image 1 of 2 Sony Vaio PCG-4G1L Keyboard Replacement: step 5, image 2 of 2
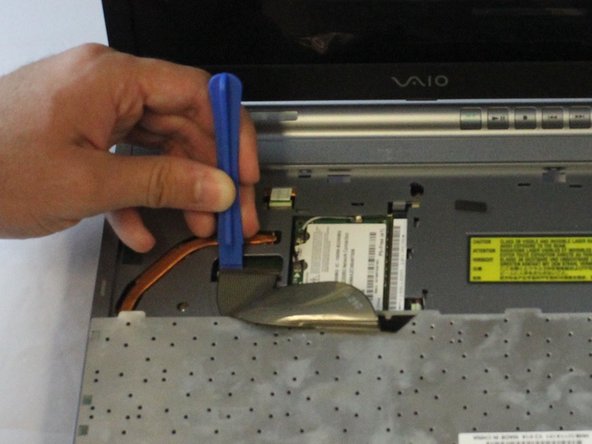
      • Be sure to pry the plastic opening tool under the keyboard, rather than under the keys. Otherwise, some keys could get harmed.

      • While using a plastic opening tool, carefully lift the keyboard by inserting the tool under the edge.

      Ask FixBot

      Add Comment

    3. Sony Vaio PCG-4G1L Keyboard Replacement: step 6, image 1 of 3 Sony Vaio PCG-4G1L Keyboard Replacement: step 6, image 2 of 3 Sony Vaio PCG-4G1L Keyboard Replacement: step 6, image 3 of 3
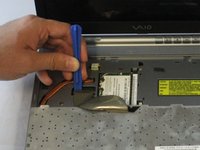
      • Do not pull the keyboard too far away, as a ribbon cable is still attached. Failing to do so can cause damage to the ribbon cable or the connector.

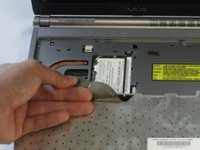
      • Use the plastic opening tool to release the clamp.

      • Using slight pressure, remove the ribbon cable with your fingers.

      Ask FixBot

      Add Comment

Conclusion

To reassemble your device, follow these instructions in reverse order.

Cancel: I did not complete this guide.

2 other people completed this guide.

Cole Collins

Member since: 10/04/16

211 Reputation

4 Guides authored

Team

USF Tampa, Team 2-3, Cagle Fall 2016 Member of USF Tampa, Team 2-3, Cagle Fall 2016

USFT-CAGLE-F16S2G3

5 Members

72 Guides authored

0 Guide Comments

Add Comment

View Statistics:

Past 24 Hours: 0

Past 7 Days: 4

Past 30 Days: 36

All Time: 1,328