
Sony Vaio PCG-4121GL Battery Replacement

McKinley Hubred and 3 other contributors
Last updated on Mar 6, 2019
Views: 3.9K
View statistics:
- Past 24 Hours:
- 2
- Past 7 Days:
- 19
- Past 30 Days:
- 102
- All Time:
- 3,931
Comments: 0
No one has left comments on this guide. Will you be first?
Go to guide commentsCompleted: 1 2
1 person has marked this guide "completed." Will you be next?
2 people have marked this guide "completed." Including you — great job!
Favorites: 0 1
No one has favorited (and subscribed to) this guide. Will you be the first?
1 person has favorited (and subscribed to) this guide — and that's you!
Introduction
Go to step 1 ↓If your laptop is not powering on or is not holding a charge, a faulty battery could be the issue. Before starting this guide, it may be helpful to have a secure place to put the screws after they have been removed.
What you need
Tools

-
-
-
Remove the two 3mm Phillips #0 screws on the bottom of the computer that secure the plastic backing.
 Ask FixBot
-
-
-
Pull the bottom plate towards yourself until it unhinges fully.
-
Once the plate is free from the backing remove it completely.
-
-
-
-
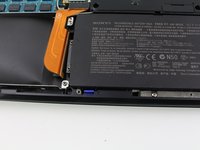
Pull the blue tab towards yourself until you hear a click.
-
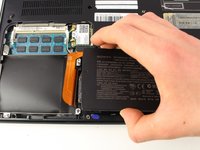
Once the blue tab is released, pull up on the battery.
-
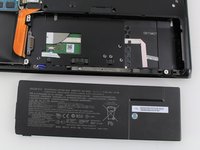
Once the battery can move freely, take it out completely.
-
-


To reassemble your device, follow these instructions in reverse order.
Cancel: I did not complete this guide.
One other person completed this guide.

Team

Cal Poly, Team S2-G2, White Winter 2019 Member of Cal Poly, Team S2-G2, White Winter 2019
CPSU-WHITE-W19S2G2
4 Members
60 Guides authored
