Free Shipping on Domestic Orders $75+

Sony Vaio PCG-41216L Network Card Replacement

Views: 1.2K

View statistics:

Past 24 Hours:
2
Past 7 Days:
24
Past 30 Days:
61
All Time:
1,165
Comments: 0

No one has left comments on this guide. Will you be first?

Go to guide comments
Completed: 1

1 person has marked this guide "completed." Will you be next?

Favorites: 0

No one has favorited (and subscribed to) this guide. Will you be the first?

Time Required: 10 minutes
Difficulty: Easy
Sony Vaio PCG-41216L Network Card Replacement

Introduction

Go to step 1 ↓

If the laptop is experiencing issues when connecting to the internet without any software or internet service provider fixes working, then use this guide to replace the defective network card.

What you need

Tools

    1. Sony Vaio PCG-41216L Network Card Replacement, Network Card: step 1, image 1 of 2 Sony Vaio PCG-41216L Network Card Replacement, Network Card: step 1, image 2 of 2
      • Flip the laptop over to begin the process.

      • Make sure the laptop is turned off and unplugged from the power cable.

      Ask FixBot

      Add Comment

    2. Sony Vaio PCG-41216L Network Card Replacement: step 2, image 1 of 3 Sony Vaio PCG-41216L Network Card Replacement: step 2, image 2 of 3 Sony Vaio PCG-41216L Network Card Replacement: step 2, image 3 of 3
      • Remove the two 7mm Phillips #1 screws holding the battery cover.

      Ask FixBot

      Add Comment

    3. Sony Vaio PCG-41216L Network Card Replacement: step 3, image 1 of 3 Sony Vaio PCG-41216L Network Card Replacement: step 3, image 2 of 3 Sony Vaio PCG-41216L Network Card Replacement: step 3, image 3 of 3
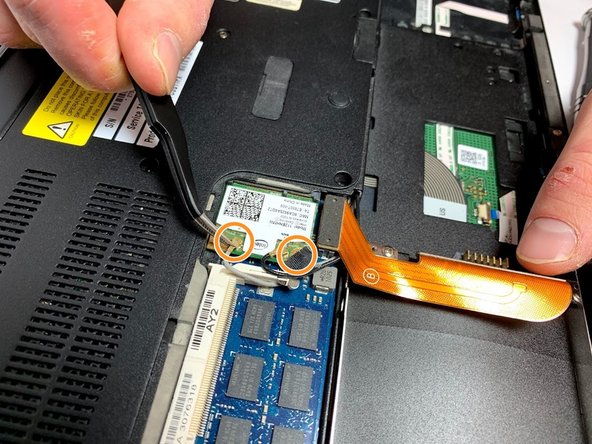
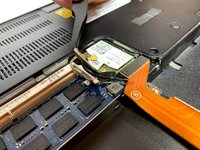
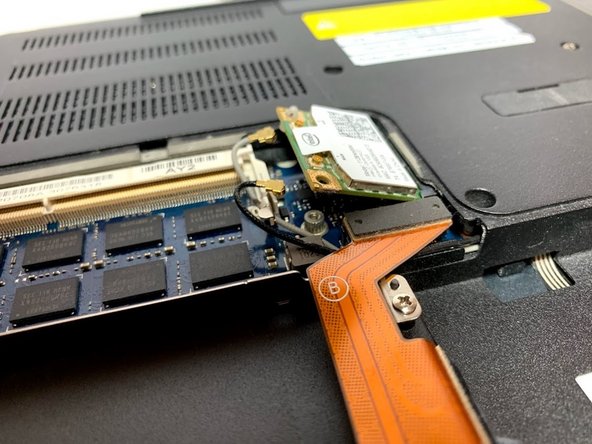
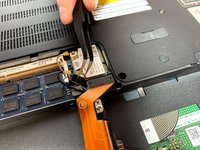
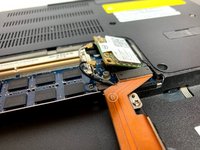
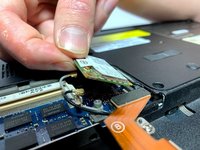
      • Locate the networking card above the hard drive and next to the RAM.

      • Carefully pop out the two connection cables from the networking card.

      Ask FixBot

      Add Comment

    4. Sony Vaio PCG-41216L Network Card Replacement: step 4, image 1 of 3 Sony Vaio PCG-41216L Network Card Replacement: step 4, image 2 of 3 Sony Vaio PCG-41216L Network Card Replacement: step 4, image 3 of 3
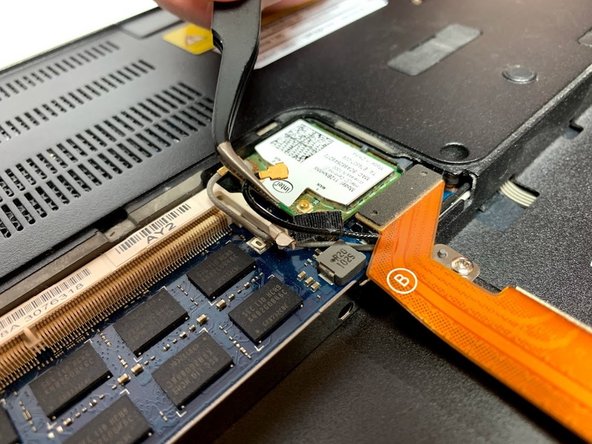
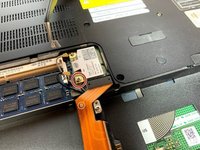
      • Remove the black tape to uncover the screw underneath.

      • Remove the 3mm Phillips head screw.

      • When loosening the screw, the network card will automatically lift itself to a diagonal position. This is normal.

      Ask FixBot

      Add Comment

    5. Sony Vaio PCG-41216L Network Card Replacement: step 5, image 1 of 2 Sony Vaio PCG-41216L Network Card Replacement: step 5, image 2 of 2
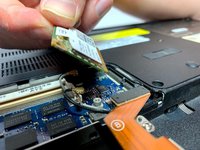
      • Pull the network card straight out in the direction it is resting in.

      • Reinsert the new network card diagonally and into the same position as the previous one.

      • To screw the new network card back into place, you will need to push the network card back down onto the motherboard.

      Ask FixBot

      Add Comment

Conclusion

To reassemble your device, follow these instructions in reverse order.

Cancel: I did not complete this guide.

One other person completed this guide.

0 Guide Comments

Add Comment

View Statistics:

Past 24 Hours: 2

Past 7 Days: 24

Past 30 Days: 61

All Time: 1,165