Free Shipping on Domestic Orders $75+

Sony Vaio PCG-41216L Hard Drive Replacement

What you need

    1. Sony Vaio PCG-41216L Hard Drive Replacement, Hard Drive: step 1, image 1 of 2 Sony Vaio PCG-41216L Hard Drive Replacement, Hard Drive: step 1, image 2 of 2
      • Flip the laptop over to begin the process.

      • Make sure the laptop is turned off and unplugged from the power cable.

      Ask FixBot

      Add Comment

    2. Sony Vaio PCG-41216L Hard Drive Replacement: step 2, image 1 of 3 Sony Vaio PCG-41216L Hard Drive Replacement: step 2, image 2 of 3 Sony Vaio PCG-41216L Hard Drive Replacement: step 2, image 3 of 3
      • Remove the two 7mm Phillips #1 screws holding the battery cover.

      Ask FixBot

      Add Comment

    3. Sony Vaio PCG-41216L Hard Drive Replacement: step 3, image 1 of 3 Sony Vaio PCG-41216L Hard Drive Replacement: step 3, image 2 of 3 Sony Vaio PCG-41216L Hard Drive Replacement: step 3, image 3 of 3
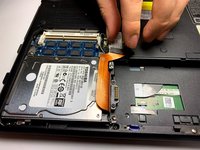
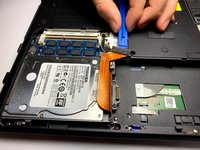
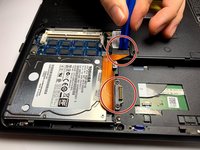
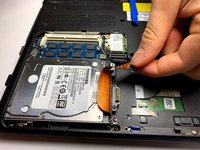
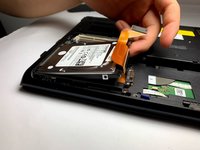
      • Peel off the ribbon cable, starting at the top by the wifi card.

      Ask FixBot

      Add Comment

    4. Sony Vaio PCG-41216L Hard Drive Replacement: step 4, image 1 of 3 Sony Vaio PCG-41216L Hard Drive Replacement: step 4, image 2 of 3 Sony Vaio PCG-41216L Hard Drive Replacement: step 4, image 3 of 3
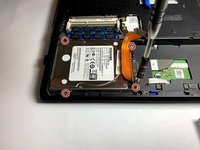
      • Remove all of the 7mm Phillips #1 casing screws around the hard drive.

      Ask FixBot

      Add Comment

    5. Sony Vaio PCG-41216L Hard Drive Replacement: step 5, image 1 of 1
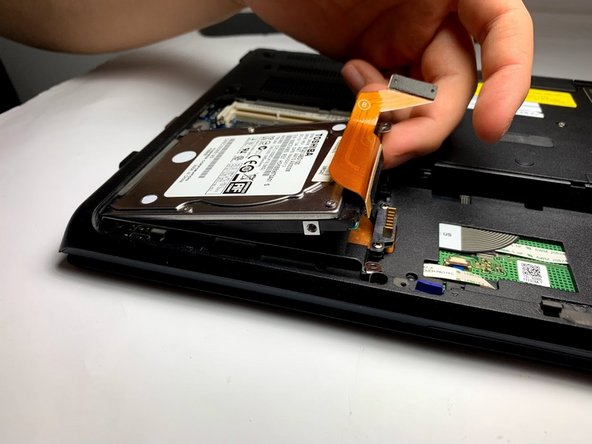
      • Pull the hard drive out, then remove the 3mm Phillips screws that connect the hard drive to the casing.

      Ask FixBot

      Add Comment

Conclusion

To reassemble your device, follow these instructions in reverse order.

Cancel: I did not complete this guide.

0 Guide Comments

Add Comment

View Statistics:

Past 24 Hours: 2

Past 7 Days: 9

Past 30 Days: 34

All Time: 3,101