
Sony Vaio PCG-3C2L Hard Drive Replacement

Chloe Nelson and 3 other contributors
Last updated on Dec 10, 2019
Views: 1.2K
View statistics:
- Past 24 Hours:
- 1
- Past 7 Days:
- 11
- Past 30 Days:
- 67
- All Time:
- 1,212
Comments: 1
1 comment on steps.
Completed: 0 1
No one has marked this guide "completed." Will you be the first?
1 person has marked this guide "completed." It's you — great job!
Favorites: 0 1
No one has favorited (and subscribed to) this guide. Will you be the first?
1 person has favorited (and subscribed to) this guide — and that's you!
Introduction
Go to step 1 ↓The hard drive stores all the user’s data in the laptop, so once the hard drive fails all of the laptop’s data is harder to restore. A hard drive would only have to be removed if the laptop’s screen fails to display, which is often associated with overheating, or if the user is looking to store a larger data set. Before replacing, make sure the replacement hard drive and a Phillips #0 screwdriver are present.
What you need
Tools


-
-
-
Turn your computer over so the bottom is facing up.
-
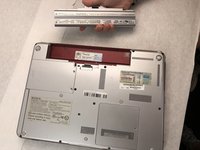
The battery should be in the top on the back of the computer.
 Ask FixBot
-
-
-
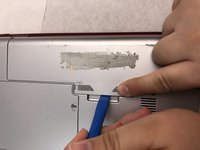
Initially, the "lock" button should be pushed all the way to the left. To unlock the battery, move the lock button from the left to the right.
-
-
-
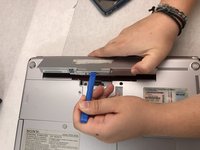
Keep the "release" button pressed.
-
Use the iFixit opening tool (or your hands) to lift the battery up.
-
-
-
-
-
Using a Phillips #0 screwdriver, remove the two 3.5mm screws on the hard drive cover.
-
-
-
-
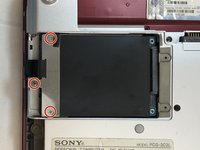
Using a Phillips #0 screwdriver, remove the three 8mm screws on the hard drive casing.
-
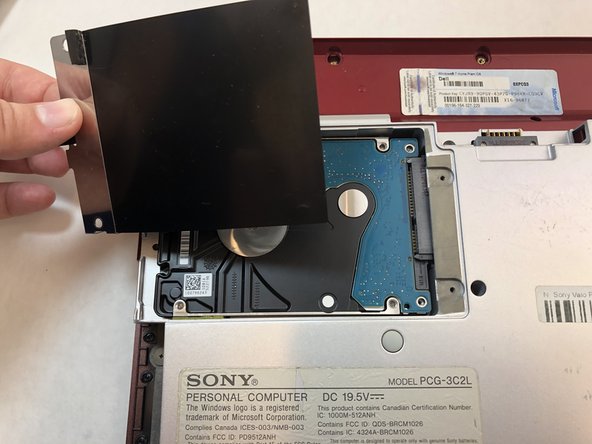
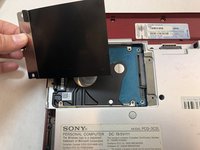
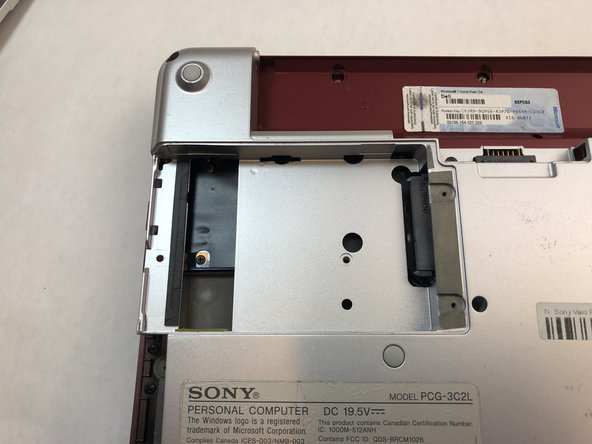
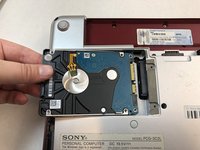
Remove the black hard drive casing by pulling it off.
-






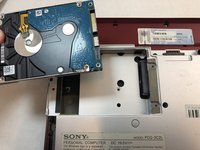
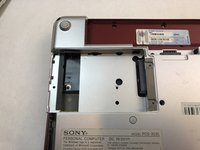
To reassemble your device, follow these instructions in reverse order.

Team

Embry-Riddle Aeronautical University, Team S8-G3, Salas Fall 2019 Member of Embry-Riddle Aeronautical University, Team S8-G3, Salas Fall 2019
ERAU-SALAS-F19S8G3
4 Members
72 Guides authored
