Free Shipping on Domestic Orders $75+

Sony Vaio PCG-3C2L CPU Replacement

What you need

    1. Sony Vaio PCG-3C2L CPU Replacement, Battery: step 1, image 1 of 1
      • Turn your computer over so the bottom is facing up.

      • The battery should be in the top on the back of the computer.

      Ask FixBot

      Add Comment

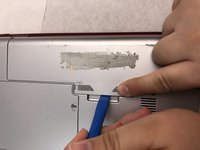
    2. Sony Vaio PCG-3C2L CPU Replacement: step 2, image 1 of 2 Sony Vaio PCG-3C2L CPU Replacement: step 2, image 2 of 2
      • Initially, the "lock" button should be pushed all the way to the left. To unlock the battery, move the lock button from the left to the right.

      Ask FixBot

      Add Comment

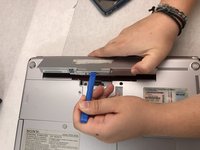
    3. Sony Vaio PCG-3C2L CPU Replacement: step 3, image 1 of 1
      • After unlocking the battery, hold the "release" button and push to the left.

      Ask FixBot

      Add Comment

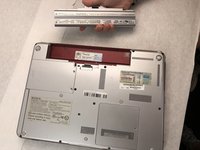
    4. Sony Vaio PCG-3C2L CPU Replacement: step 4, image 1 of 3 Sony Vaio PCG-3C2L CPU Replacement: step 4, image 2 of 3 Sony Vaio PCG-3C2L CPU Replacement: step 4, image 3 of 3
      • Keep the "release" button pressed.

      • Use the iFixit opening tool (or your hands) to lift the battery up.

      Ask FixBot

      Add Comment

    1. Sony Vaio PCG-3C2L CPU Replacement, Hard Drive: step 5, image 1 of 1
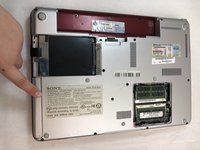
      • Place the laptop so that the bottom is facing up.

      Ask FixBot

      Add Comment

    2. Sony Vaio PCG-3C2L CPU Replacement: step 6, image 1 of 1
      • Using a Phillips #0 screwdriver, remove the two 3.5mm screws on the hard drive cover.

      Ask FixBot

      Add Comment

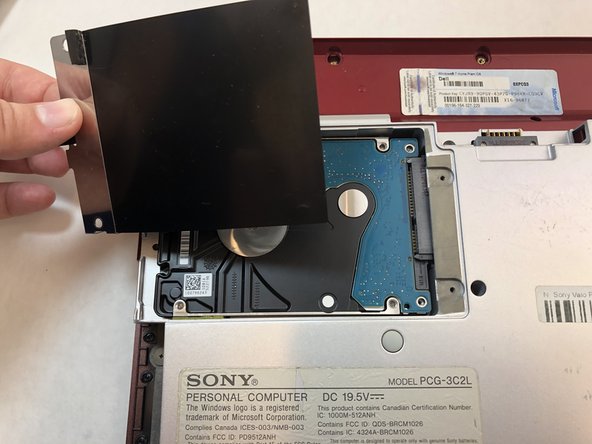
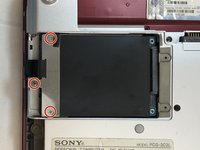
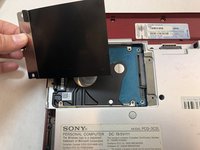
    3. Sony Vaio PCG-3C2L CPU Replacement: step 7, image 1 of 2 Sony Vaio PCG-3C2L CPU Replacement: step 7, image 2 of 2
      • Using a Phillips #0 screwdriver, remove the three 8mm screws on the hard drive casing.

      • Remove the black hard drive casing by pulling it off.

      Ask FixBot

      Add Comment

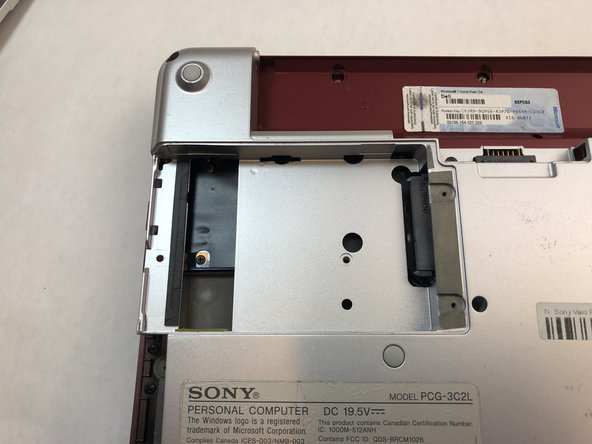
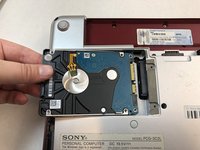
    4. Sony Vaio PCG-3C2L CPU Replacement: step 8, image 1 of 3 Sony Vaio PCG-3C2L CPU Replacement: step 8, image 2 of 3 Sony Vaio PCG-3C2L CPU Replacement: step 8, image 3 of 3
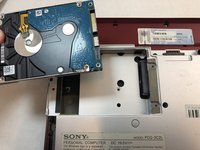
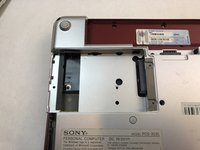
      • Remove the hard drive by carefully sliding it out.

      Ask FixBot

      Add Comment

    1. Sony Vaio PCG-3C2L CPU Replacement, Fan: step 9, image 1 of 1
      • Remove the six 8 mm edge screws from the back panel using a Phillips #0 screwdriver.

      • Remove the two 8 mm corner screws from the back panel using a Phillips #0 screwdriver.

      • Remove the four 8 mm middle screws from the back panel using a Phillips #0 screwdriver.

      • Remove the three 2 mm screws from the back panel using a Phillips #0 screwdriver.

      Ask FixBot

      Add Comment

    2. Sony Vaio PCG-3C2L CPU Replacement: step 10, image 1 of 1
      • Remove the 6 mm screw from the battery holder using a Phillips #0 screwdriver.

      • Remove the two 4 mm screws from the battery holder using a Phillips #0 screwdriver.

      Ask FixBot

      Add Comment

    3. Sony Vaio PCG-3C2L CPU Replacement: step 11, image 1 of 3 Sony Vaio PCG-3C2L CPU Replacement: step 11, image 2 of 3 Sony Vaio PCG-3C2L CPU Replacement: step 11, image 3 of 3
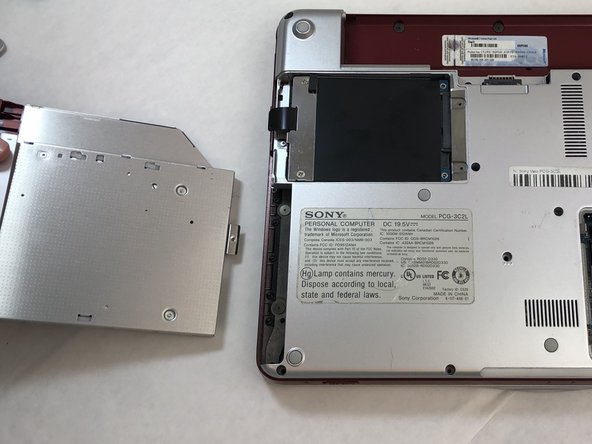
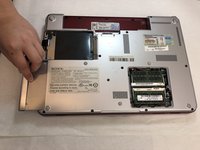
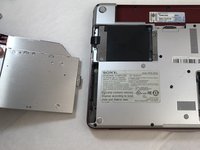
      • Remove the CD cartridge from the back panel by sliding it out.

      Ask FixBot

      Add Comment

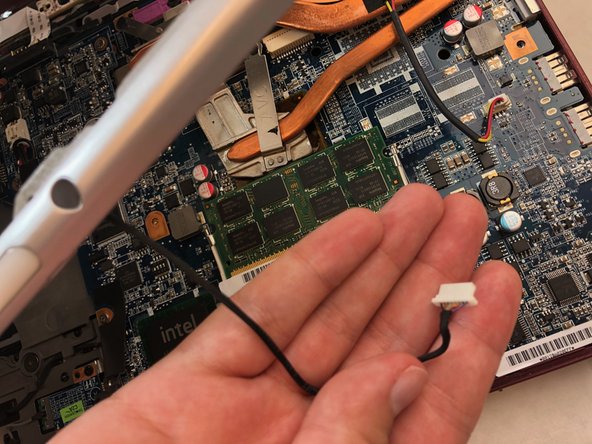
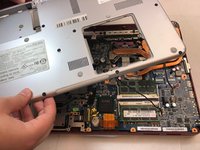
    4. Sony Vaio PCG-3C2L CPU Replacement: step 12, image 1 of 3 Sony Vaio PCG-3C2L CPU Replacement: step 12, image 2 of 3 Sony Vaio PCG-3C2L CPU Replacement: step 12, image 3 of 3
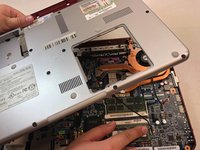
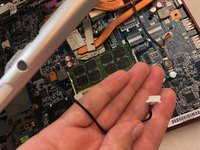
      • Using your hands, pull up the back panel about two inches up from the rest of the laptop.

      • Disconnect the black wire connector.

      • Remove back panel.

      • Pull up the back panel slowly so the black wire connector does not break.

      Ask FixBot

      Add Comment

    5. Sony Vaio PCG-3C2L CPU Replacement: step 13, image 1 of 2 Sony Vaio PCG-3C2L CPU Replacement: step 13, image 2 of 2
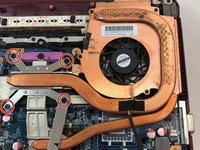
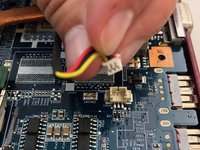
      • Unscrew the four 4 mm captive screws from the fan casing using a Phillips #0 screwdriver.

      • Disconnect the black/red/yellow wire connector by gently pulling on the wire.

      • Remove the copper colored fan casing that contains the fan by pulling it off of the bottom of the laptop.

      Ask FixBot

      Add Comment

    6. Sony Vaio PCG-3C2L CPU Replacement: step 14, image 1 of 1
      • Remove the three 3 mm fan casing screws from the fan casing using a Phillips #0 screwdriver.

      Ask FixBot

      Add Comment

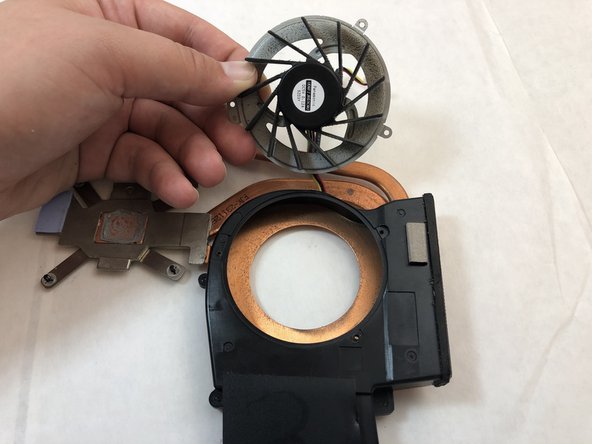
    7. Sony Vaio PCG-3C2L CPU Replacement: step 15, image 1 of 2 Sony Vaio PCG-3C2L CPU Replacement: step 15, image 2 of 2
      • Remove the fan from the fan casing by sliding it out.

      Ask FixBot

      Add Comment

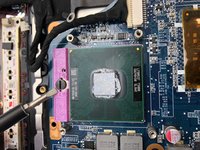
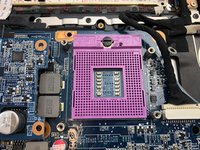
    1. Sony Vaio PCG-3C2L CPU Replacement, CPU: step 16, image 1 of 2 Sony Vaio PCG-3C2L CPU Replacement, CPU: step 16, image 2 of 2
      • Place the flathead screwdriver onto the single screw of the CPU.

      • Upon pressing the flathead onto the screw, a small pop sound will commence.

      • Step 14 and 15 do not need to be followed if you are replacing the CPU.

      Ask FixBot

      Add Comment

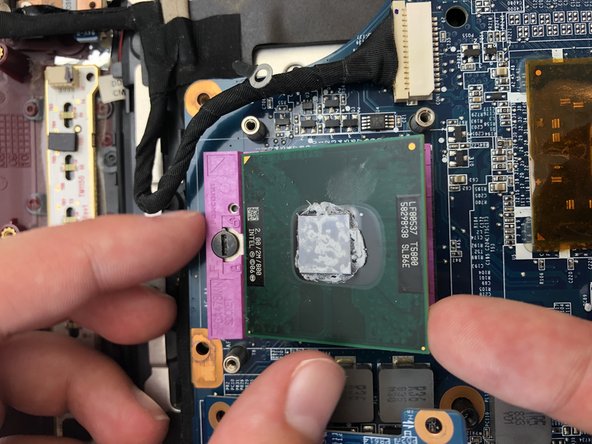
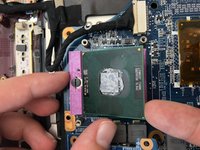
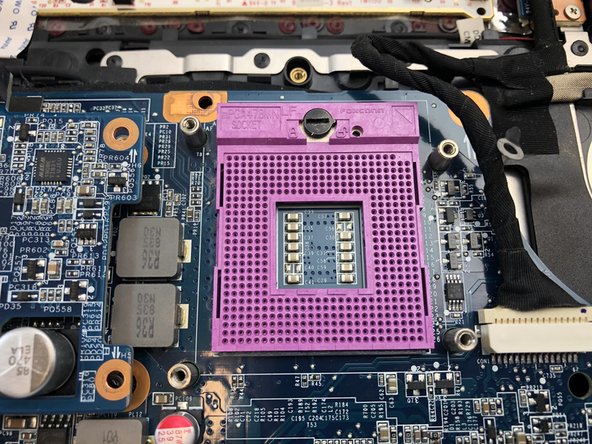
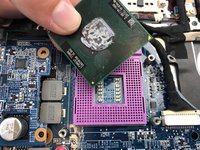
    2. Sony Vaio PCG-3C2L CPU Replacement: step 17, image 1 of 2 Sony Vaio PCG-3C2L CPU Replacement: step 17, image 2 of 2
      • Upon hearing a pop sound, the CPU can be carefully pulled out.

      Ask FixBot

      Add Comment

Conclusion

To reassemble your device, follow these instructions in reverse order.

Cancel: I did not complete this guide.

One other person completed this guide.

0 Guide Comments

Add Comment

View Statistics:

Past 24 Hours: 1

Past 7 Days: 9

Past 30 Days: 37

All Time: 2,392