Free Shipping on Domestic Orders $75+

Sony Vaio PCG-31311L Motherboard Replacement

What you need

    1. Sony Vaio PCG-31311L Motherboard Replacement, Keyboard: step 1, image 1 of 2 Sony Vaio PCG-31311L Motherboard Replacement, Keyboard: step 1, image 2 of 2
      • Start with device closed, powered off, and upside down.

      • Locate 3 screws on the bottom plate and unscrew

      • These screws do not detach from the bottom plate.

      Ask FixBot

      Add Comment

    2. Sony Vaio PCG-31311L Motherboard Replacement: step 2, image 1 of 2 Sony Vaio PCG-31311L Motherboard Replacement: step 2, image 2 of 2
      • Use a plastic opening tool to pry up on the plate and remove from device.

      Ask FixBot

      Add Comment

    3. Sony Vaio PCG-31311L Motherboard Replacement: step 3, image 1 of 1
      • Locate screw labeled "KB" and remove.

      Ask FixBot

      Add Comment

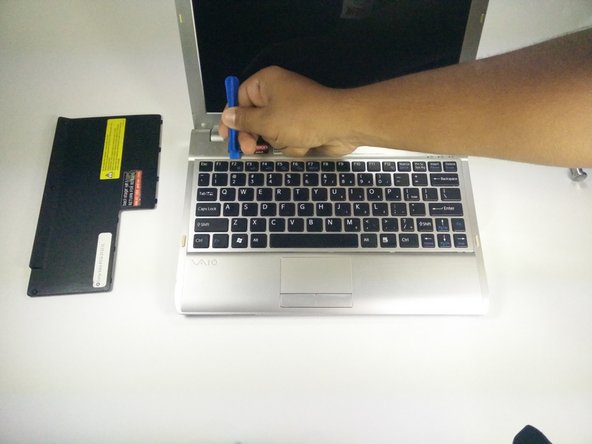
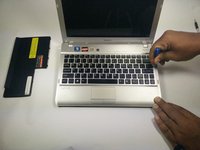
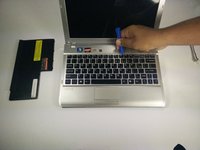
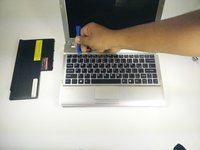
    4. Sony Vaio PCG-31311L Motherboard Replacement: step 4, image 1 of 3 Sony Vaio PCG-31311L Motherboard Replacement: step 4, image 2 of 3 Sony Vaio PCG-31311L Motherboard Replacement: step 4, image 3 of 3
      • Use a plastic opening tool tool to pry around the edge of the keyboard.

      Ask FixBot

      Add Comment

    5. Sony Vaio PCG-31311L Motherboard Replacement: step 5, image 1 of 3 Sony Vaio PCG-31311L Motherboard Replacement: step 5, image 2 of 3 Sony Vaio PCG-31311L Motherboard Replacement: step 5, image 3 of 3
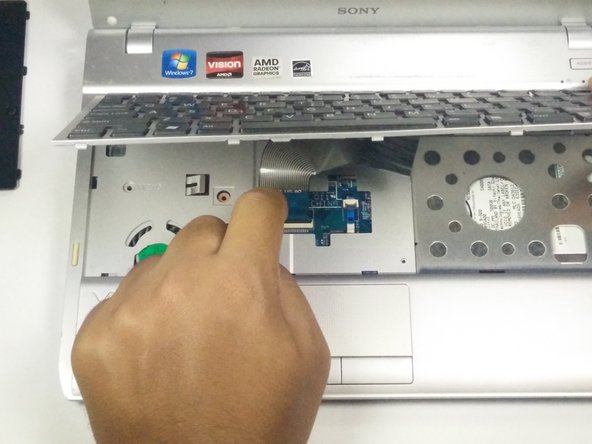
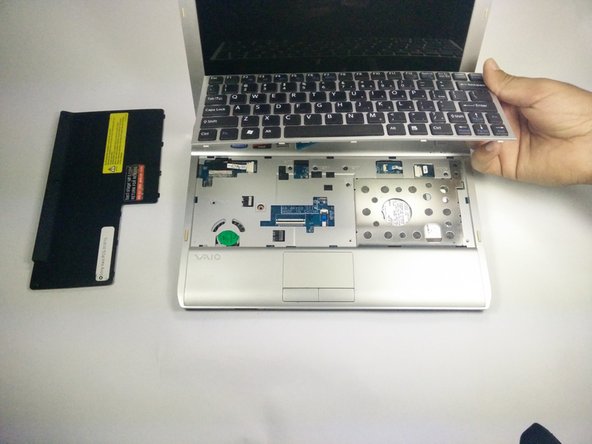
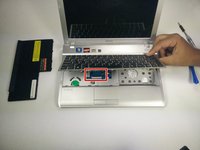
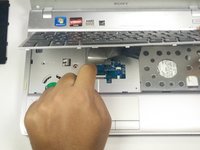
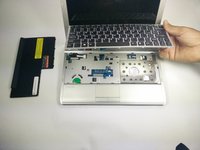
      • Once detached, tilt the keyboard forward, exposing a blue ribbon cable.

      • Place finger on black tab and pull back. Then, give a gentle tug on the ribbon cable and it will detach.

      • Once the ribbon cable has been detached, lift the keyboard away from the device.

      Ask FixBot

      Add Comment

    1. Sony Vaio PCG-31311L Motherboard Replacement, Motherboard: step 6, image 1 of 2 Sony Vaio PCG-31311L Motherboard Replacement, Motherboard: step 6, image 2 of 2
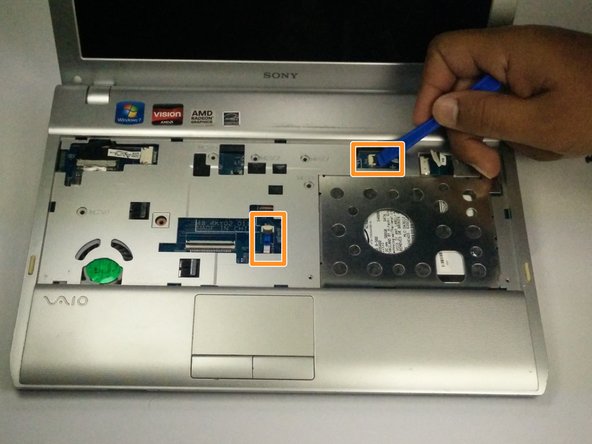
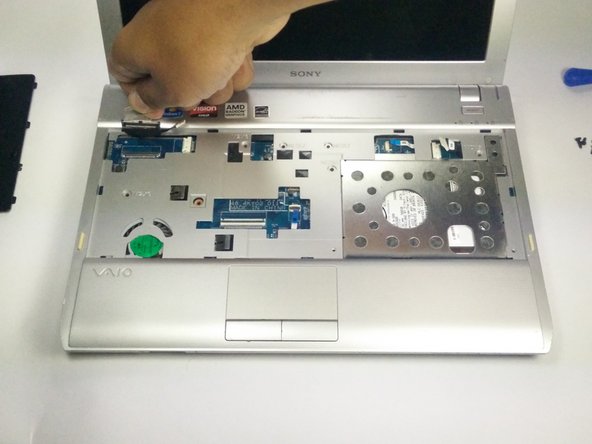
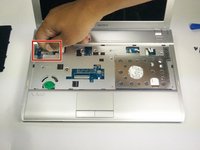
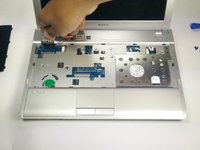
      • Use the plastic opening tool to pull back the ribbon cables attached to the motherboard

      • Use the plastic opening tool to pop up the black tabs and pull the remaining ribbon cables.

      Ask FixBot

      Add Comment

    2. Sony Vaio PCG-31311L Motherboard Replacement: step 7, image 1 of 2 Sony Vaio PCG-31311L Motherboard Replacement: step 7, image 2 of 2
      • Locate the LCD ribbon cable

      • Pull up and away from device to detach the LCD ribbon cable.

      Ask FixBot

      Add Comment

    3. Sony Vaio PCG-31311L Motherboard Replacement: step 8, image 1 of 3 Sony Vaio PCG-31311L Motherboard Replacement: step 8, image 2 of 3 Sony Vaio PCG-31311L Motherboard Replacement: step 8, image 3 of 3
      • Close and flip over laptop.

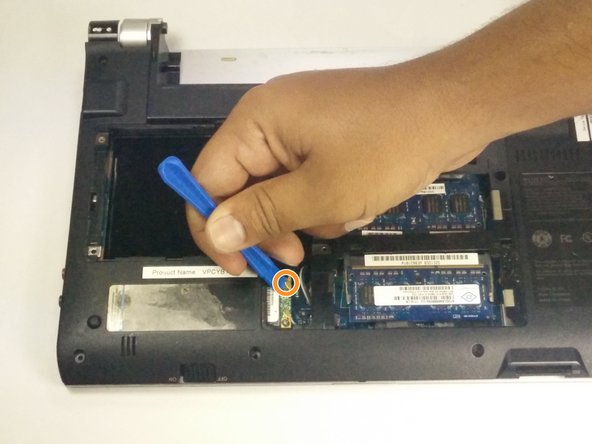
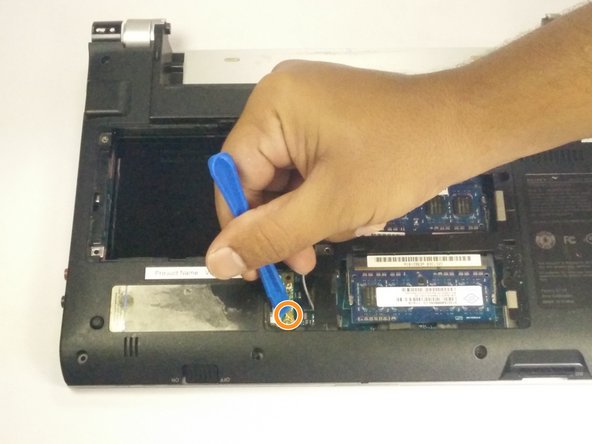
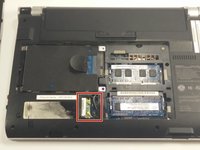
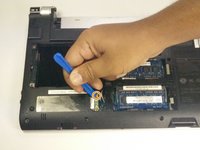
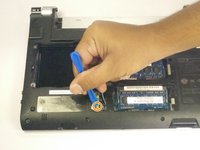
      • Locate the WiFi network card.

      • Use the plastic opening tool to pry up the two connectors.

      Ask FixBot

      Add Comment

    4. Sony Vaio PCG-31311L Motherboard Replacement: step 9, image 1 of 2 Sony Vaio PCG-31311L Motherboard Replacement: step 9, image 2 of 2
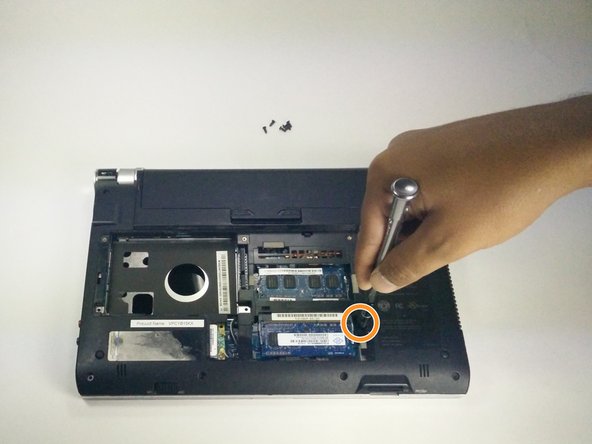
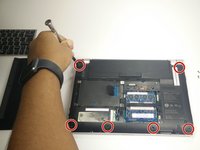
      • Locate the 6 screws on the bottom and remove.

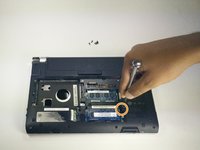
      • Remove the final screw in the center to release the motherboard from the case.

      Ask FixBot

      Add Comment

Conclusion

To reassemble your device, follow these instructions in reverse order.

Cancel: I did not complete this guide.

One other person completed this guide.

Tyler

Member since: 08/24/16

69 Reputation

5 Guides authored

Team

USF Tampa, Team 1-1, Lacy Fall 2016 Member of USF Tampa, Team 1-1, Lacy Fall 2016

USFT-LACY-F16S1G1

5 Members

60 Guides authored

0 Guide Comments

Add Comment

View Statistics:

Past 24 Hours: 0

Past 7 Days: 6

Past 30 Days: 26

All Time: 2,199