Free Shipping on Domestic Orders $75+

Sony VAIO VPCF 132FX Bottom Case Replacement

What you need

    1. Sony VAIO VPCF 132FX Bottom Case Replacement, Battery: step 1, image 1 of 1
      • Remove all wires then flip the laptop

      Ask FixBot

      Add Comment

    2. Sony VAIO VPCF 132FX Bottom Case Replacement: step 2, image 1 of 2 Sony VAIO VPCF 132FX Bottom Case Replacement: step 2, image 2 of 2
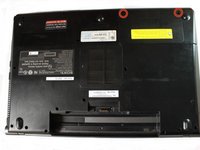
      • Remove the battery

      Ask FixBot
      Add Comment

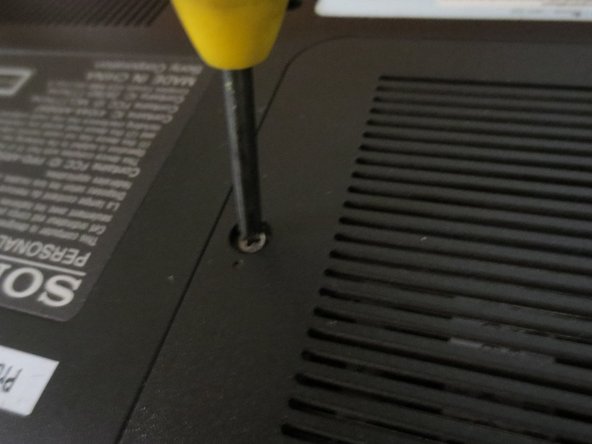
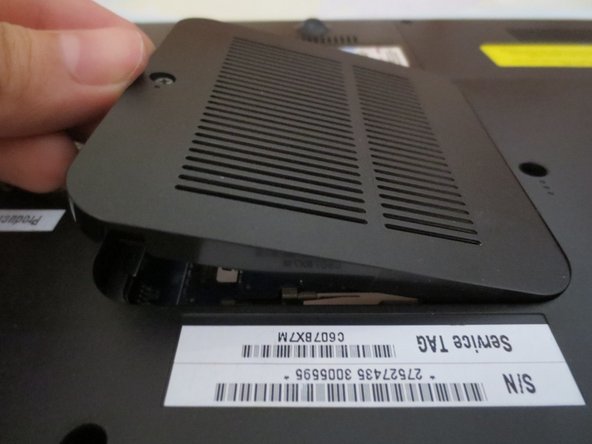
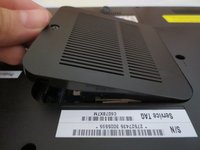
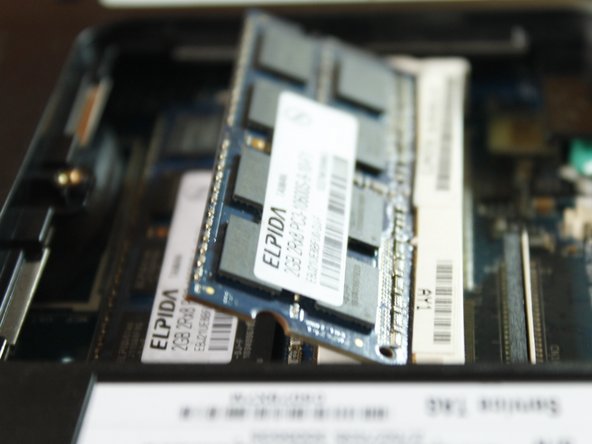
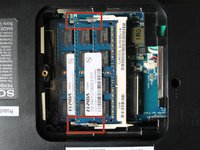
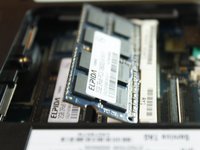
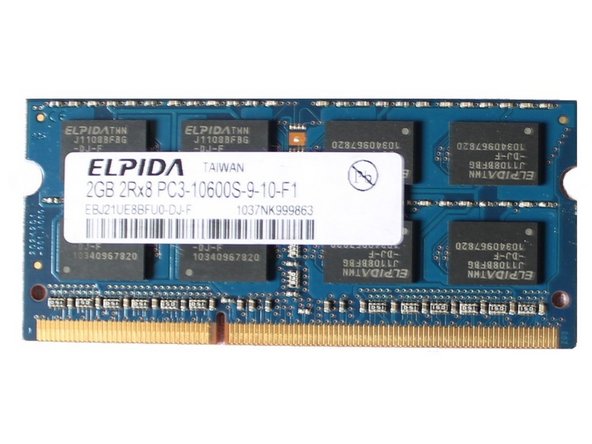
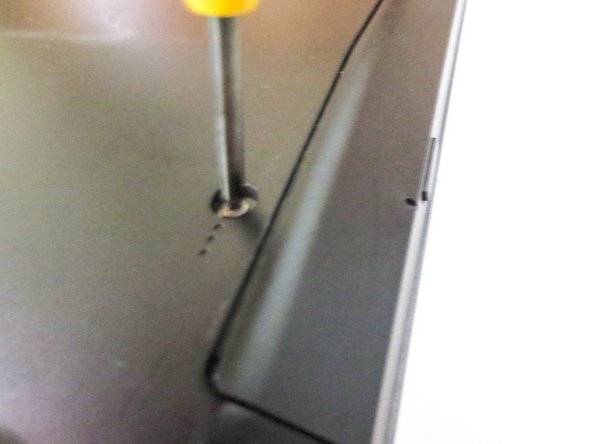
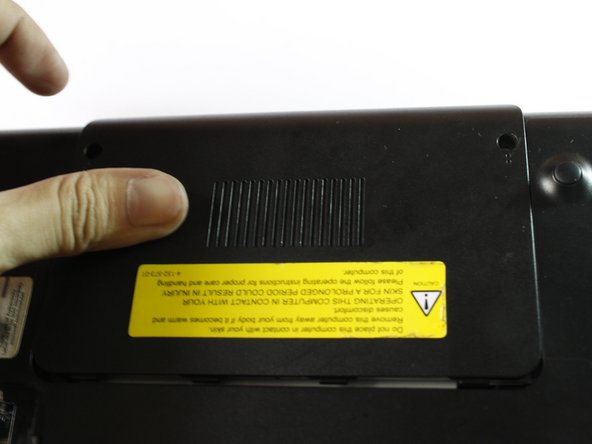
    1. Sony VAIO VPCF 132FX Bottom Case Replacement, RAM: step 3, image 1 of 3 Sony VAIO VPCF 132FX Bottom Case Replacement, RAM: step 3, image 2 of 3 Sony VAIO VPCF 132FX Bottom Case Replacement, RAM: step 3, image 3 of 3
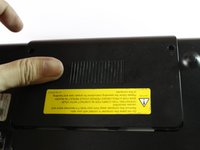
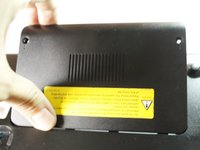
      • Flip the Laptop, and unscrew the RAM cover.

      Ask FixBot
      Add Comment

    2. Sony VAIO VPCF 132FX Bottom Case Replacement: step 4, image 1 of 2 Sony VAIO VPCF 132FX Bottom Case Replacement: step 4, image 2 of 2
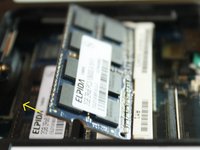
      • Unlock the RAM by pulling the locks outward.

      • You'll know if its unlocked if it flips up in 45 degrees.

      Ask FixBot
      Add Comment

    3. Sony VAIO VPCF 132FX Bottom Case Replacement: step 5, image 1 of 2 Sony VAIO VPCF 132FX Bottom Case Replacement: step 5, image 2 of 2
      • Pull the outer RAM. Repeat Step 4 and 5 for the other RAM.

      • When returning, put the RAM back in at 45 degree angle, NOT 90 degree angle.

      Ask FixBot

      Add Comment

    1. Sony VAIO VPCF 132FX Bottom Case Replacement, CD/DVD Drive: step 6, image 1 of 2 Sony VAIO VPCF 132FX Bottom Case Replacement, CD/DVD Drive: step 6, image 2 of 2
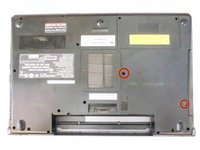
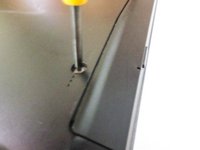
      • Remove the 2 screws holding the CD/DVD Drive.

      Ask FixBot
      Add Comment

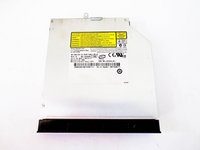
    2. Sony VAIO VPCF 132FX Bottom Case Replacement: step 7, image 1 of 2 Sony VAIO VPCF 132FX Bottom Case Replacement: step 7, image 2 of 2
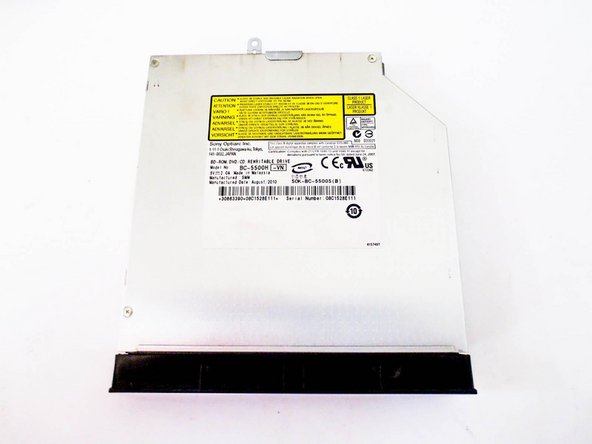
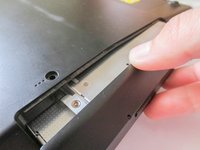
      • Slide the CD/DVD Drive out.

      Ask FixBot
      Add Comment

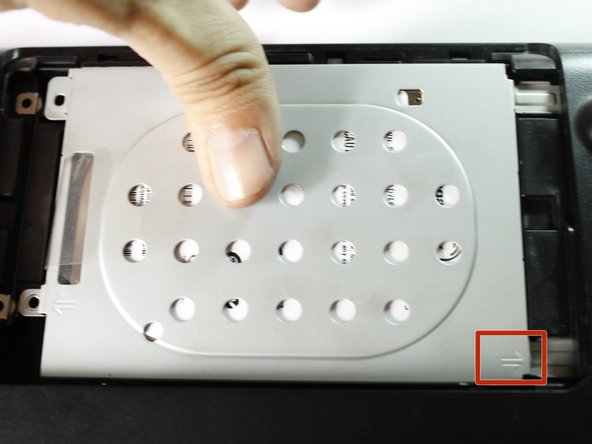
    1. Sony VAIO VPCF 132FX Bottom Case Replacement, Hard Disk Drive / Solid State Drive: step 8, image 1 of 3 Sony VAIO VPCF 132FX Bottom Case Replacement, Hard Disk Drive / Solid State Drive: step 8, image 2 of 3 Sony VAIO VPCF 132FX Bottom Case Replacement, Hard Disk Drive / Solid State Drive: step 8, image 3 of 3
      • Remove the screws.

      • Slide the HD cover outward then lift.

      Ask FixBot
      Add Comment

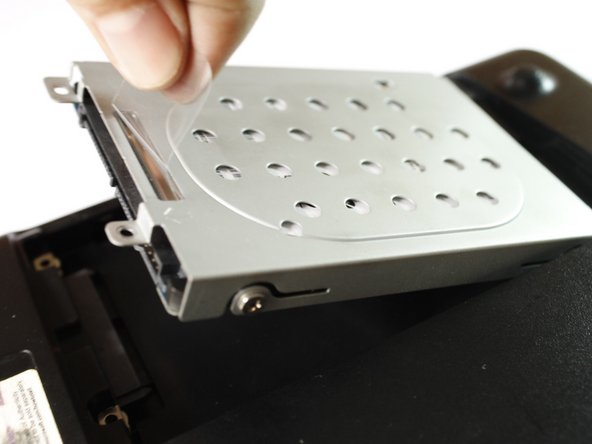
    2. Sony VAIO VPCF 132FX Bottom Case Replacement: step 9, image 1 of 3 Sony VAIO VPCF 132FX Bottom Case Replacement: step 9, image 2 of 3 Sony VAIO VPCF 132FX Bottom Case Replacement: step 9, image 3 of 3
      • Remove the screws.

      • Slide to where the arrow points to unlock the HD.

      • Hold it at the side. Never touch the circuits.

      Ask FixBot
      Add Comment

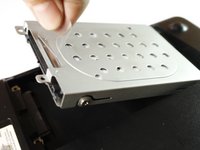
    3. Sony VAIO VPCF 132FX Bottom Case Replacement: step 10, image 1 of 1
      • Remove the 4 screws at the side and remove the HDD/SSD

      Ask FixBot
      Add Comment

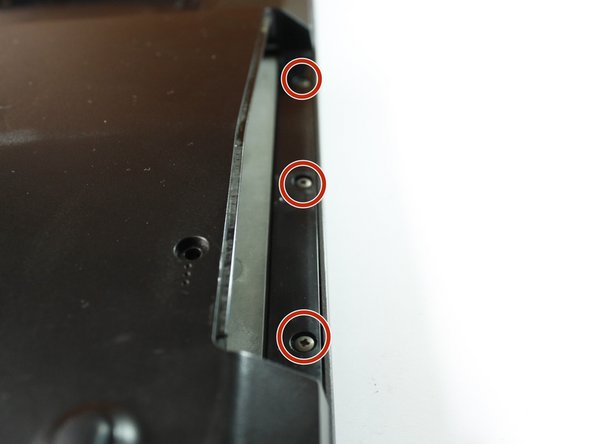
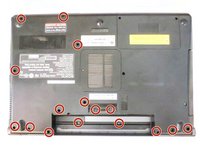
    1. Sony VAIO VPCF 132FX Bottom Case Replacement, Bottom Case: step 11, image 1 of 2 Sony VAIO VPCF 132FX Bottom Case Replacement, Bottom Case: step 11, image 2 of 2
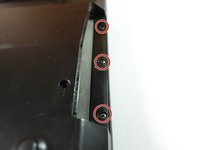
      • Remove all the other screws.

      • Dont forget the 3 screws after you remove the CD/DVD Drive.

      Ask FixBot

      Add Comment

Conclusion

To reassemble your device, follow these instructions in reverse order.

Cancel: I did not complete this guide.

One other person completed this guide.

Marjorie

Member since: 12/23/13

2,493 Reputation

11 Guides authored

0 Guide Comments

Add Comment

View Statistics:

Past 24 Hours: 3

Past 7 Days: 17

Past 30 Days: 94

All Time: 1,190