
Sony VAIO VPCEE26FX Optical Drive Replacement

Christopher Hover and 2 other contributors
Last updated on Dec 10, 2022
Views: 946
View statistics:
- Past 24 Hours:
- 1
- Past 7 Days:
- 19
- Past 30 Days:
- 65
- All Time:
- 946
Comments: 0
No one has left comments on this guide. Will you be first?
Go to guide commentsCompleted: 0 1
No one has marked this guide "completed." Will you be the first?
1 person has marked this guide "completed." It's you — great job!
Favorites: 0 1
No one has favorited (and subscribed to) this guide. Will you be the first?
1 person has favorited (and subscribed to) this guide — and that's you!
Introduction
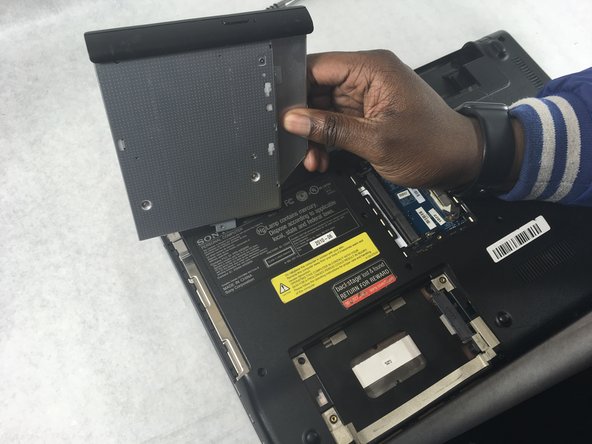
Go to step 1 ↓This guide shows how to remove/replace the CD-ROM/optical drive on the Sony VAIO VPCEE26FX laptop computer.
What you need
Tools

-
-
-
Slide the two tabs towards each other until the battery disconnects slightly from its position.
-
Carefully lift the battery out of its position away from the laptop.
-
-
-
-
-
Use a JIS #0 screwdriver to remove the 4mm screw from its place.
-
-


 Ask FixBot


To reassemble your device, follow these instructions in reverse order.

Team

UMass Dartmouth, Team S2-G3, Bailey Spring 2019 Member of UMass Dartmouth, Team S2-G3, Bailey Spring 2019
UMASSD-BAILEY-S19S2G3
3 Members
60 Guides authored
