Introduction
This guide is for users whose VAIO VGN-FW590 keyboard no longer functions. Before starting please be aware that keyboards warps easily during the removal/replacement process. If you wish to reuse/replace your keyboard be very careful and perform each step gently.
What you need
-
-
-
Turn the computer off, close the LCD screen, and insure the computer is unplugged from any outlet.
-
Turn the computer over so that the bottom of the computer is facing up and the "screen swivels" (DC in port and On button) are facing away from you.
-
Locate the battery pack between the two "screen swivels" at the top of the computer back.
 Ask FixBot
-
-
-
Locate two sliding release switches below the battery pack.
-
Slide the "Lock" release to the right toward the center of the computer.
-
Slide the "Release" switch to the left, toward the center of the computer. It must be held in place because it is spring loaded.
-
-
-
While holding the "Release" switch toward the center of the computer, press on the raised portion of the battery pack away from you. The battery pack will pop up.
-
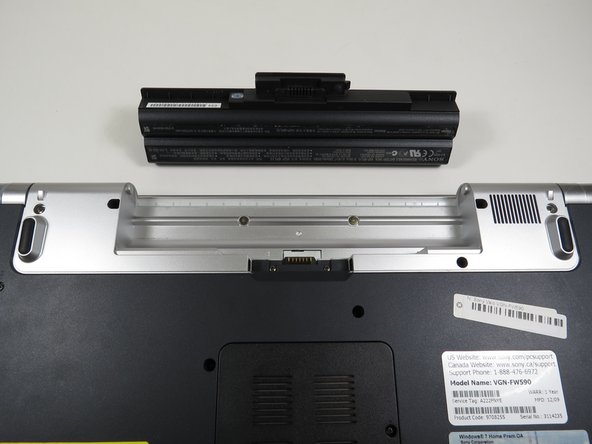
Once the battery pack has popped out of its compartment, lift it out of the computer.
-
-
-
-
-
-
Remove the circled screws using the Phillips #0 screwdriver.
-
The outer two screws are 7.7mm
-
The center two screws are 2.5mm
-
The bottom screw is 7.6mm
-
-
-
Remove the audio panel above the keyboard.
-
Lift one corner gently with a flat tool or fingernail.
-
Pull the rest of the panel gently out by hand.
-
-
-
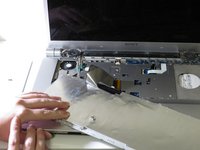
Lift the keyboard gently, starting with one of the top corners.
-
Pull keyboard gently from body of computer to prevent warping or breakage.
-
-
-
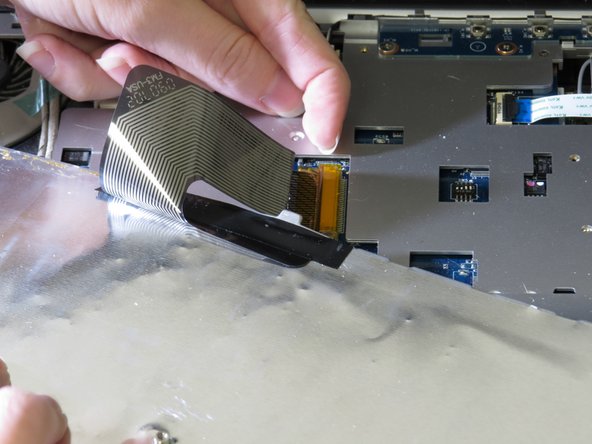
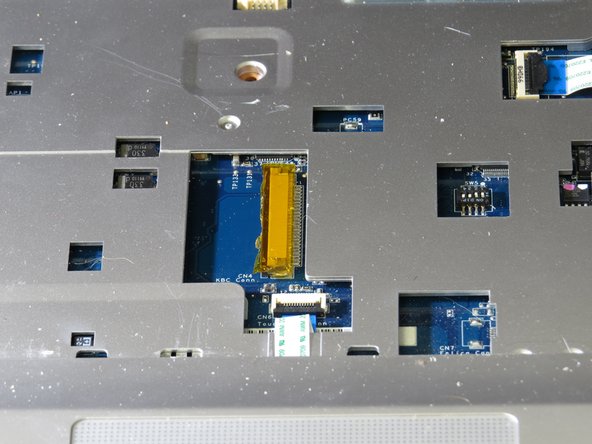
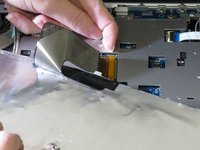
Locate the connector ribbon behind the keyboard.
-
Gently pull the ribbon from the locking device. It may take a few tries.
-
-




To reassemble your device, follow these instructions in reverse order.

Team

University of North Texas, Team S1-G3, Boettger Fall 2017 Member of University of North Texas, Team S1-G3, Boettger Fall 2017
UNT-BOETTGER-F17S1G3
3 Members
60 Guides authored
