Free Shipping on Domestic Orders $75+

Sony VAIO PCG-F580 Optical Drive Replacement

What you need

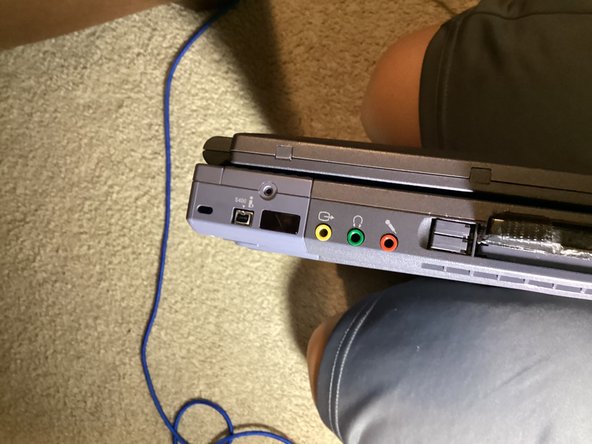
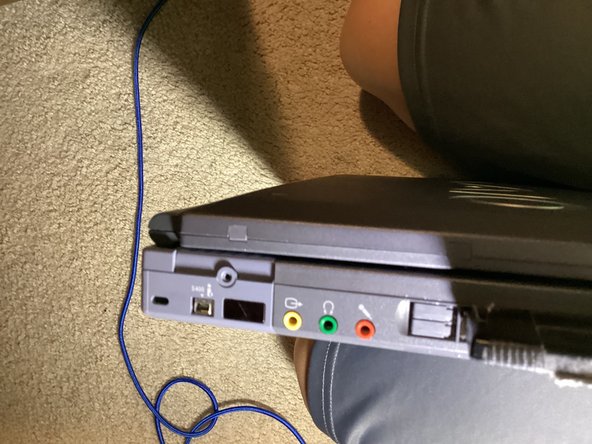
    1. Sony VAIO PCG-F580 Optical Drive Replacement, How to Open Sony VAIO PCG-F580: step 1, image 1 of 3 Sony VAIO PCG-F580 Optical Drive Replacement, How to Open Sony VAIO PCG-F580: step 1, image 2 of 3 Sony VAIO PCG-F580 Optical Drive Replacement, How to Open Sony VAIO PCG-F580: step 1, image 3 of 3
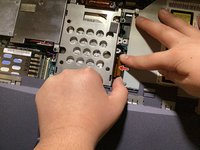
      • On the side with the audio ports, there is a Philips screw. Unscrew it.

      • Push the loose plastic piece, this will loosen the daughterboard from the main case.

      Ask FixBot

      Add Comment

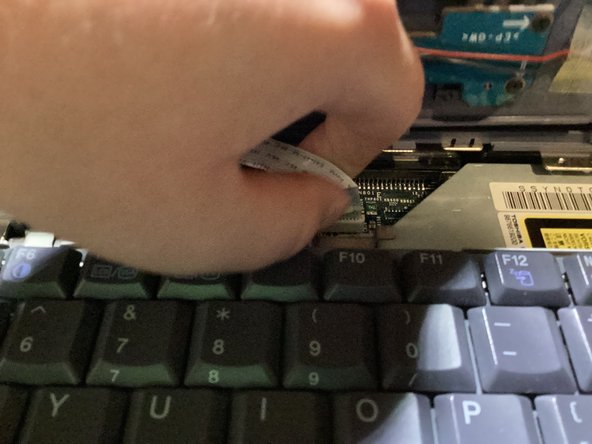
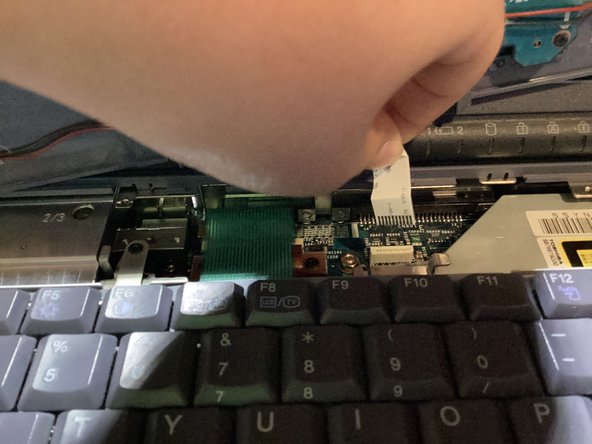
    2. Sony VAIO PCG-F580 Optical Drive Replacement, Taking Off the Daughterboard: step 2, image 1 of 3 Sony VAIO PCG-F580 Optical Drive Replacement, Taking Off the Daughterboard: step 2, image 2 of 3 Sony VAIO PCG-F580 Optical Drive Replacement, Taking Off the Daughterboard: step 2, image 3 of 3
      • Open the lid, and pull up on the daughterboard enough to see the ribbon cable.

      • Pull up on the ribbon cable to release it. Don't worry, if you pull it straight up, there will be no damage.

      • Set the daughterboard to the side for now.

      Ask FixBot

      Add Comment

    3. Sony VAIO PCG-F580 Optical Drive Replacement, The Keyboard: step 3, image 1 of 3 Sony VAIO PCG-F580 Optical Drive Replacement, The Keyboard: step 3, image 2 of 3 Sony VAIO PCG-F580 Optical Drive Replacement, The Keyboard: step 3, image 3 of 3
      • Unscrew the Philips screw at the top of the keyboard.

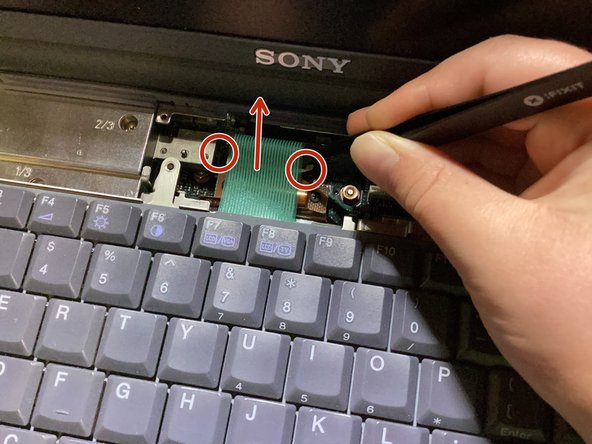
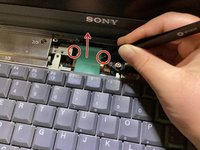
      • Remove the ribbon cable by pulling up on the plastic tabs on either sides of the socket with tweezers, then lifting it straight out.

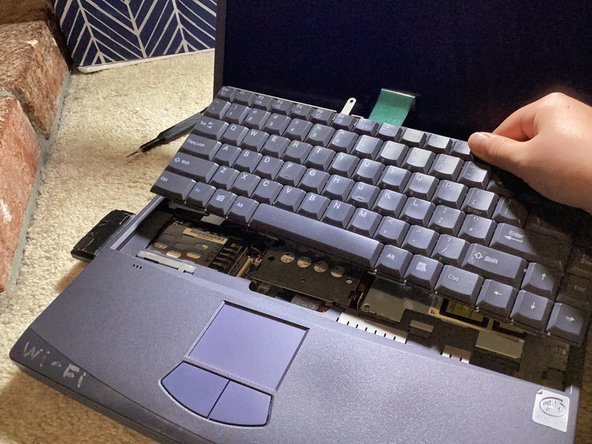
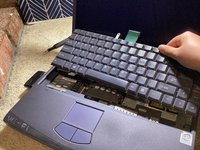
      • Lift the keyboard up at an angle, towards the screen.

      • Note: If you hear what sounds like peeling, that's normal.

      Ask FixBot

      Add Comment

    1. Sony VAIO PCG-F580 Optical Drive Replacement, The Drive: step 4, image 1 of 3 Sony VAIO PCG-F580 Optical Drive Replacement, The Drive: step 4, image 2 of 3 Sony VAIO PCG-F580 Optical Drive Replacement, The Drive: step 4, image 3 of 3
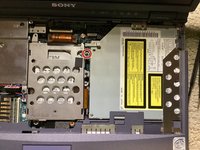
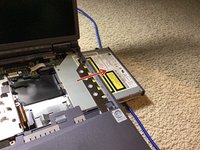
      • Unscrew the screw highlighted.

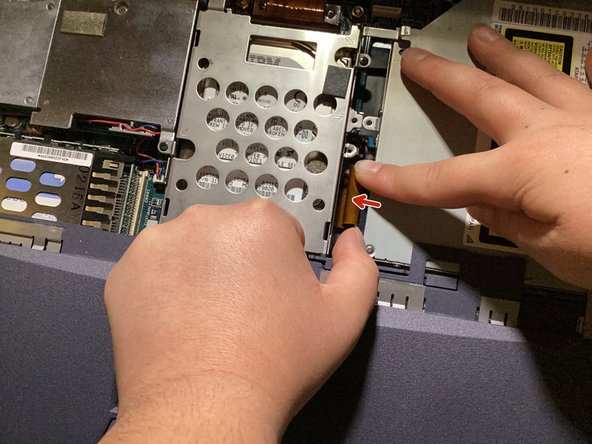
      • Pull the connector out of the end of the optical drive.

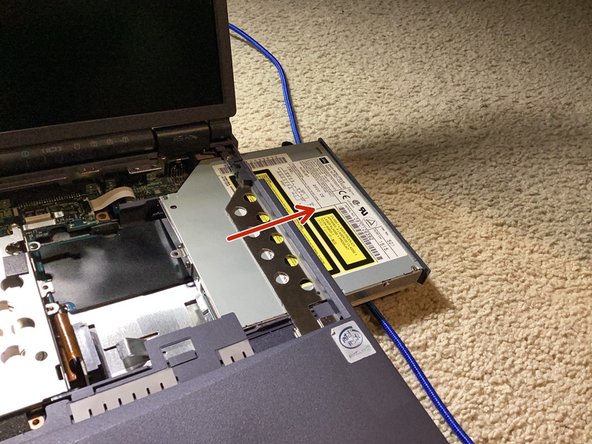
      • Push the drive right.

      Ask FixBot

      Add Comment

Conclusion

To reassemble your device, follow these instructions in reverse order. If you have any problems, please let me know in the comments.

Cancel: I did not complete this guide.

CI S

Member since: 01/11/25

659 Reputation

5 Guides authored

0 Guide Comments

Add Comment

View Statistics:

Past 24 Hours: 0

Past 7 Days: 2

Past 30 Days: 15

All Time: 185