
Sony VAIO PCG-F360 Speaker Panel Replacement

Hannah Millea and one other contributor
Last updated on Jun 23, 2014
Views: 628
View statistics:
- Past 24 Hours:
- 2
- Past 7 Days:
- 23
- Past 30 Days:
- 96
- All Time:
- 628
Comments: 0
No one has left comments on this guide. Will you be first?
Go to guide commentsCompleted: 0 1
No one has marked this guide "completed." Will you be the first?
1 person has marked this guide "completed." It's you — great job!
Favorites: 0 1
No one has favorited (and subscribed to) this guide. Will you be the first?
1 person has favorited (and subscribed to) this guide — and that's you!
Better Introduction
Improve this guide by completing or revising its introduction.
What you need
Tools

-
-
-
Position the laptop screen-side down as shown.
-
In this position the battery housing will be located on the right hand side.
 Ask FixBot
-
-
-
-
The battery is now removed and it is safe to move on to uninstalling other components.
-
-
-
-
-
There are two screws on the left hand side of the laptop near the IR receiver. remove them using a #00 Philips head screwdriver.
-
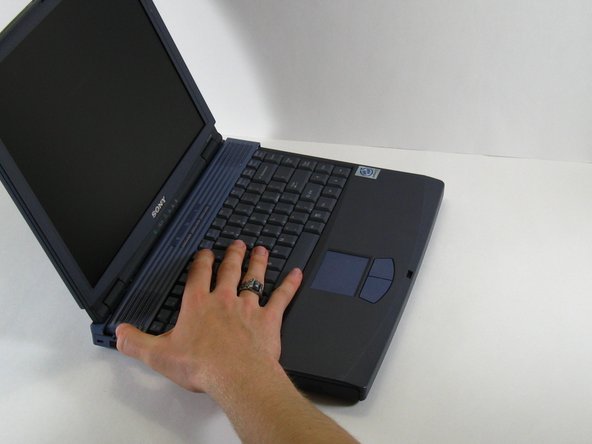
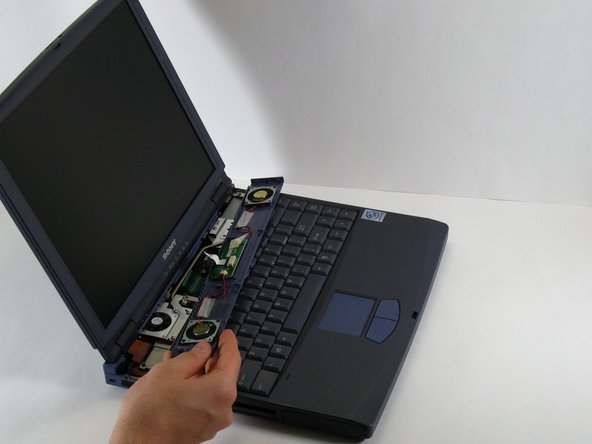
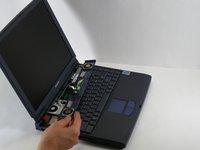
Slide the speaker panel towards the left, then carefully flip it over onto the keyboard.
-
Make sure not to pull the speaker panel away from the computer just yet - it is still connected!
-
-
-
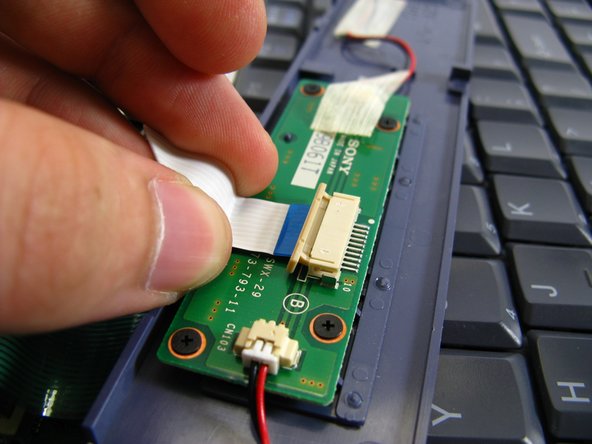
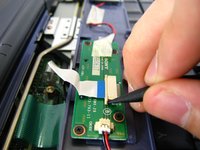
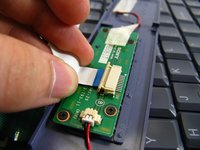
Push the beige tab in the direction of the ribbon. it should only move a small amount
-
Remove the ribbon by gently pulling on it, there should be little or no resistance.
-
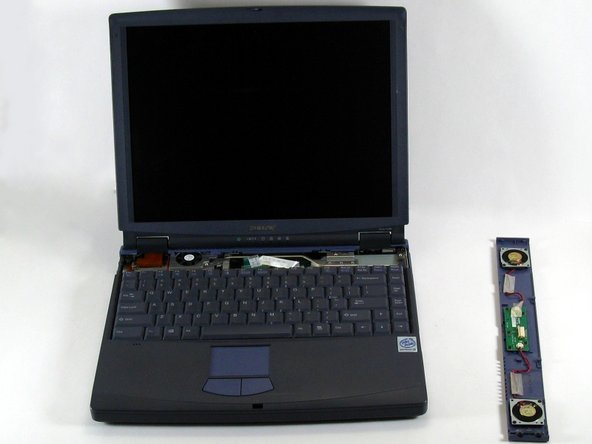
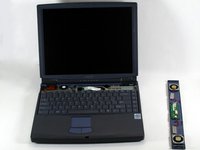
Now the speaker panel can be set aside.
-
-



To reassemble your device, follow these instructions in reverse order.

Team

UMass Dartmouth, Team 3-5, Calaway Spring 2014 Member of UMass Dartmouth, Team 3-5, Calaway Spring 2014
UMASSD-CALAWAY-S14S3G5
2 Members
48 Guides authored
