Introduction
Are your Sony ULT Wear having trouble with wireless features, noise cancellation, or other advanced features such as enhanced bass? Or simply a short battery life? This could mean your battery has depleted. Although they can still work in passive mode, a lot of its unique features will not be active.
To safely remove the battery, follow our detailed battery replacement guide. Remember to be cautious of damaging any internal cable or puncturing the battery as this can be a hazard.
What you need
-
-
Remove the ear cushion carefully from the right can.
-
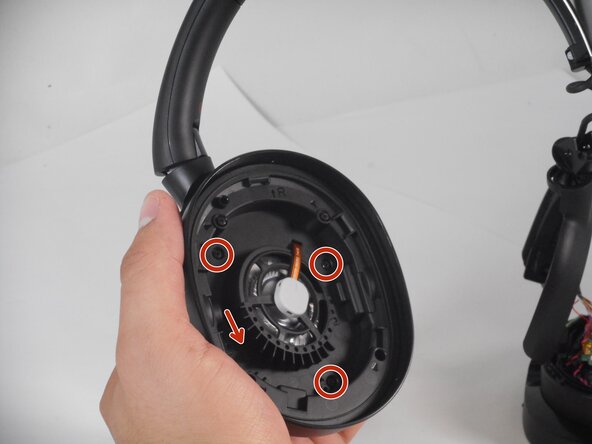
Only remove the four screws from the center of the can using a Phillips #00 screwdriver.
 Ask FixBot
-
-
-
-
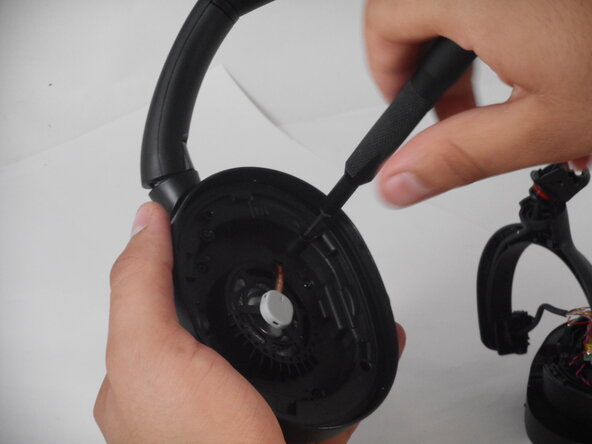
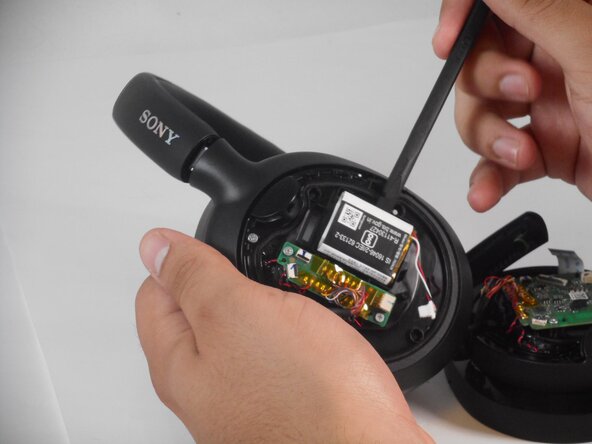
Flip the right cuff of the headphones so the can lays flat.
-
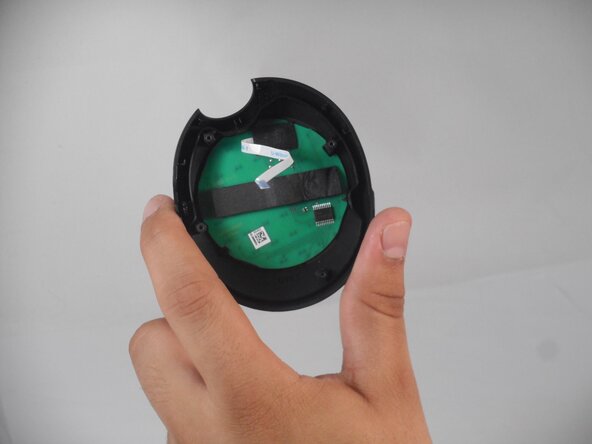
Take your spudger and carefully pry the cover off.
-
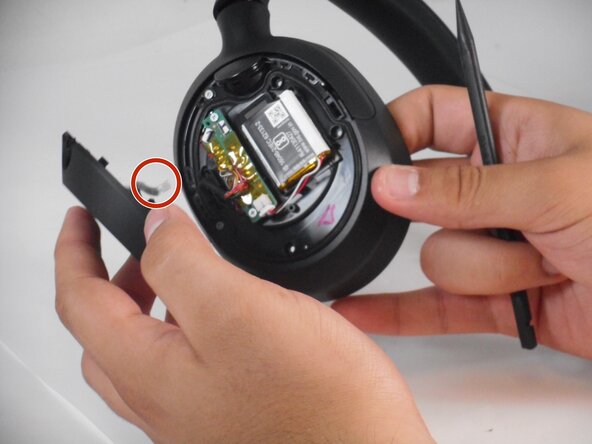
Use your tweezers to lift the small black ZIF locking flap and disconnect the ribbon cable.
-
-
-
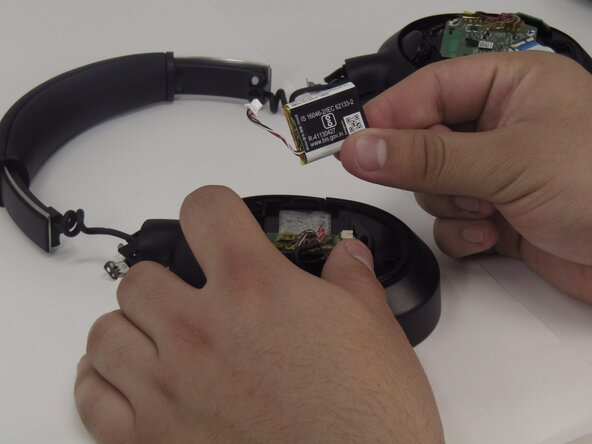
Use tweezers to pull the white battery connector directly out of its socket.
-
Use a hairdryer to lightly heat the battery.
-
Place the flat end of a spudger under the battery to pry it slowly off the adhesive.
-


To reassemble your device, follow the above steps in reverse order.
For optimal performance, after completing this guide, calibrate your newly installed battery.
Take your e-waste to an R2 or e-Stewards certified recycler.
Repair didn’t go as planned? Try some basic troubleshooting or ask our Answers community for help.

Team

University of Memphis, Team 2-3, Sneed Spring 2025 Member of University of Memphis, Team 2-3, Sneed Spring 2025
UM-SNEED-S25S2G3
3 Members
8 Guides authored