Introduction
If your Sony TCM-450 back cabinet is broken or you need to get inside the device then use the guide to remove the back cabinet. The back cabinet is the main piece protecting the speaker and circuit board. To remove the back cabinet it is simple and easy.
What you need
-
-
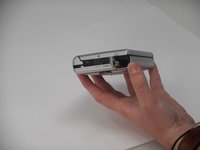
Remove the two 3.5 mm Phillips #00 screws from the bottom of the device.
 Ask FixBot
-
-
-
-
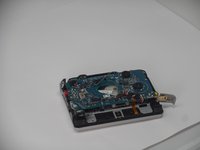
Open the lid, and carefully remove the two 9.7 mm Phillips #0 screws from the inside of the front cabinet.
-
-
-
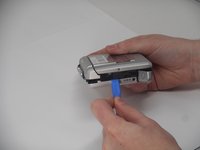
Open the battery cover, and gently remove the back cabinet with the iFixit Opening tool.
-


To reassemble your device, follow the above steps in reverse order.
Repair didn’t go as planned? Try some basic troubleshooting or ask our Answers community for help.

Team

University of Memphis, Team 1-3, Sneed Fall 2024 Member of University of Memphis, Team 1-3, Sneed Fall 2024
UM-SNEED-F24S1G3
4 Members
8 Guides authored