Introduction
If your Sony SRS-XG300 (model XG300) is producing distorted audio or no audio, use this guide to replace the tweeters.
Before using this guide, review the troubleshooting pages to ensure the best solution is replacing the woofers. The speaker driver in most Bluetooth speakers is what produces sound (sometimes referred to simply as the “speaker”). The speaker driver converts electrical signals into sound.
Unlike most speakers, the Sony SRS-XG300 uses an X-Balanced Speaker Unit as the speaker driver. Many individual parts make up the unit, including the woofers. Woofers in the SRS-XG300 speaker system produce low bass frequencies which enhances the overall audio. This makes music have more depth and richness. Woofers work with other parts like tweeters to create a complete and balanced sound.
Faulty woofers often cause noticeable changes to sound quality in a speaker. Users may hear scratchy, distorted, or harsh shrill sounds. In other cases, sound quality may sound fine at low volumes but distort and crackle at higher levels.
What you need
-
-
With the Sony label on the left, roll the speaker horizontally to the bottom of the speaker with the rubber stands.
-
Remove four 12 mm screws with a Phillips #1 screwdriver.
-
Remove the loose rubber feet.
 Ask FixBot
-
-
-
Insert the metal spudger tool at 90-degree angle into the right part of seam.
-
Pry off the top part of the fabric cover using the metal spudger.
-
Follow the seam to completely detach the top part of the fabric cover.
-
Repeat to remove the bottom part of the fabric cover.
-
-
-
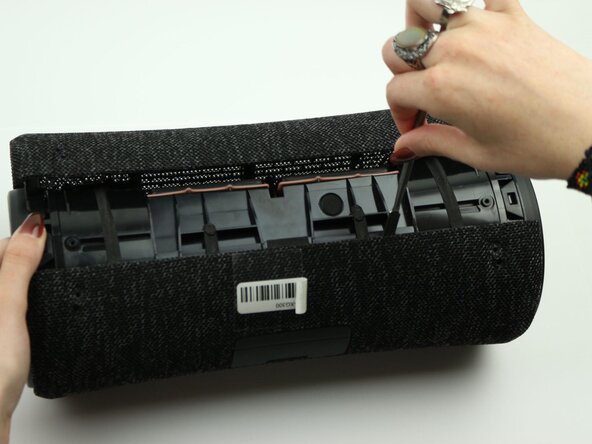
Unclip all six trapezoid-shaped notches around the rim of the speaker using the metal spudger.
-
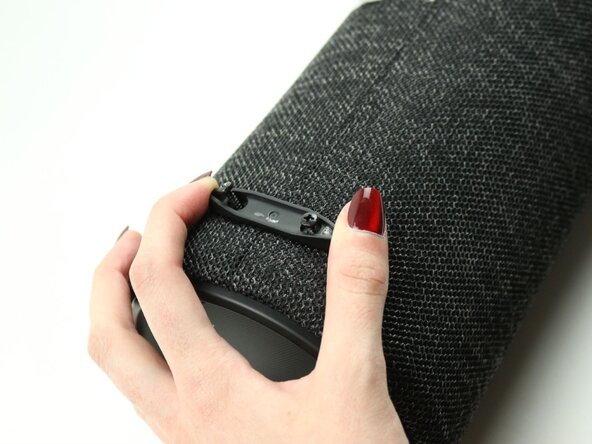
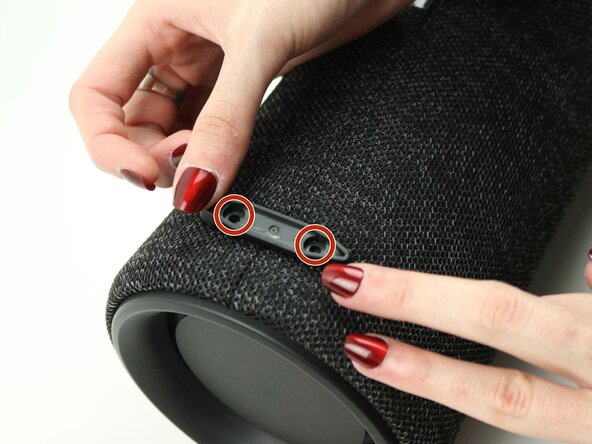
Remove the speaker mounting ring.
-
Repeat the same steps on the other end of the speaker with the power button board.
-
-
-
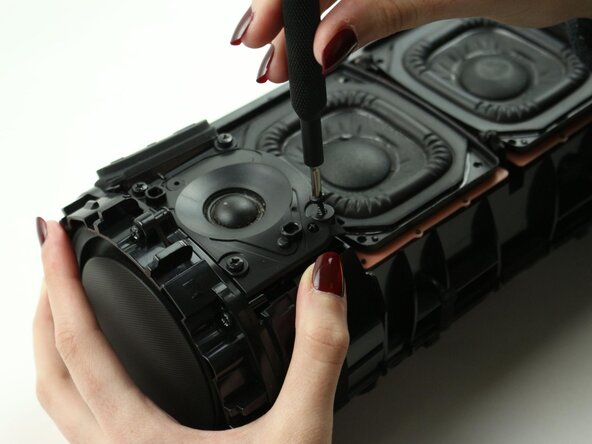
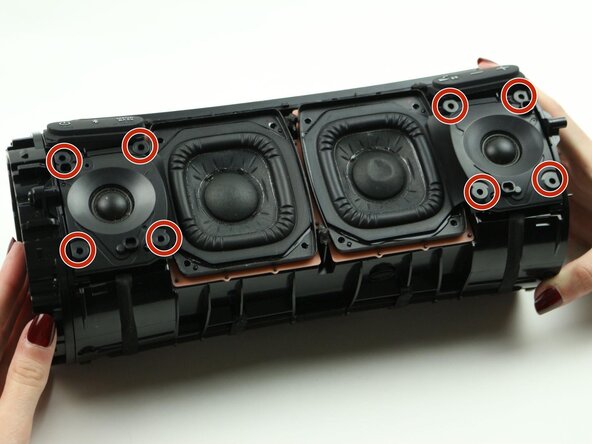
Remove the four 12 mm screws on the corners of each tweeter using the Phillips #1 screwdriver.
-
-
-
-
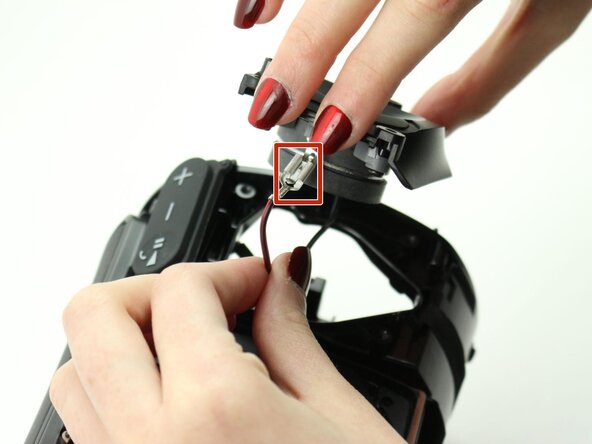
Lift the right tweeter up to expose the connected cables at the top and bottom of the right tweeter.
-
Pinch down on the metal tab and pull outward to disconnect each cable.
-
Lift the right tweeter up and out of the case.
-
-
-
Remove the six 12 mm screws on the rim of the radiator using the Phillips #1 screwdriver.
-
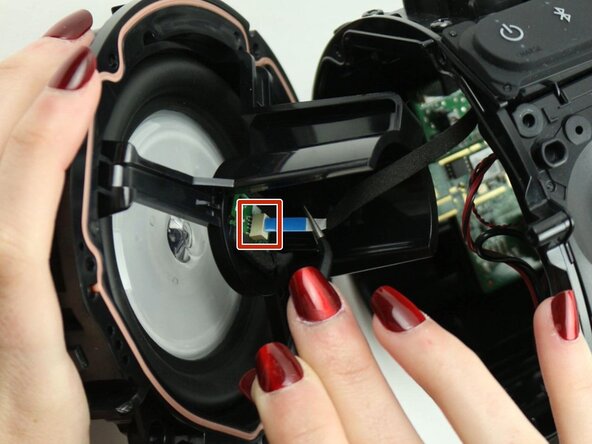
Uncap the left bass radiator. Detach the blue ribbon cable from the bass radiator.
-
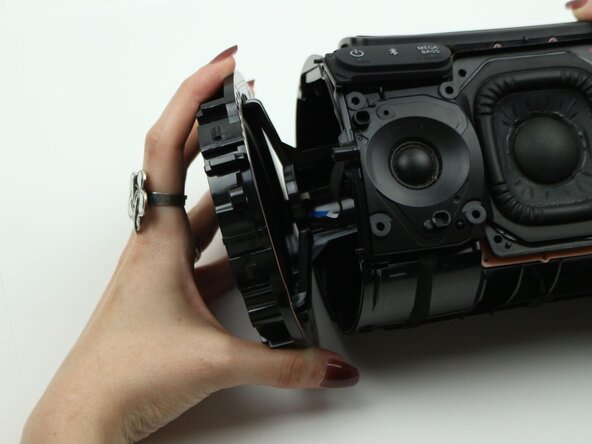
Remove the left bass radiator.
-
-
-
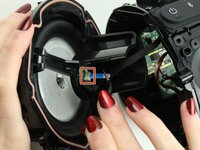
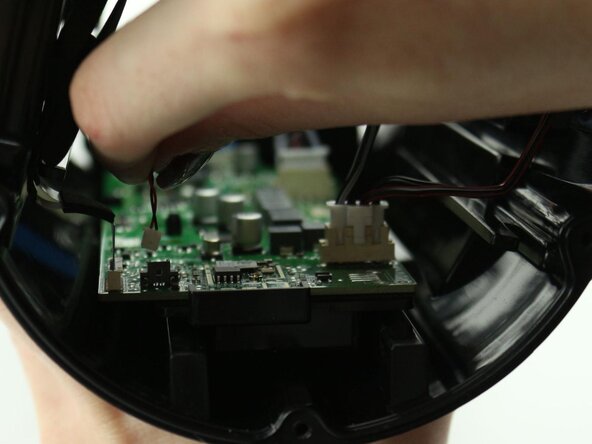
Disconnect the microphone by pulling on the white end of the microphone cable.
-
-
-
Lift the left tweeter up to expose the connected cables at the top and bottom of the left tweeter.
-
Pinch down on the metal tab and pull outward to disconnect each cable.
-
Lift the left tweeter up and out of the case.
-
-
-
Remove eight 12 mm screws on the woofers using a Phillips #1 screwdriver.
-
-
-
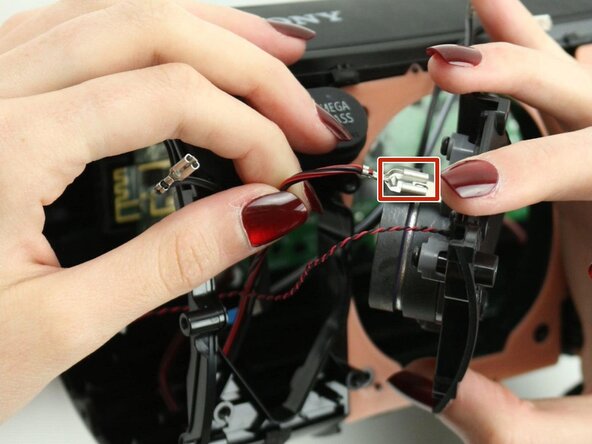
Lift the right woofer to expose the two connected cables at the bottom of the right woofer.
-
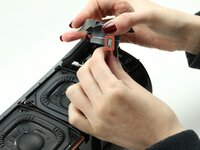
Disconnect both cables by pinching down on the metal end and pulling outward.
-
-
-
Lift the left woofer to expose the two connected cables at the bottom of the right woofer.
-
Disconnect both cables by pinching down on the metal end and pulling outward.
-














To reassemble your device, follow these instructions in reverse order.
Cancel: I did not complete this guide.
One other person completed this guide.

Team

Sam Houston State, Team 7-3, Thornton Spring 2025 Member of Sam Houston State, Team 7-3, Thornton Spring 2025
SHSU-THORNTON-S25S7G3
3 Members
5 Guides authored
