Free Shipping on Domestic Orders $75+

Sony SRS-XB30 Wires Replacement

What you need

  1. Sony SRS-XB30 Wires Replacement, Battery: step 1, image 1 of 1
    • To remove the speaker grill, insert the big spudger underneath it in each corner.

    • Work around the edges to pry the grill up and off.

    Ask FixBot

    Add Comment

  2. Sony SRS-XB30 Wires Replacement: step 2, image 1 of 2 Sony SRS-XB30 Wires Replacement: step 2, image 2 of 2
    • With the Sony logo facing towards you, use the medium spudger to lift the side plates from the internal frame.

    • This will need to be done on all four sides of the speaker to remove all four panels

    • This requires some effort because the adhesive is sticky.

    Ask FixBot

    Add Comment

  3. Sony SRS-XB30 Wires Replacement: step 3, image 1 of 2 Sony SRS-XB30 Wires Replacement: step 3, image 2 of 2
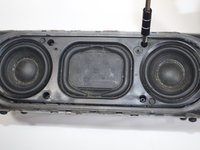
    • Locate the four screws on the now exposed front panel.

    • Using the screwdriver with bit T7, unscrew each screw (15.0 mm long).

    Ask FixBot

    Add Comment

  4. Sony SRS-XB30 Wires Replacement: step 4, image 1 of 1
    • Next, remove the four outer edge screws, located on each corner of the speaker. The outer edge of the speaker is a clear plastic.

    • Use the same T7 screwdriver head here.

    • Remove each of the four corner screws (15.0 mm long).

    Ask FixBot

    Add Comment

  5. Sony SRS-XB30 Wires Replacement: step 5, image 1 of 1
    • With a little force, carefully lift the lid of the speaker.

    • Make sure that you do not pull on the wires.

    Ask FixBot

    Add Comment

  6. Sony SRS-XB30 Wires Replacement: step 6, image 1 of 3 Sony SRS-XB30 Wires Replacement: step 6, image 2 of 3 Sony SRS-XB30 Wires Replacement: step 6, image 3 of 3
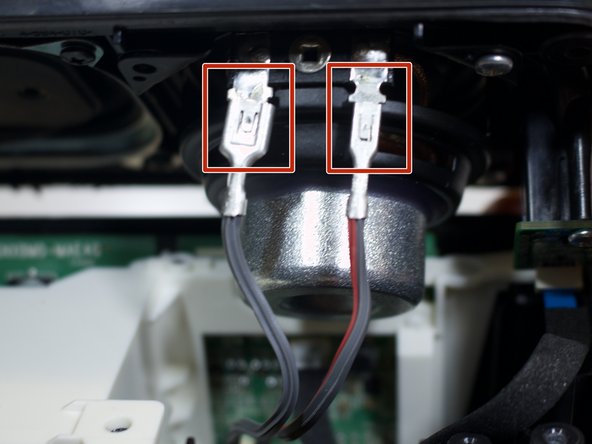
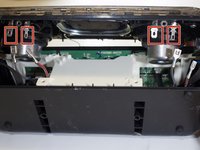
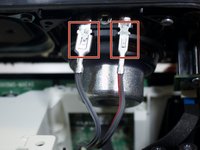
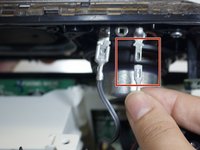
    • Unclip the four wire connectors (that are attached to the speaker lid).

    • Disconnect the thin yellow wire (attached to the speaker lid) from its port.

    Ask FixBot

    Add Comment

  7. Sony SRS-XB30 Wires Replacement: step 7, image 1 of 1
    • Separate the speaker lid from the bottom frame.

    • To prepare the speaker for the next step place the lid parallel to the frame.

    Ask FixBot

    Add Comment

  8. Sony SRS-XB30 Wires Replacement: step 8, image 1 of 1
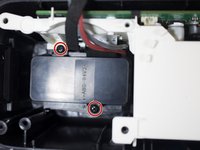
    • Locate the two silver screws (9 mm) attached to the two LED-light-chips on the speaker lid.

    • Using the screwdriver with bit PH1, unscrew each screw.

    Ask FixBot

    Add Comment

  9. Sony SRS-XB30 Wires Replacement: step 9, image 1 of 1
    • Separate the speaker lid entirely from the bottom frame.

    Ask FixBot

    Add Comment

  10. Sony SRS-XB30 Wires Replacement: step 10, image 1 of 1
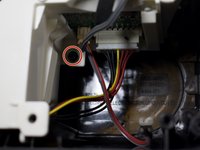
    • Remove the top screw (10 mm).

    • Use the screwdriver with bit T7.

    Ask FixBot

    Add Comment

  11. Sony SRS-XB30 Wires Replacement: step 11, image 1 of 2 Sony SRS-XB30 Wires Replacement: step 11, image 2 of 2
    • Locate and remove the three black screws (10.0 mm) within the internal frame. Use bit T7.

    • There are two screws on the left side of the white box and one to its right.

    Ask FixBot

    Add Comment

  12. Sony SRS-XB30 Wires Replacement: step 12, image 1 of 1
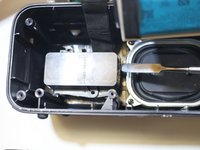
    • Slightly lift the white box with all the wires still attached.

    Ask FixBot

    Add Comment

  13. Sony SRS-XB30 Wires Replacement: step 13, image 1 of 2 Sony SRS-XB30 Wires Replacement: step 13, image 2 of 2
    • Take the big spudger and pry the black casing up from the circuit box.

    Ask FixBot

    Add Comment

  14. Sony SRS-XB30 Wires Replacement: step 14, image 1 of 1
    • Locate the blue film attached to the circuit box containing the charging port.

    • Detach the blue film from the box.

    Ask FixBot

    Add Comment

  15. Sony SRS-XB30 Wires Replacement: step 15, image 1 of 1
    • Detach the yellow, black and red wires by pulling them directly up.

    Ask FixBot

    Add Comment

  16. Sony SRS-XB30 Wires Replacement: step 16, image 1 of 2 Sony SRS-XB30 Wires Replacement: step 16, image 2 of 2
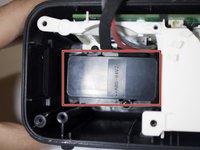
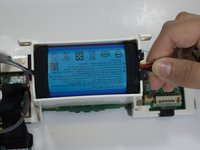
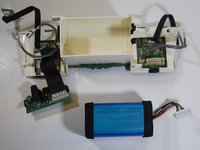
    • Insert the spudger along the battery edge and firmly hold the wires. Lift both sides up. The battery will pop out from its encasement.

    Ask FixBot

    Add Comment

  17. Sony SRS-XB30 Wires Replacement, Wires: step 17, image 1 of 1
    • Locate the black, yellow, and red wires and steadily pull them smooth if they are tangled.

    Ask FixBot

    Add Comment

  18. Sony SRS-XB30 Wires Replacement: step 18, image 1 of 1
    • Unravel any tangled wires or replace any damaged wires.

    • The wires should all run parallel to one another.

    Ask FixBot

    Add Comment

Conclusion

To reassemble your device, follow these instructions in reverse order.

Cancel: I did not complete this guide.

0 Guide Comments

Add Comment

View Statistics:

Past 24 Hours: 1

Past 7 Days: 7

Past 30 Days: 41

All Time: 1,874