Free Shipping on Domestic Orders $75+

Sony RMT-D197A Battery Contactor Repair

Views: 1.1K

View statistics:

Past 24 Hours:
1
Past 7 Days:
16
Past 30 Days:
71
All Time:
1,141
Comments: 1

1 guide comment.

Go to guide comments
Completed: 3

3 people have marked this guide "completed." Will you be next?

Favorites: 0

No one has favorited (and subscribed to) this guide. Will you be the first?

Time Required: 30 - 40 minutes
Difficulty: Moderate
Missing Steps

Oops! This guide is currently missing one or more important steps.

Better Introduction

Improve this guide by completing or revising its introduction.

Sony RMT-D197A Battery Contactor Repair

What you need

Tools

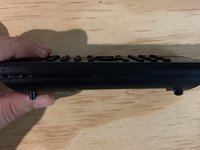
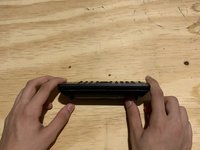
    1. Sony RMT-D197A Battery Contactor Repair, Sony RMT-D197A Battery Contactor Repair: step 1, image 1 of 2 Sony RMT-D197A Battery Contactor Repair, Sony RMT-D197A Battery Contactor Repair: step 1, image 2 of 2
      • Place the remote on a solid, sturdy surface.

      • Use a putty knife to gently pry open the remote.

      Ask FixBot

      Add Comment

    2. Sony RMT-D197A Battery Contactor Repair: step 2, image 1 of 2 Sony RMT-D197A Battery Contactor Repair: step 2, image 2 of 2
      • Remove the front panel from the remote.

      Ask FixBot

      Add Comment

    3. Sony RMT-D197A Battery Contactor Repair: step 3, image 1 of 1
      • Wear safety glasses and use caution when handling a hot soldering iron.

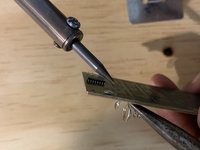
      • Use the soldering iron to gently desolder the damaged battery contactor.

      • Keep in mind the battery contactor can easily break so make sure to be gentle with the soldering iron.

      Ask FixBot

      Add Comment

    4. Sony RMT-D197A Battery Contactor Repair: step 4, image 1 of 2 Sony RMT-D197A Battery Contactor Repair: step 4, image 2 of 2
      Tool used on this step:
      Tweezers
      $4.99
      Buy
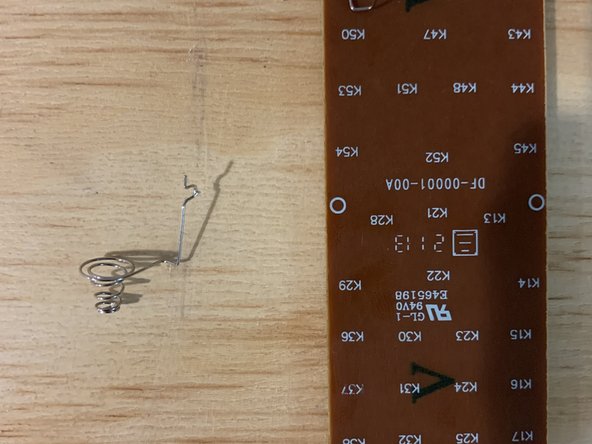
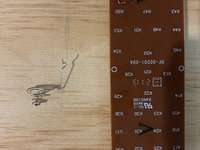
      • Use a pair of tweezers to remove the spring from the contactor.

      Ask FixBot

      Add Comment

    5. Sony RMT-D197A Battery Contactor Repair: step 5, image 1 of 1
      • Use the soldering iron to melt solder onto the empty hole.

      • Make sure to accurately place the spring into the correct position.

      Ask FixBot

      Add Comment

    6. Sony RMT-D197A Battery Contactor Repair: step 6, image 1 of 2 Sony RMT-D197A Battery Contactor Repair: step 6, image 2 of 2
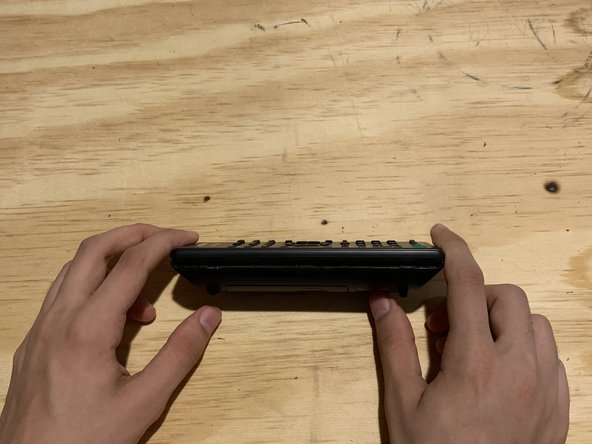
      • Reattach the two halves of the remote.

      Ask FixBot

      Add Comment

    7. Sony RMT-D197A Battery Contactor Repair: step 7, image 1 of 1
      • Insert batteries and try out your remote.

      Ask FixBot

      Add Comment

Finish Line

Cancel: I did not complete this guide.

3 other people completed this guide.

Ahmed Sultan

Member since: 09/10/21

193 Reputation

1 Guide authored

Team

1 Guide Comment

As the remote is already disassembled, I took the opportunity to clean the contacts for all the buttons using alcohol.

Jason Lee - Reply Share

Add Comment

View Statistics:

Past 24 Hours: 1

Past 7 Days: 16

Past 30 Days: 71

All Time: 1,141