
Sony PlayStation 3D Display Rear Case Replacement

Tia McNaughton and 8 other contributors
Last updated on Mar 7, 2016
Views: 3.8K
View statistics:
- Past 24 Hours:
- 4
- Past 7 Days:
- 33
- Past 30 Days:
- 114
- All Time:
- 3,795
Comments: 2
1 comment on steps, 1 guide comment.
Go to guide commentsCompleted: 4 5
4 people have marked this guide "completed." Will you be next?
5 people have marked this guide "completed." Including you — great job!
Favorites: 2 3
2 people have favorited (and subscribed to) this guide. Will you be next?
3 people have favorited (and subscribed to) this guide — including you!
Better Introduction
Improve this guide by completing or revising its introduction.
What you need


-
-
-
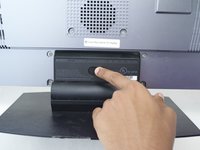
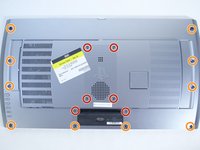
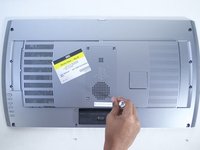
With the Phillips #02 screwdriver, remove the six 6 mm length x 6 mm head screws from the back plate.
-
With the Phillips #02 screwdriver, remove the ten 6 mm length x 8 mm head screws from the back plate.
-
-
-
-
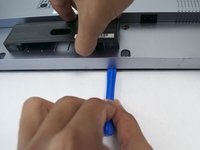
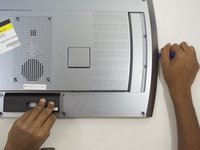
Remove back plate with a plastic opening tool by slowing prying around the entire plate.
-
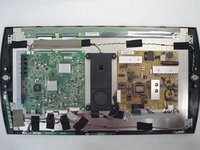
Once separated the plate easily lifts off.
-



 Ask FixBot




To reassemble your device, follow these instructions in reverse order.
Cancel: I did not complete this guide.
4 other people completed this guide.

Team

Cal Poly, Team 12-16, Maness Fall 2015 Member of Cal Poly, Team 12-16, Maness Fall 2015
CPSU-MANESS-F15S12G16
4 Members
72 Guides authored
1 Guide Comment
I got a used display that for some reason came with no screws on the back panel. Can you tell me exactly what type those 6x6mm and 6x8mm screws are? Especially wary since you said the thread sizes are different
