
Sony NWZ-E473 Screen Replacement

Matthew Hintz and 6 other contributors
Last updated on May 7, 2024
Views: 1.5K
View statistics:
- Past 24 Hours:
- 1
- Past 7 Days:
- 20
- Past 30 Days:
- 99
- All Time:
- 1,533
Comments: 1
1 guide comment.
Go to guide commentsCompleted: 0 1
No one has marked this guide "completed." Will you be the first?
1 person has marked this guide "completed." It's you — great job!
Favorites: 0 1
No one has favorited (and subscribed to) this guide. Will you be the first?
1 person has favorited (and subscribed to) this guide — and that's you!
Introduction
Go to step 1 ↓When removing the screen, you may want to use gloves so that no glass shards cut your hands.
What you need
Tools
-
-
Spudger4.9


-
-
-
Use a Phillips #00 screwdriver to unscrew the two 5 mm screws located on the bottom of the back of the device.
 Ask FixBot
-
-
-
Use a Phillips #00 screwdriver to remove the two 3 mm screws located on the portion under the top panel of the device.
-
-
-
-
Tool used on this step:Tweezers$4.99
-
Use a nylon spudger or tweezers to remove the plastic USB cover.
-
-
-
Use a Phillips #00 screwdriver to unscrew two 2 mm screws located on the top corners of the device.
-
-
-
Use a nylon spudger or tweezers to remove the plastic protective plate at the top of device.
-
-
-
Remove the plastic protective frame located over the motherboard with tweezers and a spudger.
-
-
-
-
Use a Phillips #00 screwdriver to remove two 3 mm screws at the bottom sides and two 1 mm screws at top sides of the device.
-
-
-
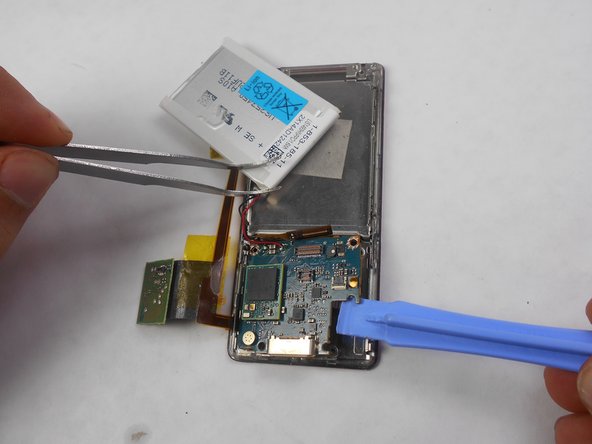
Use a Phillips #00 screwdriver to unscrew two 2 mm screws, and remove the motherboard from the device with tweezers and a plastic opening tool.
-
-
-
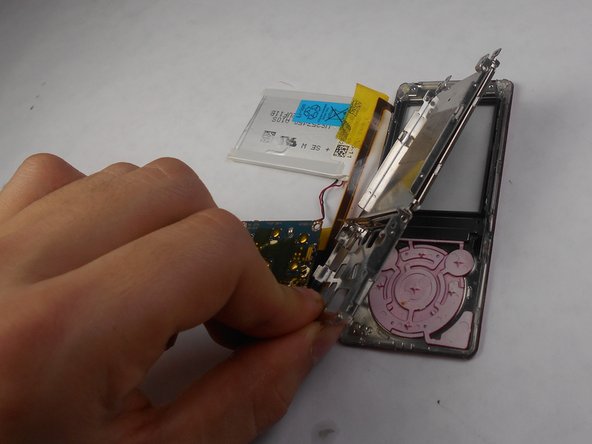
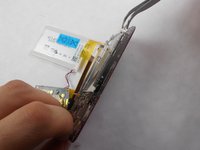
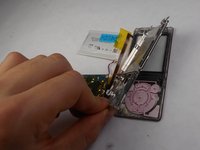
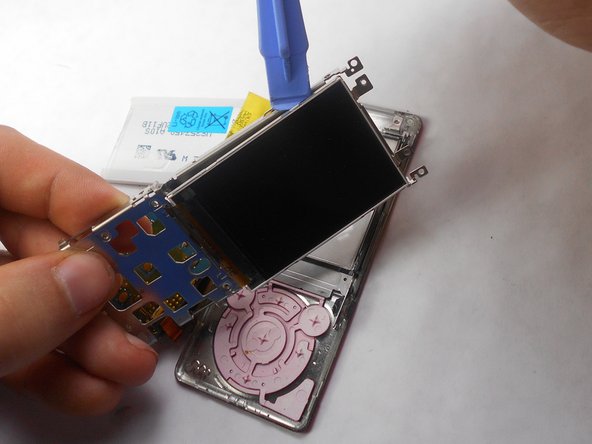
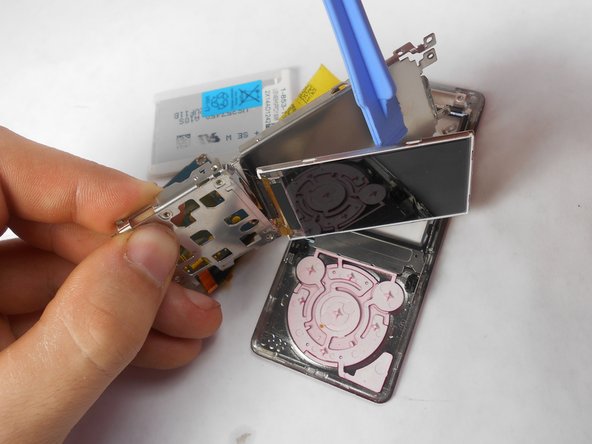
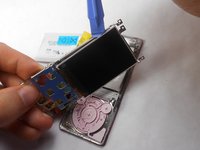
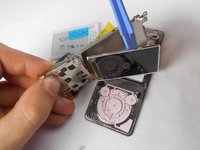
Disconnect the metal shielding plate from the front panel with tweezers or a plastic opening tool.
-
-


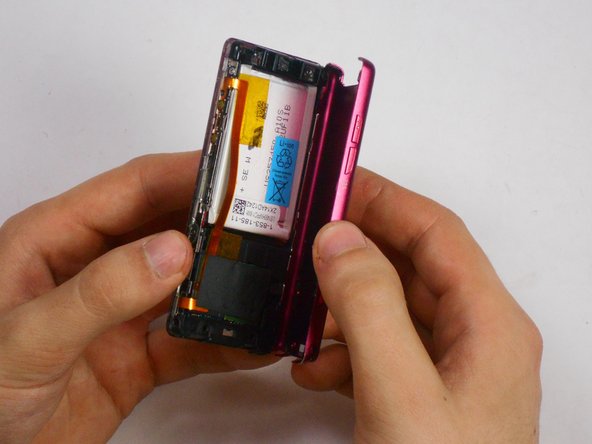
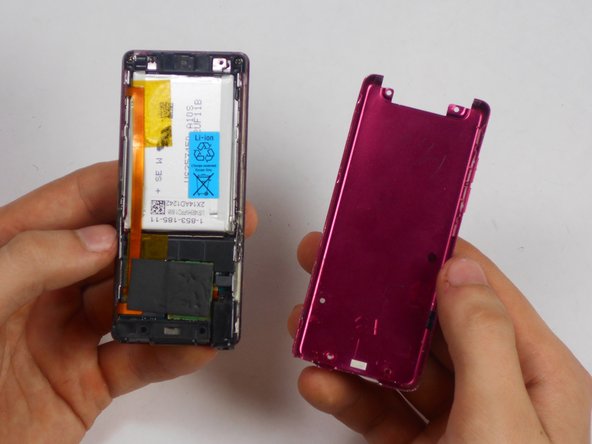
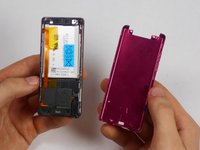


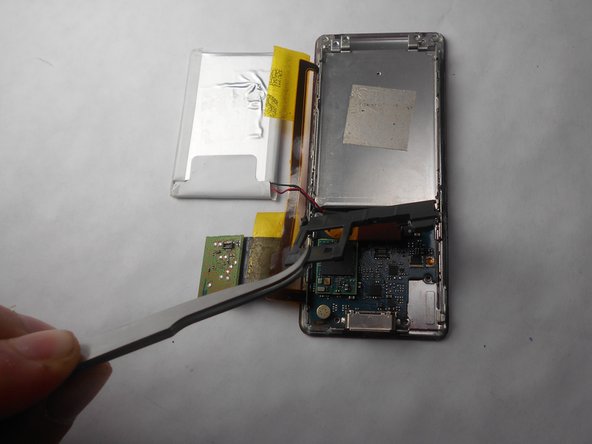



To reassemble your device, follow these instructions in reverse order.

Team

USF Tampa, Team 17-6, Watkins Winter 2015 Member of USF Tampa, Team 17-6, Watkins Winter 2015
USFT-WATKINS-W15S17G6
4 Members
60 Guides authored
