Introduction
If your Sony Mavica MVC-CD1000 camera is not properly displaying images on the screen and you’ve already replaced the batteries, the screen may be faulty. In addition, if there are dead pixels on your screen, you may need to replace the screen for your device. Refer to this guide if the camera’s LCD screen is not working or there is a problem with it.
What you need
-
-
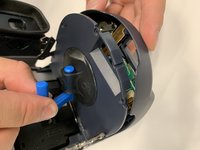
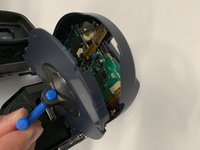
Gently open this panel using a plastic opening tool or your hands.
 Ask FixBot
-
-
-
-
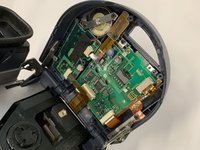
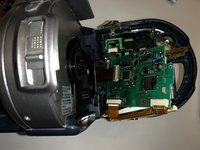
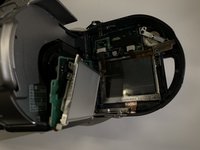
Loosen and remove the screws using the screwdriver and locate the LCD board as shown in the photos.
-
-
-
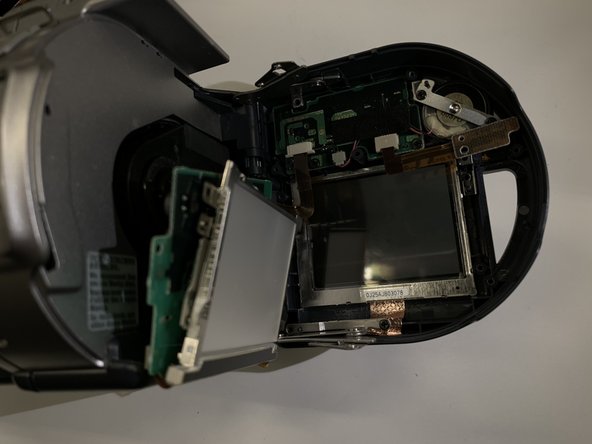
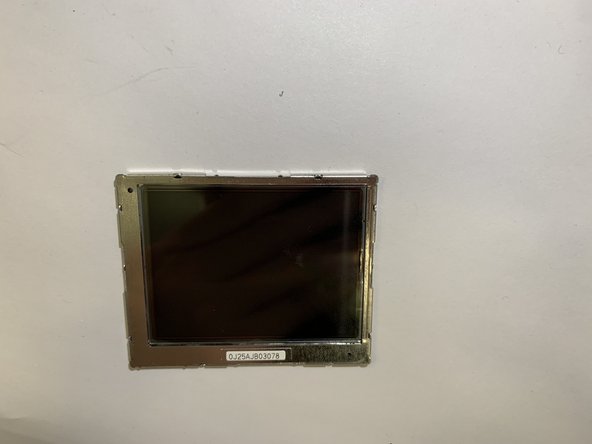
Remove the motherboard by pulling up the panel and remove the LCD screen from the device.
-



To reassemble your device, follow these instructions in reverse order.

Team

Duke University Pratt School of Engineering, Team S6-G3, Matos-Garner Fall 2019 Member of Duke University Pratt School of Engineering, Team S6-G3, Matos-Garner Fall 2019
DUKEPSE-MATOS-GARNER-F19S6G3
4 Members
8 Guides authored
