Introduction
This guide will walk you through the steps needed to safely replace the damaged LCD screen, ensuring that your camera looks and works as good as new. Whether you're a DIY enthusiast or just looking to save on repair costs, this step-by-step tutorial will help you complete the replacement process with minimal tools and effort. Let's get started on bringing your Sony MVC-FD200 back to life!
What you need
-
-
-
Using your finger, slide the tab on the battery door up to release the battery latch.
 Ask FixBot
-
-
-
Lift the battery door to reveal the battery compartment.
-
Push the gray lever to the left side to remove the battery.
-
-
-
-
-
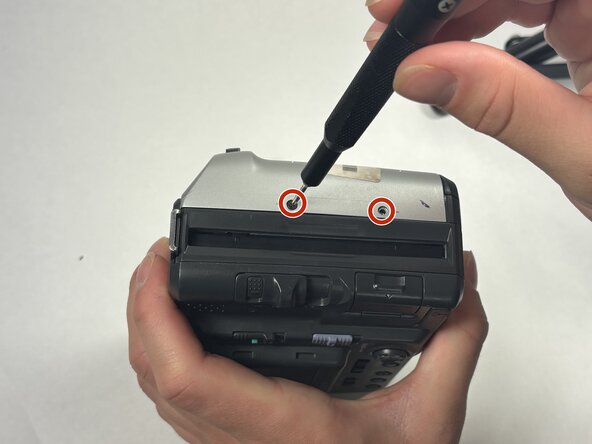
Turn the camera so that the top is facing down towards the table.
-
Using the Phillips #00 screwdriver, remove all 2.0 mm screws with the arrows facing towards them.
-
-
-
-
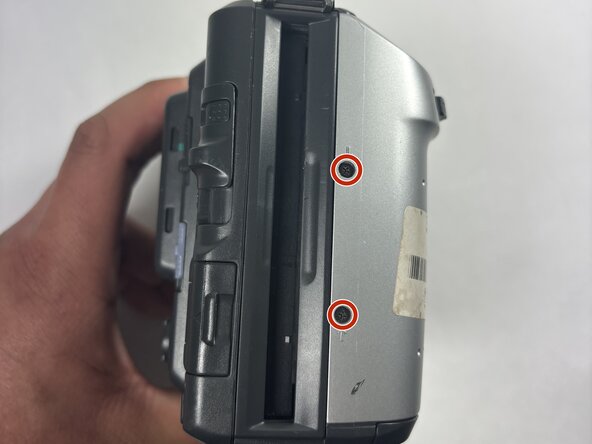
Flip the camera on both sides and remove the rest of the screws with arrows facing towards them.
-
Remove the 2.0 mm screws with the Phillips #00 screwdriver for both sides of the camera.
-
-
-
-
-
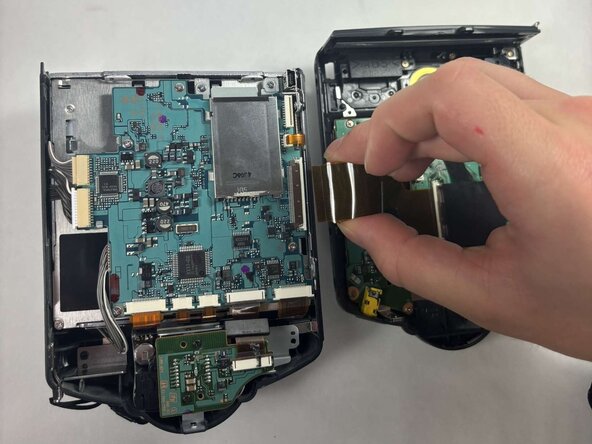
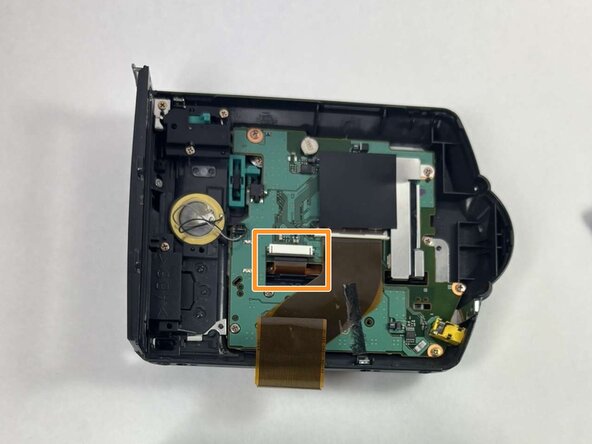
Detach the ribbon cable that connects the two halves of the device to split them apart.
-
Gently pry up the black plastic tab to slide out the ribbon cables.
-
-
-
Remove the six 2.0 mm screws which hold the motherboard in place using the Phillips #00 screwdriver.
-
-
-
Remove the four 2.0 mm screws which hold down the heat shield using the Phillips #00 screwdriver.
-
-



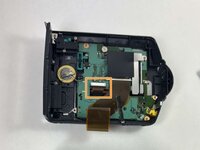


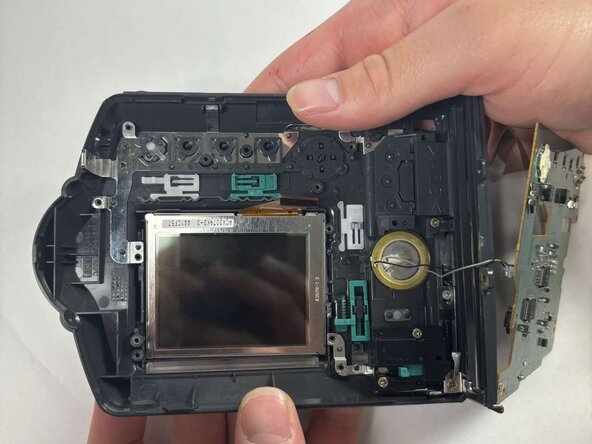
To reassemble your device, follow these instructions in reverse order.

Team

UMass Dartmouth, Team 1-4, Rioux Spring 2025 Member of UMass Dartmouth, Team 1-4, Rioux Spring 2025
UMASSD-RIOUX-S25S1G4
4 Members
36 Guides authored
1 Guide Comment
I have a Mavica FD71, will this work about the same? (Pixels in the middle of the screen have started to die) I’ve been looking, but I can’t find a replacement lcd panel for my model, do the Mavica FD2000 and the FD71 use the same lcd panel?
