What you need
-
-
Try to ensure the battery is drained to below 15%. This reduces the risk of nasty surprises if the battery is damaged during removal.
 Ask FixBot
-
-
-
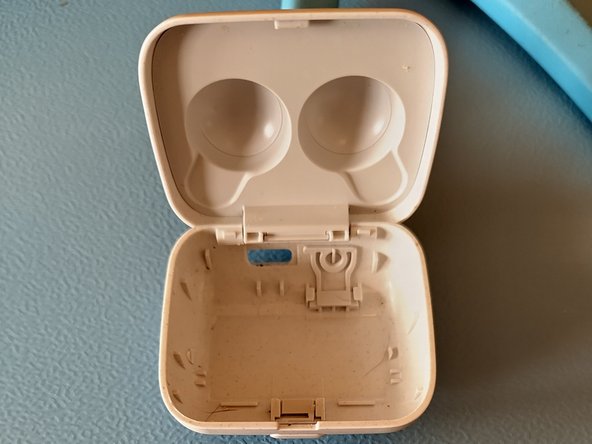
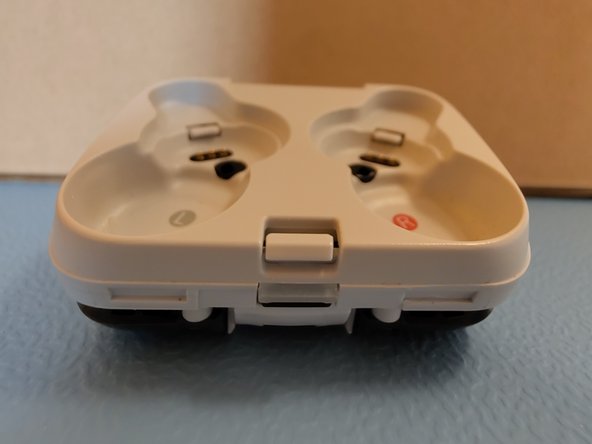
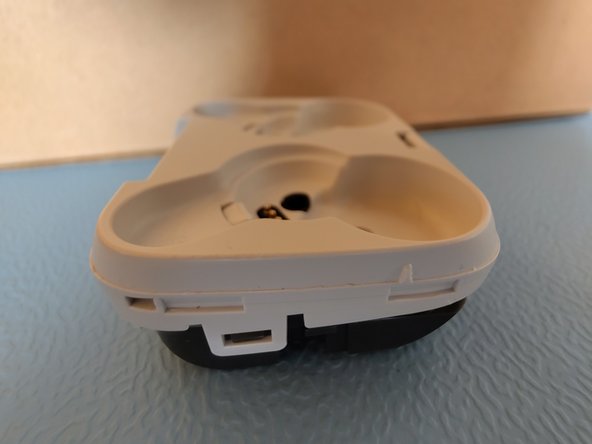
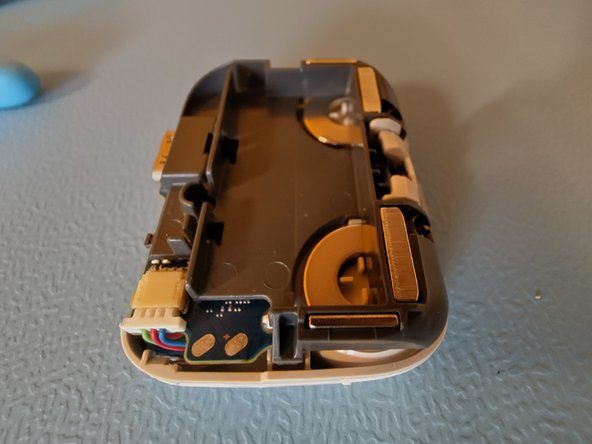
Use a thin card or prying tool to remove the shell of the case.
-
Take note of the position of the clips, shown in the images. This will help you apply pressure in the right positions around the shell.
-
-
-
-
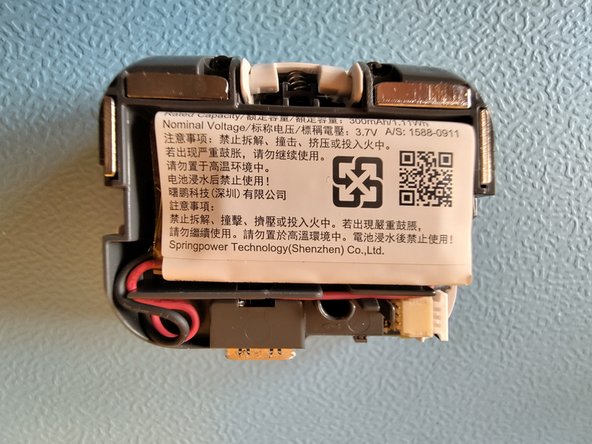
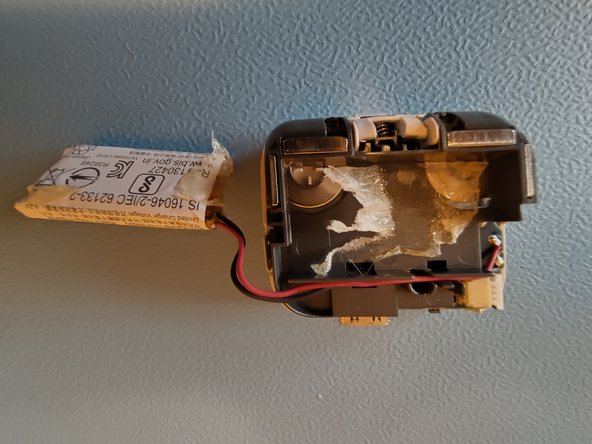
Gently separate the battery from the case.
-
DO NOT allow the battery to bend.
-
-
-
Apply insulation tape to cover one of the solder points. This helps avoid short circuiting the battery whilst desoldering.
-
Use isopropyl alcohol to clean the solder pads.
-
-
-
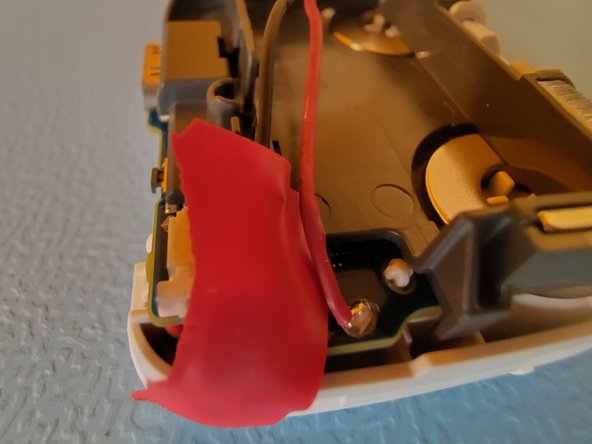
Solder the contacts for the new battery in place, ensuring the red and black wires are connected the same way as the old battery.
-
Once you are satisfied that the new battery is working as intended, re-insert the body of the case into the shell.
-