Introduction
In this guide, you will learn how to remove the shutter assembly from the Sony Handycam HDR-CX675. Completely removing the shutter assembly must be done with caution, as it is connected to the motherboard with sensitive electrical ribbon.
What you need
-
-
-
Remove the side 4.5 mm JIS #00 screw using JIS Screwdriver
-
Remove the 5.5 mm JIS #00 screw.
-
-
-
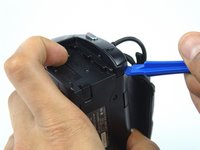
Gently pry the plastic case surrounding the start/stop button free by using the blue plastic opening tools.
-
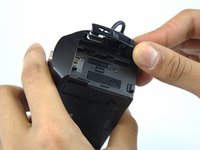
Remove the casing using your thumb and index finger.
-
-
-
Turn the camera around and flip open the LCD screen to expose the side panel.
-
Remove the 5.5mm #00 screw using the J00 head screwdriver.
-
-
-
-
Turn the camera to the handgrip side and unscrew two of the 5.5mm JIS #00 head screws using the JIS #00 head screwdriver.
-
-
-
Turn the camera around in a way that the bottom of the camera is facing you.
-
Use the blue opening tool to gently remove the camera shell off of the camera.
-
-
-
-
Using the blue plastic opener smoothly to take the camera shell off.
-
-
-
Let the lens of the camera be pointed to your left.
-
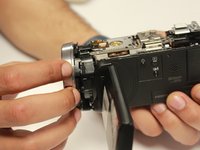
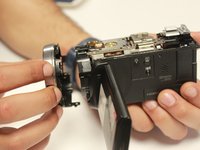
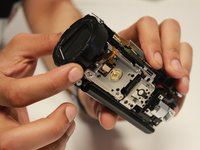
Keep holding the camera with your right hand then gently remove the lens cover panel with your left hand.
-
-
-
-
-
Place the camera on its lens and keep the LCD screen open and pointed to your right.
-
Remove the 5.5mm JIS #00 screws from the hinge of the camera.
-
-
-
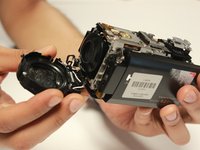
Hold the camera with your left hand, and gently remove the shutter assembly part.
-
-
Tool used on this step:Tweezers$4.99
-
Hold the camera that the bottom is upwards and lens pointed to your left hand.
-
By the metal tweezers, remove the white wire that is connecting the shutter assembly and motherboard
-
-

 Ask FixBot








To reassemble your device, follow these instructions in reverse order.
Cancel: I did not complete this guide.
One other person completed this guide.

Team

USF Tampa, Team 8-2, Eyestone Spring 2017 Member of USF Tampa, Team 8-2, Eyestone Spring 2017
USFT-EYESTONE-S17S8G2
3 Members
48 Guides authored
