Free Shipping on Domestic Orders $75+

Sony Handycam HDR-CX380 LCD Screen Replacement

What you need

  1. Sony Handycam HDR-CX380 LCD Screen  Replacement, Battery: step 1, image 1 of 1
    • Rotate your camera such that the underside is facing you and the lens is facing the ground.

    • You should be able to see the camera's label, and it should be rotated 90 degrees counterclockwise.

    Ask FixBot

    Add Comment

  2. Sony Handycam HDR-CX380 LCD Screen  Replacement: step 2, image 1 of 1
    • Using your left thumb, push down the slider to the left of the SD card slot.

    • When inserting a new battery or reinserting the one you removed, you can ignore this step.

    Ask FixBot

    Add Comment

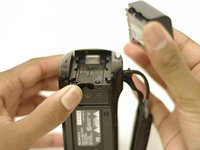
  3. Sony Handycam HDR-CX380 LCD Screen  Replacement: step 3, image 1 of 2 Sony Handycam HDR-CX380 LCD Screen  Replacement: step 3, image 2 of 2
    • Using your right index finger and thumb, pull the battery toward you and then away from the camera.

    Ask FixBot

    Add Comment

  4. Sony Handycam HDR-CX380 LCD Screen  Replacement, Camera Shell: step 4, image 1 of 1
    • Orient the camera with the battery side facing up.

    Ask FixBot

    Add Comment

  5. Sony Handycam HDR-CX380 LCD Screen  Replacement: step 5, image 1 of 1
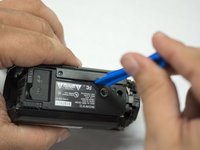
    • Remove the single 4.5 mm Phillips #00 screw.

    • Remove the single 5.5 mm Phillips #00 screw.

    Ask FixBot

    Add Comment

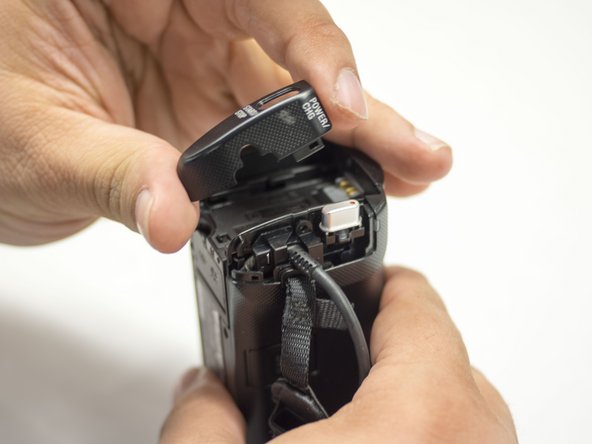
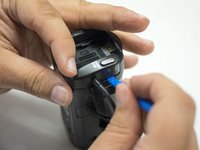
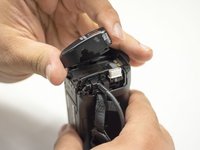
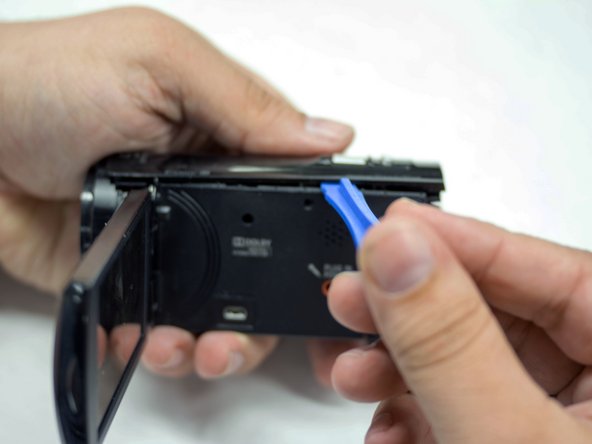
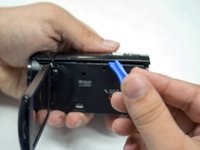
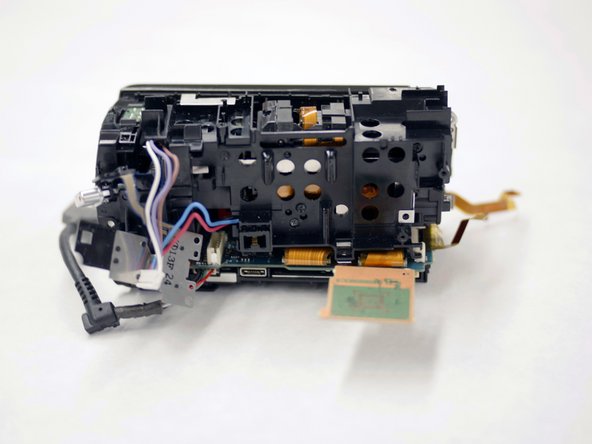
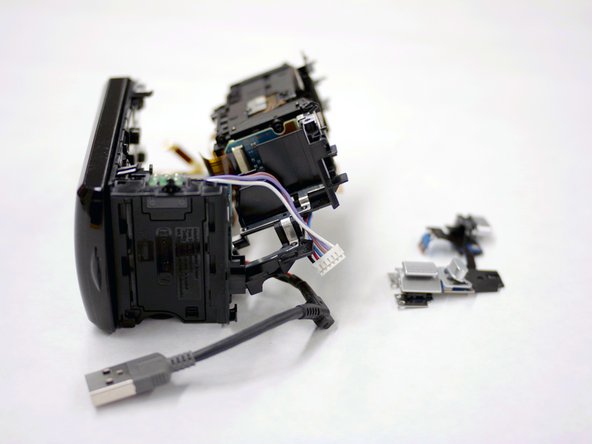
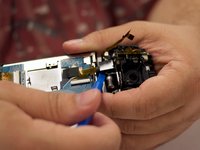
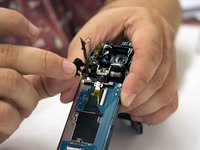
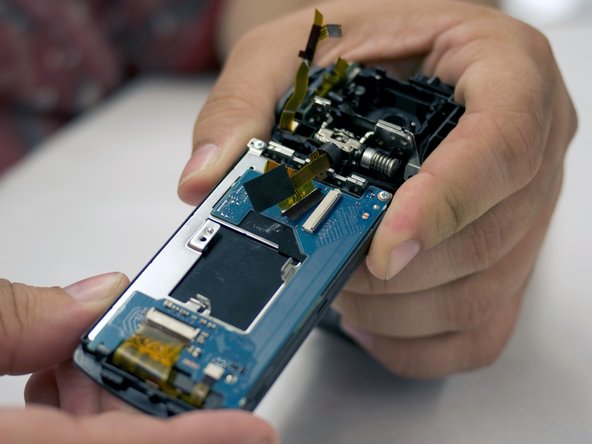
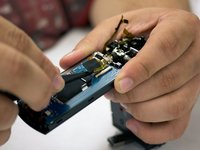
  6. Sony Handycam HDR-CX380 LCD Screen  Replacement: step 6, image 1 of 2 Sony Handycam HDR-CX380 LCD Screen  Replacement: step 6, image 2 of 2
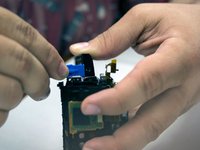
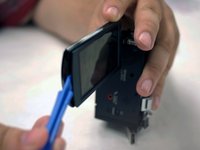
    • With the blue plastic opening tools, gently pry the plastic casing surrounding the start/stop button free.

    • Remove the casing using your right thumb and index finger.

    Ask FixBot

    Add Comment

  7. Sony Handycam HDR-CX380 LCD Screen  Replacement: step 7, image 1 of 1
    • Flip open the LCD panel to get to the side panel.

    • Remove the three 5.5 mm Phillips #00 screws.

    Ask FixBot

    Add Comment

  8. Sony Handycam HDR-CX380 LCD Screen  Replacement: step 8, image 1 of 1
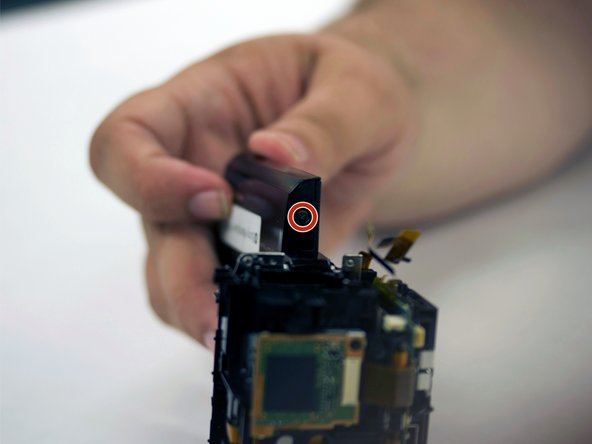
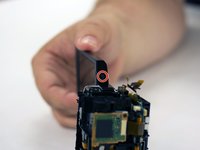
    • Turn the camera around to the grip side and remove the 5.5 mm Phillips Head screw using your J00 Phillips Head screwdriver.

    Ask FixBot

    Add Comment

  9. Sony Handycam HDR-CX380 LCD Screen  Replacement: step 9, image 1 of 1
    • With the bottom of the camera facing up, remove the two 5.5mm Phillips #00 screws.

    Ask FixBot

    Add Comment

  10. Sony Handycam HDR-CX380 LCD Screen  Replacement: step 10, image 1 of 2 Sony Handycam HDR-CX380 LCD Screen  Replacement: step 10, image 2 of 2
    • Orient the camera so the bottom is facing you.

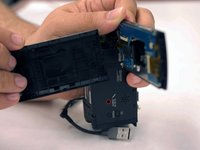
    • Use the blue plastic opening tools to gently ease the camera shell off of the camera.

    • Rotate the camera so the LCD side panel is facing you and gently pry the shell off from the camera.

    Ask FixBot

    Add Comment

  11. Sony Handycam HDR-CX380 LCD Screen  Replacement, Lens Cover Panel: step 11, image 1 of 1
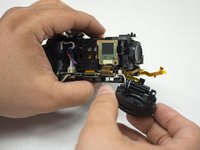
    • Orient the camera such that the lens is facing to your left.

    • Using your right hand to hold the camera, gently remove the lens panel from the camera with your left hand.

    • The camera should be oriented with the lens pointing to your left.

    Ask FixBot

    Add Comment

  12. Sony Handycam HDR-CX380 LCD Screen  Replacement, Shutter Assembly: step 12, image 1 of 1
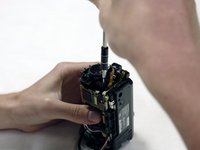
    • Rotate the camera so that it is upright and the lens is pointed to your left.

    • Using your right hand to hold the screwdriver and your left to hold the camera, remove the single 5.5 mm Phillips #00 screw from on the top of the shutter assembly.

    Ask FixBot

    Add Comment

  13. Sony Handycam HDR-CX380 LCD Screen  Replacement: step 13, image 1 of 1
    • Rotate the camera such that the lens is pointed downward and the LCD screen points to your right.

    • Remove the two Phillips #00 screws from the LCD screen's hinge.

    Ask FixBot

    Add Comment

  14. Sony Handycam HDR-CX380 LCD Screen  Replacement: step 14, image 1 of 2 Sony Handycam HDR-CX380 LCD Screen  Replacement: step 14, image 2 of 2
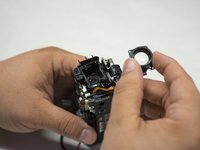
    • Orient the camera such that it is upright and the lens is facing to your right.

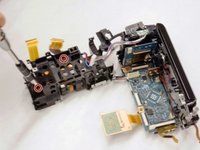
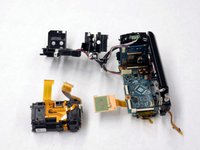
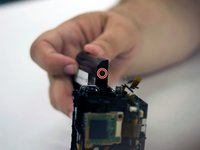
    • Using your left hand to hold the camera, gently remove the shutter assembly from the hull with your right hand.

    • If you are only trying to remove the lens, you do not need to perform the next two steps.

    Ask FixBot

    Add Comment

  15. Sony Handycam HDR-CX380 LCD Screen  Replacement: step 15, image 1 of 1
    Tool used on this step:
    Tweezers
    $4.99
    Buy
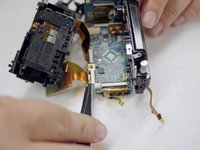
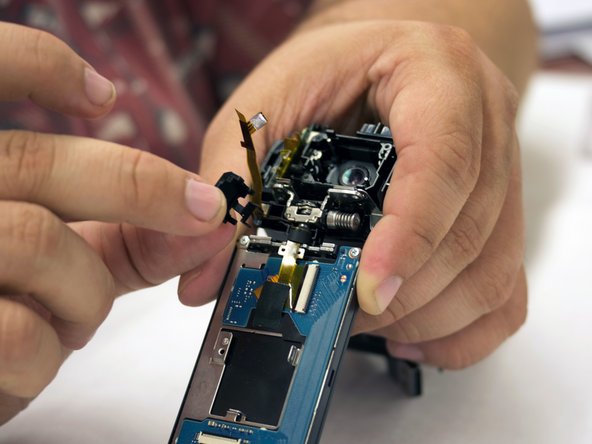
    • Orient the camera such that the bottom is facing toward you and the lens is facing to your right.

    • Using your metal tweezers, gently remove the wire harness connecting the shutter assembly to the motherboard.

    Ask FixBot

    Add Comment

  16. Sony Handycam HDR-CX380 LCD Screen  Replacement: step 16, image 1 of 1
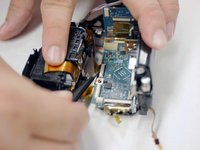
    • Rotate the camera so that it is upright and the lens is facing to your right.

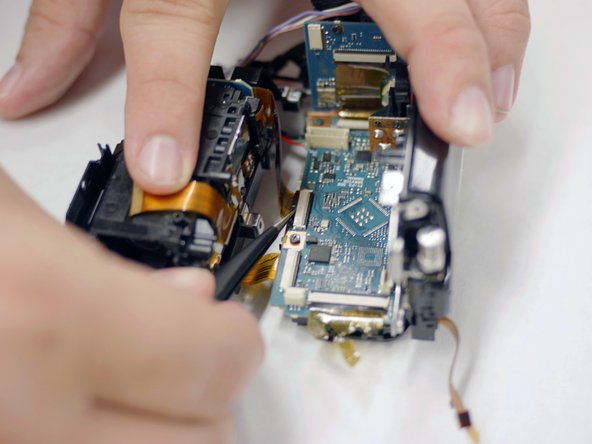
    • Remove the ribbon cable connecting the shutter assembly to the motherboard using your metal tweezers.

    • Be sure to pull the ribbon cable gently, as ribbon cables are easy to damage and can require soldering to repair.

    Ask FixBot

    Add Comment

  17. Sony Handycam HDR-CX380 LCD Screen  Replacement, Lens: step 17, image 1 of 2 Sony Handycam HDR-CX380 LCD Screen  Replacement, Lens: step 17, image 2 of 2
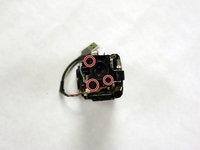
    • Remove the three 5.5mm Phillips #00 screws holding the lens in.

    Ask FixBot

    Add Comment

  18. Sony Handycam HDR-CX380 LCD Screen  Replacement: step 18, image 1 of 2 Sony Handycam HDR-CX380 LCD Screen  Replacement: step 18, image 2 of 2
    • Gently pull the lens up from the camera.

    Ask FixBot

    Add Comment

  19. Sony Handycam HDR-CX380 LCD Screen  Replacement, Lens Assembly: step 19, image 1 of 1
    • With the right side of the camera facing toward you, remove the single 5.5 mm Phillips #00 screw.

    Ask FixBot

    Add Comment

  20. Sony Handycam HDR-CX380 LCD Screen  Replacement: step 20, image 1 of 1
    • With the back of the LCD screen facing toward you, remove the two 5.5 mm Phillips #00 screws from the zoom button.

    Ask FixBot

    Add Comment

  21. Sony Handycam HDR-CX380 LCD Screen  Replacement: step 21, image 1 of 1
    • Orienting the camera such that the right side is facing you, remove the single 5.5 mm Phillips #00 screw from the start button.

    Ask FixBot

    Add Comment

  22. Sony Handycam HDR-CX380 LCD Screen  Replacement: step 22, image 1 of 1
    • Use your blue plastic opening tool to disconnect the lens assembly from the hull.

    Ask FixBot

    Add Comment

  23. Sony Handycam HDR-CX380 LCD Screen  Replacement: step 23, image 1 of 1
    • Use your blue plastic opening tool to move the wires out of the way.

    Ask FixBot

    Add Comment

  24. Sony Handycam HDR-CX380 LCD Screen  Replacement: step 24, image 1 of 2 Sony Handycam HDR-CX380 LCD Screen  Replacement: step 24, image 2 of 2
    Tool used on this step:
    Tweezers
    $4.99
    Buy
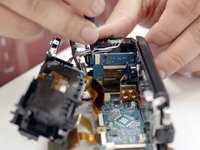
    • Orienting the camera such that the right side is facing you, remove the wire harness connecting the lens assembly to the motherboard using your tweezers.

    Ask FixBot

    Add Comment

  25. Sony Handycam HDR-CX380 LCD Screen  Replacement: step 25, image 1 of 1
    • Pull the lens assembly out from inside the camera's hull using your hands.

    Ask FixBot

    Add Comment

  26. Sony Handycam HDR-CX380 LCD Screen  Replacement: step 26, image 1 of 2 Sony Handycam HDR-CX380 LCD Screen  Replacement: step 26, image 2 of 2
    • Orienting the camera such that the front side is facing you, remove the ribbon connecting the start and zoom buttons to the powerboard using your tweezers.

    • Ribbon cables are easy to damage. Use the metal tweezers to minimize the risk of damaging these cables, as repairing them requires soldering and can be time consuming.

    Ask FixBot

    Add Comment

  27. Sony Handycam HDR-CX380 LCD Screen  Replacement: step 27, image 1 of 3 Sony Handycam HDR-CX380 LCD Screen  Replacement: step 27, image 2 of 3 Sony Handycam HDR-CX380 LCD Screen  Replacement: step 27, image 3 of 3
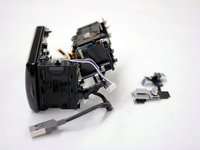
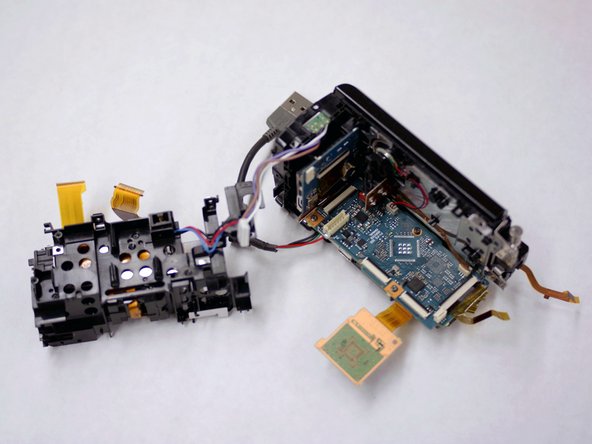
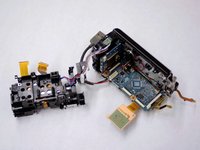
    • Using your tweezers, remove the two ribbon cables connecting the lens assembly to the motherboard.

    • Use metal tweezers to avoid damaging the ribbons.

    • The lens assembly casing should now be free. Remove it from the hull of the camera.

    Ask FixBot

    Add Comment

  28. Sony Handycam HDR-CX380 LCD Screen  Replacement: step 28, image 1 of 2 Sony Handycam HDR-CX380 LCD Screen  Replacement: step 28, image 2 of 2
    • Remove the two 4.5 mm Phillips #000 screws connecting the lens assembly to its casing.

    • The lens assembly is now completely free. Remove it from its casing.

    Ask FixBot

    Add Comment

  29. Sony Handycam HDR-CX380 LCD Screen  Replacement, LCD Screen: step 29, image 1 of 2 Sony Handycam HDR-CX380 LCD Screen  Replacement, LCD Screen: step 29, image 2 of 2
    • Rotate the LCD screen on its hinge +/- 90 degrees relative to the camera to expose the screws on the side of the LCD panel.

    • Remove the two 5.5 mm Phillips #00 screws.

    Ask FixBot

    Add Comment

  30. Sony Handycam HDR-CX380 LCD Screen  Replacement: step 30, image 1 of 2 Sony Handycam HDR-CX380 LCD Screen  Replacement: step 30, image 2 of 2
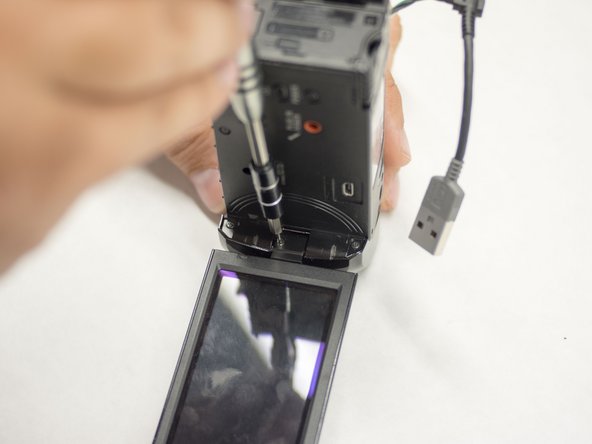
    • Remove the single 3 mm Phillips #00 screw from inside of the hinge of the LCD panel.

    Ask FixBot

    Add Comment

  31. Sony Handycam HDR-CX380 LCD Screen  Replacement: step 31, image 1 of 3 Sony Handycam HDR-CX380 LCD Screen  Replacement: step 31, image 2 of 3 Sony Handycam HDR-CX380 LCD Screen  Replacement: step 31, image 3 of 3
    • Using the plastic opening tools , remove the back panel from the LCD screen.

    Ask FixBot

    Add Comment

  32. Sony Handycam HDR-CX380 LCD Screen  Replacement: step 32, image 1 of 2 Sony Handycam HDR-CX380 LCD Screen  Replacement: step 32, image 2 of 2
    • Remove the hinge enclosure from the back of the LCD screen using the blue plastic opening tools.

    Ask FixBot

    Add Comment

  33. Sony Handycam HDR-CX380 LCD Screen  Replacement: step 33, image 1 of 2 Sony Handycam HDR-CX380 LCD Screen  Replacement: step 33, image 2 of 2
    Tool used on this step:
    Tweezers
    $4.99
    Buy
    • With tweezers, remove the ribbon cable that is connecting the LCD screen board to the motherboard.

    Ask FixBot

    Add Comment

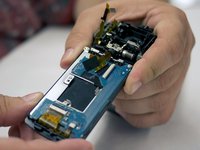
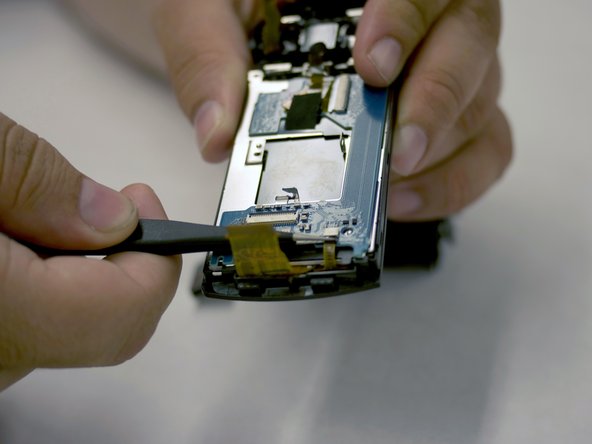
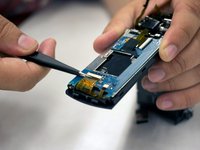
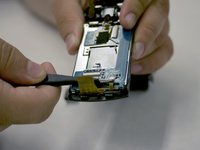
  34. Sony Handycam HDR-CX380 LCD Screen  Replacement: step 34, image 1 of 2 Sony Handycam HDR-CX380 LCD Screen  Replacement: step 34, image 2 of 2
    • Using metal tweezers, remove the two ribbons connecting the LCD board to the screen.

    Ask FixBot

    Add Comment

  35. Sony Handycam HDR-CX380 LCD Screen  Replacement: step 35, image 1 of 1
    • Remove the two silver-colored 4.5 mm Phillips #00 screws from LCD board.

    Ask FixBot

    Add Comment

  36. Sony Handycam HDR-CX380 LCD Screen  Replacement: step 36, image 1 of 3 Sony Handycam HDR-CX380 LCD Screen  Replacement: step 36, image 2 of 3 Sony Handycam HDR-CX380 LCD Screen  Replacement: step 36, image 3 of 3
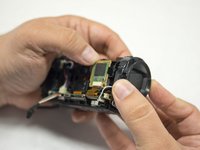
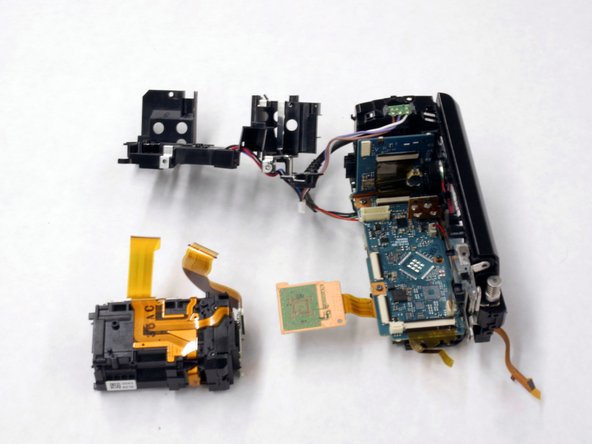
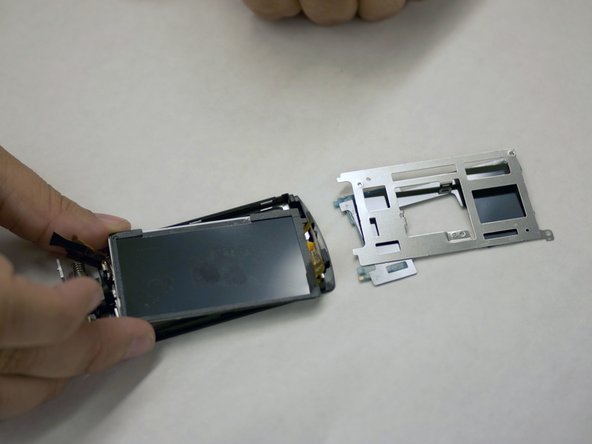
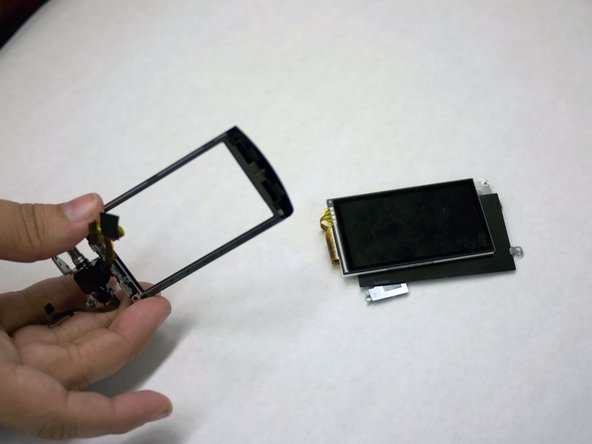
    • The LCD screen and all of its components are free. Unravel them and replace parts as needed (main board, screen, metal fixture, etc.)

    Ask FixBot

    Add Comment

Conclusion

To reassemble your device, follow these instructions in reverse order.

Cancel: I did not complete this guide.

3 other people completed this guide.

Zackary Williams

Member since: 02/04/16

457 Reputation

3 Guides authored

Team

USF Tampa, Team 16-5, Blackwell Winter 2016 Member of USF Tampa, Team 16-5, Blackwell Winter 2016

USFT-BLACKWELL-W16S16G5

3 Members

16 Guides authored

0 Guide Comments

Add Comment

View Statistics:

Past 24 Hours: 0

Past 7 Days: 2

Past 30 Days: 22

All Time: 869