Introduction
If you're having any issues with the Sony Handycam FDR-AX33, you'll need to access the inner workings of the camera. This guide will show you how to remove the outer panels of the device. Once these are removed, you'll be able to access the microphone, the inner circuits, and various buttons such as record and zoom.
What you need
-
-
-
Remove the six black 4 mm Phillips #00 screws from the bottom panel of the camera.
-
Pull off the bottom panel. It may be difficult, but tugging on it shouldn't cause harm to yourself or the device.
 Ask FixBot
-
-
-
Remove the 3 mm Phillips #00 screw from the bottom of the camera.
-
Remove the 4 mm Phillips #00 screw from the right panel.
-
Pull the right panel off. Again, it might be difficult, but pulling hard shouldn't harm you or the camera.
-
-
-
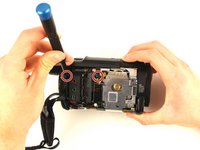
Remove the two 4 mm Phillips #00 screws from the top right corner of the camera.
-
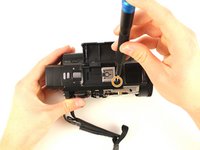
Remove the 4 mm Phillips #00 screw from in front of the flash mount.
-
-
-
-
Remove the 3 mm Phillips #00 screw from below the right side of the battery slot.
-
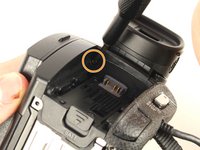
Remove the black 5 mm Phillips #00 screw from the top of the battery slot.
-
-
-
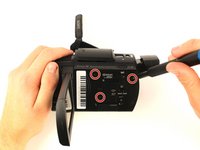
Remove the three 4 mm Phillips #00 screws from the left panel underneath the display screen.
-
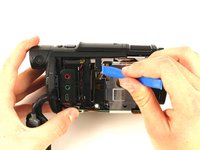
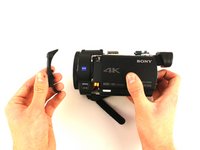
Pull the top panel off of the device with the iFixit opening tool.
-
-
-
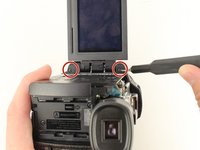
Remove the top and bottom 4 mm Phillips #00 screws from the display screen hinge.
-
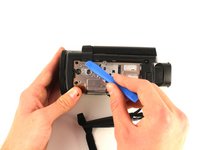
Use the iFixit opening tool to remove the screen hinge.
-
-
-
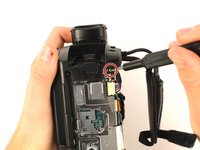
Remove the 3 mm Phillips #00 screw from between the eyepiece and the panel directly to the right of the battery slot.
-
Take the panel directly to the right of the battery slot off of the camera.
-
-
-
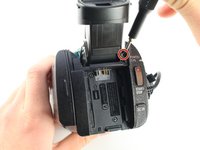
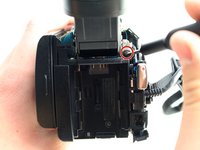
Remove the 4 mm Phillips #00 screw above and to the right of the battery slot.
-
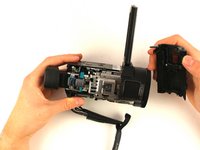
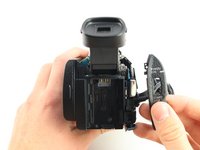
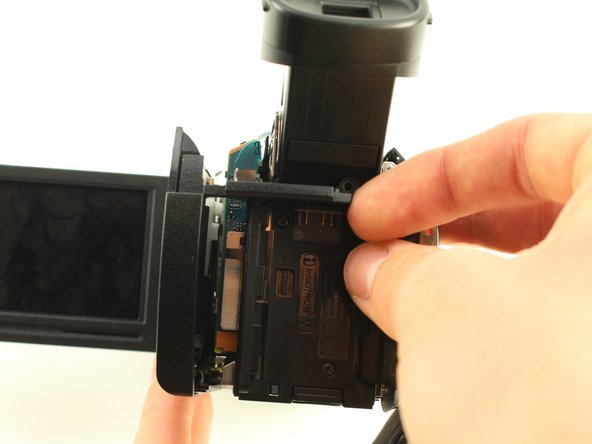
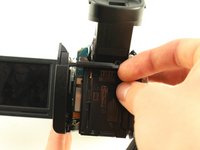
Pry the left panel out at an angle by pushing the plastic slat between the battery slot and the eyepiece.
-
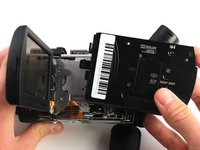
Wiggle the left panel and pull it out gently.
-
-












To reassemble your device, follow these instructions in reverse order.
Cancel: I did not complete this guide.
2 other people completed this guide.

Team

Cal Poly, Team S18-G2, White Winter 2019 Member of Cal Poly, Team S18-G2, White Winter 2019
CPSU-WHITE-W19S18G2
4 Members
72 Guides authored
1 Guide Comment
Remember to close the LCD monitor before removing the screen hinge cover in step 6
