Free Shipping on Domestic Orders $75+

Sony Handycam DCR-DVD103 Lens Replacement

What you need

    1. Sony Handycam DCR-DVD103 Lens Replacement, Battery: step 1, image 1 of 1
      • Images do not show the camera's battery.

      • Turn the camera so the back side, beneath the viewfinder, is facing you.

      • Locate the battery pack compartment.

      • Press the small release button near the battery compartment.

      • While pressing the button, slide the switch forward to unlock the battery.

      Ask FixBot

      Add Comment

    2. Sony Handycam DCR-DVD103 Lens Replacement: step 2, image 1 of 1
      • Carefully pull the battery pack out of the compartment.

      • To reinsert, align the battery pack with the compartment.

      • Slide the battery back into the camera until it clicks securely into place..

      Ask FixBot

      Add Comment

    1. Sony Handycam DCR-DVD103 Lens Replacement, Outer Cover: step 3, image 1 of 1
      • Using a #00 Phillips screwdriver, remove the six 4.5 mm screws from the camera's bottom.

      Ask FixBot

      Add Comment

    2. Sony Handycam DCR-DVD103 Lens Replacement: step 4, image 1 of 2 Sony Handycam DCR-DVD103 Lens Replacement: step 4, image 2 of 2
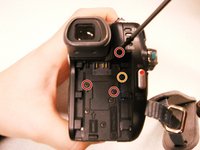
      • Remove the three 4.5 mm screws beneath the battery.

      • Remove the 2.9 mm screw from the right corner.

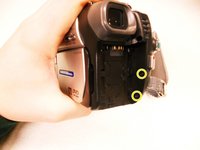
      • Remove the two 4.5 mm screws from the battery's right wall.

      • Images do not show the battery.

      Ask FixBot

      Add Comment

    3. Sony Handycam DCR-DVD103 Lens Replacement: step 5, image 1 of 1
      • Remove the 4.5 mm screw under the output flap on the front of the camera below the lens.

      Ask FixBot

      Add Comment

    4. Sony Handycam DCR-DVD103 Lens Replacement: step 6, image 1 of 2 Sony Handycam DCR-DVD103 Lens Replacement: step 6, image 2 of 2
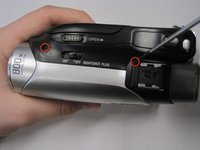
      • Remove the two 4.5 mm screws at the top of the camera.

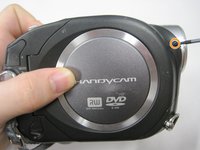
      • Remove the 4.5 mm screw from the disk side of the camera (next to the lens).

      Ask FixBot

      Add Comment

    5. Sony Handycam DCR-DVD103 Lens Replacement: step 7, image 1 of 2 Sony Handycam DCR-DVD103 Lens Replacement: step 7, image 2 of 2
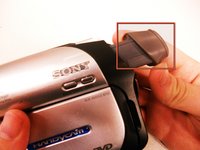
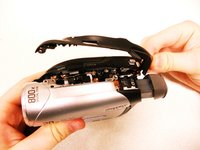
      • Extend the gray viewfinder, then gently remove the black plastic casing.

      • Caution: Plastic pieces are fragile.

      Ask FixBot

      Add Comment

    6. Sony Handycam DCR-DVD103 Lens Replacement: step 8, image 1 of 1
      • Remove the two 2.9 mm screws under the black plastic casing.

      Ask FixBot

      Add Comment

    7. Sony Handycam DCR-DVD103 Lens Replacement: step 9, image 1 of 1
      • Gently pull apart the outer silver case and screen.

      • Remove the copper wire strip to detach the case from the camera.

      Ask FixBot

      Add Comment

    1. Sony Handycam DCR-DVD103 Lens Replacement, Lens: step 10, image 1 of 1
      • Remove the 4.5 mm thread that connects the lens to the camera body.

      Ask FixBot

      Add Comment

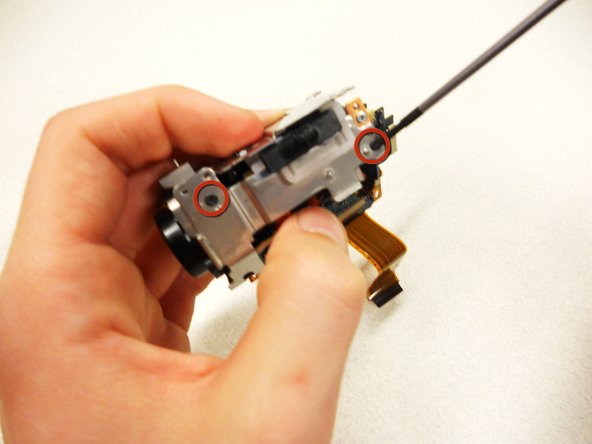
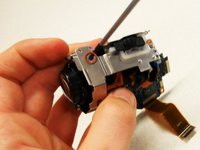
    2. Sony Handycam DCR-DVD103 Lens Replacement: step 11, image 1 of 2 Sony Handycam DCR-DVD103 Lens Replacement: step 11, image 2 of 2
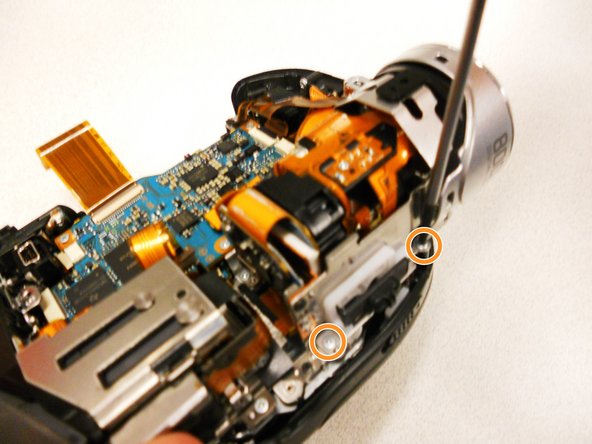
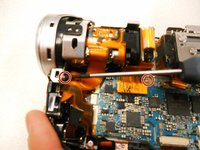
      • Remove the two 4.5 mm screws from the bottom left and top left of the lens casing.

      • Remove the two 2.9 mm screws from the top right and bottom right of the lens casing.

      Ask FixBot

      Add Comment

    3. Sony Handycam DCR-DVD103 Lens Replacement: step 12, image 1 of 1
      • Gently slide the ribbon cables away from their connections on the motherboard.

      • Caution: Too much force will tear the cables.

      Ask FixBot

      Add Comment

    4. Sony Handycam DCR-DVD103 Lens Replacement: step 13, image 1 of 1
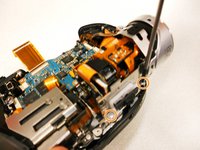
      • Remove the 4.5 mm screw that connects the camera body to the lens on the DVD side of the camera.

      Ask FixBot

      Add Comment

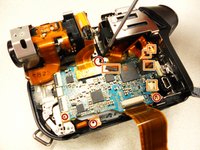
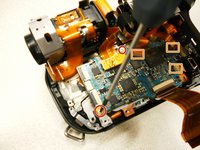
    5. Sony Handycam DCR-DVD103 Lens Replacement: step 14, image 1 of 3 Sony Handycam DCR-DVD103 Lens Replacement: step 14, image 2 of 3 Sony Handycam DCR-DVD103 Lens Replacement: step 14, image 3 of 3
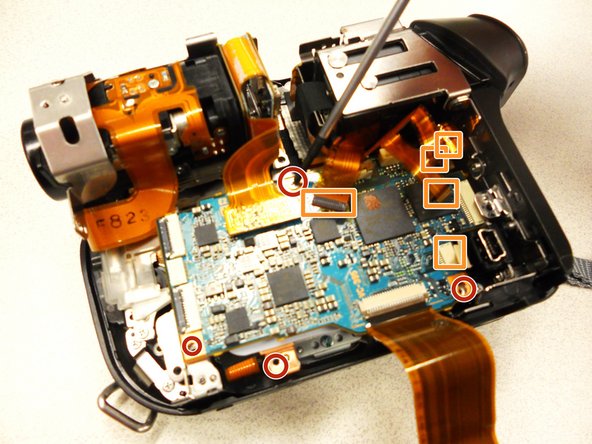
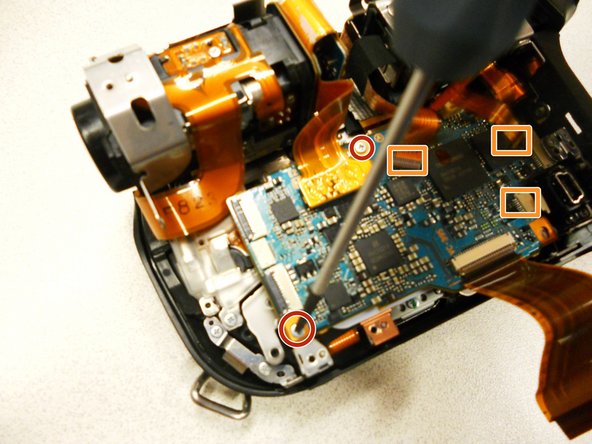
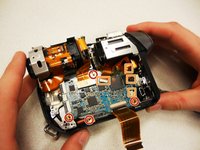
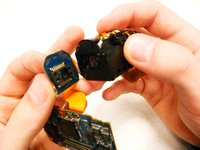
      • Remove the five 2.9 mm screws connected to the circuit board.

      • Remove the circuit board from the camera.

      • Remove the five copper wires attached to the circuit board.

      Ask FixBot

      Add Comment

    6. Sony Handycam DCR-DVD103 Lens Replacement: step 15, image 1 of 2 Sony Handycam DCR-DVD103 Lens Replacement: step 15, image 2 of 2
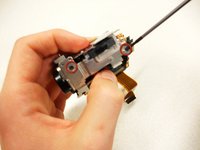
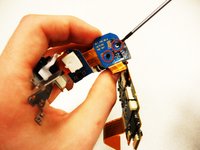
      • Unscrew the three 2.9 mm black screws to remove the metal bracket from the lens.

      Ask FixBot

      Add Comment

    7. Sony Handycam DCR-DVD103 Lens Replacement: step 16, image 1 of 2 Sony Handycam DCR-DVD103 Lens Replacement: step 16, image 2 of 2
      • Remove the two silver 4.5 mm screws from the bottom of the lens.

      • Caution: Be careful with the lens once the screws are removed. The lens contains a small piece of glass that can fall out.

      Ask FixBot

      Add Comment

Conclusion

To reassemble your device, follow these instructions in reverse order.

Cancel: I did not complete this guide.

2 other people completed this guide.

kaitlin

Member since: 01/11/11

342 Reputation

3 Guides authored

Team

Cal Poly, Team 7-44, Regan Winter 2011 Member of Cal Poly, Team 7-44, Regan Winter 2011

CPSU-REGAN-W11S7G44

5 Members

15 Guides authored

0 Guide Comments

Add Comment

View Statistics:

Past 24 Hours: 1

Past 7 Days: 8

Past 30 Days: 37

All Time: 5,127