This translation was generated by a machine and has not been reviewed by a person yet. Speak this language? Review it.

Sony HDR-HC3 Camcorder Disassembly

Brayan Song and one other contributor
Last updated on Sep 2, 2026
Views: 316
View statistics:
- Past 24 Hours:
- 9
- Past 7 Days:
- 35
- Past 30 Days:
- 130
- All Time:
- 316
Comments: 0
No one has left comments on this guide. Will you be first?
Go to guide commentsCompleted: 0 1
No one has marked this guide "completed." Will you be the first?
1 person has marked this guide "completed." It's you — great job!
Favorites: 0 1
No one has favorited (and subscribed to) this guide. Will you be the first?
1 person has favorited (and subscribed to) this guide — and that's you!
Community-Contributed Guide
An awesome member of our community made this guide. It was not created by iFixit staff.
Introduction
Go to step 1 ↓Guide to disassemble the camcorder (Separating the "screen/battery compartment" section from the "cassette mechanism/camera" section.)
DISCLAIMER: This device contains a capacitor that can charge up to 300V. If you do not know what you are doing, do not touch it!
What you need
Tools
-
-
-
Locate the black screws on the bottom of the camcorder (3 screws)
-
In the battery compartment (1 screw)
-
Next to the "bezel" part (1 screw)
 Ask FixBot
-
-
-
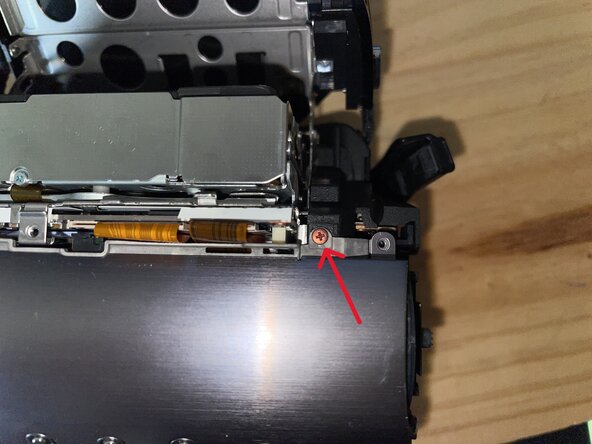
CAUTION: Carefully disconnect the orange ribbon cable from the board.
-
Lift slightly until you can access the 2nd ribbon cable underneath.
-
-
-




To reassemble your device, follow the instructions in reverse order.
Be careful not to bend the "orange" ribbon cables, as they may tear.
