Free Shipping on Domestic Orders $75+

Sony Ericsson w600i LCD Replacement

What you need

  1. Sony Ericsson w600i LCD Replacement , Disassembling Sony Ericsson w600i Battery Cover: step 1, image 1 of 1
    • Grip the lower portion of the back of the phone and slide downwards.

    Ask FixBot

    Add Comment

  2. Sony Ericsson w600i LCD Replacement , Battery: step 2, image 1 of 1
    • Lift battery at the rounded notch near the bottom of the phone.

    Ask FixBot

    Add Comment

  3. Sony Ericsson w600i LCD Replacement , Back housing: step 3, image 1 of 1
    • Unscrew the four Torx screws from the backplate.

    • The backplate may begin to separate from the keypad face. Do not try to remove it yet.

    • The screws are T5 Torx screws, 5.6mm.

    Ask FixBot

    Add Comment

  4. Sony Ericsson w600i LCD Replacement : step 4, image 1 of 1
    • Swivel the phone open.

    Ask FixBot

    Add Comment

  5. Sony Ericsson w600i LCD Replacement : step 5, image 1 of 1
    • Using the Spudger, gently pry up the U-shaped grey cover below the keypad.

    • The cover is secured with adhesive tape. The gentler this is removed, the easier it will be to reassemble.

    Ask FixBot

    Add Comment

  6. Sony Ericsson w600i LCD Replacement : step 6, image 1 of 1
    • Remove the two Torx screws from below the cover.

    • These are T5 Torx screws, 8.6mm.

    Ask FixBot

    Add Comment

  7. Sony Ericsson w600i LCD Replacement : step 7, image 1 of 1
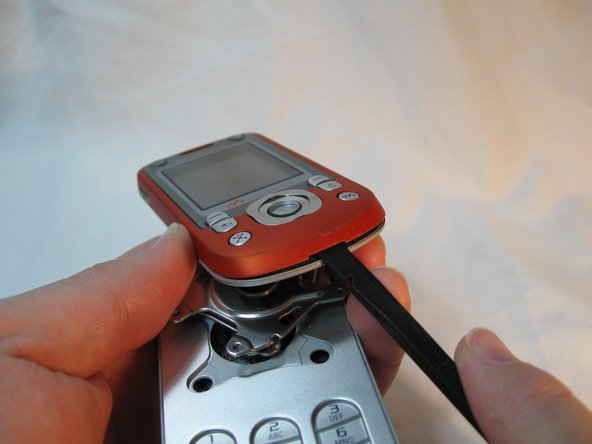
    • Gently work a spudger or a fingernail between the keypad face and the backplate.

    • The pieces are clipped together most tightly at the bottom loop section.

    Ask FixBot

    Add Comment

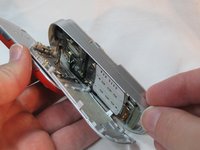
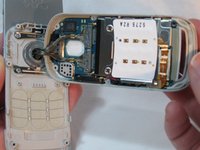
  8. Sony Ericsson w600i LCD Replacement : step 8, image 1 of 2 Sony Ericsson w600i LCD Replacement : step 8, image 2 of 2
    • Separate the keypad face from the backplate.

    • The keypad keys and the button component are both loose inside the phone, so take note of their orientation in case they become dislodged.

    • Take note of the braided cord's state. Upon reassembly it should be returned to the same orientation.

    Ask FixBot

    Add Comment

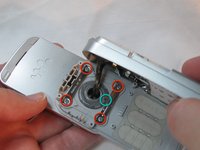
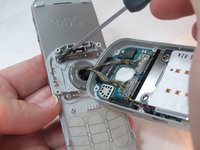
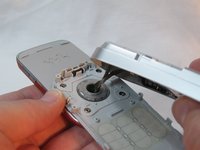
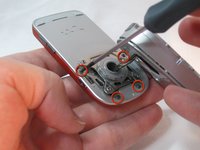
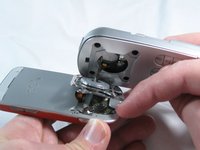
  9. Sony Ericsson w600i LCD Replacement : step 9, image 1 of 3 Sony Ericsson w600i LCD Replacement : step 9, image 2 of 3 Sony Ericsson w600i LCD Replacement : step 9, image 3 of 3
    • Holding the backplate away from the swivel, remove the 4 small Phillips screws and both stamped struts from the swivel assembly.

    • Note that only the bottom strut has a tab.

    • The screws are Phillips, 2.9mm

    Ask FixBot

    Add Comment

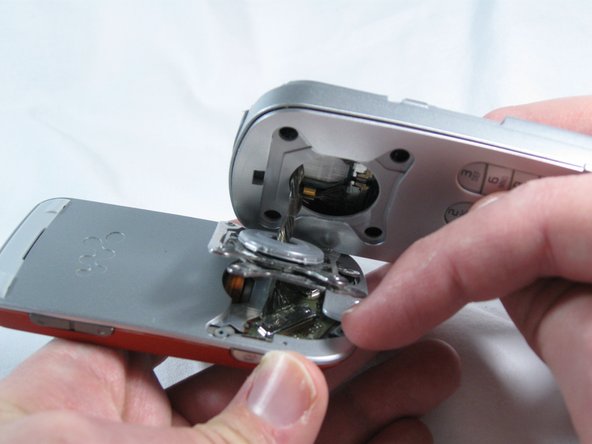
  10. Sony Ericsson w600i LCD Replacement : step 10, image 1 of 1
    • The back housing is now disassembled, and the swivel assembly is revealed.

    Ask FixBot

    Add Comment

  11. Sony Ericsson w600i LCD Replacement , LCD Section: step 11, image 1 of 2 Sony Ericsson w600i LCD Replacement , LCD Section: step 11, image 2 of 2
    • Remove the four black Phillips screws holding the swivel assembly to the LCD section of the phone.

    • Be mindful of the screws, as they are very small.

    • The screws are Phillips, 2.4mm

    Ask FixBot

    Add Comment

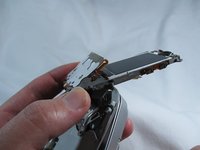
  12. Sony Ericsson w600i LCD Replacement : step 12, image 1 of 1
    • Gently remove the grey plastic cover at the top-rear of the LCD section with a spudger.

    • It is secured with adhesive tape, the more gently you remove this piece, the easier reassembly will be later.

    Ask FixBot

    Add Comment

  13. Sony Ericsson w600i LCD Replacement : step 13, image 1 of 1
    • Remove the two Torx screws revealed under the grey cover.

    • The screws are Torx T5, 5.6mm

    Ask FixBot

    Add Comment

  14. Sony Ericsson w600i LCD Replacement : step 14, image 1 of 1
    • Gently pry off the front face, starting at the bottom slot.

    Ask FixBot

    Add Comment

  15. Sony Ericsson w600i LCD Replacement : step 15, image 1 of 1
    • Remove the Torx screws near the buttons.

    • The screws are Torx T5, 5.6mm

    Ask FixBot

    Add Comment

  16. Sony Ericsson w600i LCD Replacement : step 16, image 1 of 2 Sony Ericsson w600i LCD Replacement : step 16, image 2 of 2
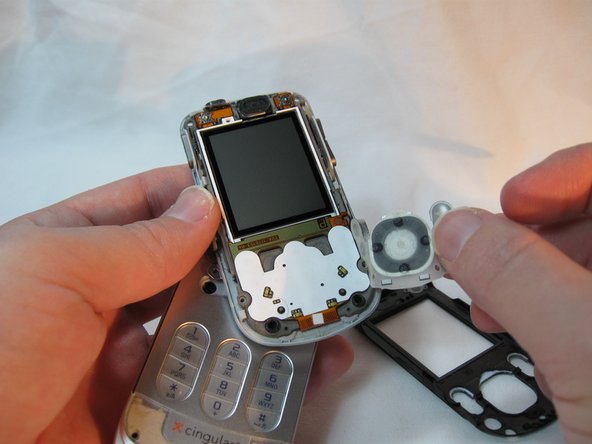
    • Remove the black front plate.

    • Remove the button overlay, taking note of its position for reassembly. There are small grey nubs that correspond to holes in the overlay.

    Ask FixBot

    Add Comment

  17. Sony Ericsson w600i LCD Replacement : step 17, image 1 of 1
    • Gently release the small grey retaining clips around the outside of the display assembly.

    • Separate the display assembly from its backplate.

    • Take care; some of the side buttons may dislodge as the backplate is separated.

    • The LCD section is now disassembled.

    Ask FixBot

    Add Comment

  18. Sony Ericsson w600i LCD Replacement , LCD Replacement: step 18, image 1 of 2 Sony Ericsson w600i LCD Replacement , LCD Replacement: step 18, image 2 of 2
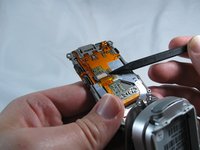
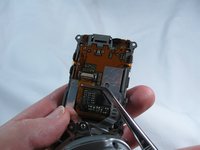
    • The LCD display is connected to the device with a small flex cable. To release the cable, flip the small handle on the connector to an upright position.

    Ask FixBot

    Add Comment

  19. Sony Ericsson w600i LCD Replacement : step 19, image 1 of 2 Sony Ericsson w600i LCD Replacement : step 19, image 2 of 2
    Tool used on this step:
    Tweezers
    $4.99
    Buy
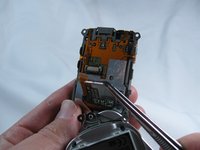
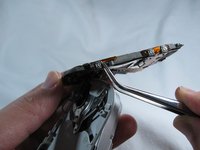
    • Gently pull the flex cable downwards with a pair of tweezers.

    Ask FixBot

    Add Comment

  20. Sony Ericsson w600i LCD Replacement : step 20, image 1 of 2 Sony Ericsson w600i LCD Replacement : step 20, image 2 of 2
    • Gently separate the side button component from the inner casing. It is attached with adhesive.

    • Gently pull the front button component away from the inner casing slightly. It does not need to be removed.

    Ask FixBot

    Add Comment

  21. Sony Ericsson w600i LCD Replacement : step 21, image 1 of 1
    • Remove the LCD screen by its white housing, pulling the flex cable through the slot from the other side of the casing.

    Ask FixBot

    Add Comment

  22. Sony Ericsson w600i LCD Replacement : step 22, image 1 of 1
    • The LCD has been removed! It can now be replaced with a functioning display.

    Ask FixBot

    Add Comment

Conclusion

To reassemble your device, follow these instructions in reverse order.

Cancel: I did not complete this guide.

One other person completed this guide.

Beau Blanchard

Member since: 09/30/12

20 Reputation

6 Guides authored

Team

0 Guide Comments

Add Comment

View Statistics:

Past 24 Hours: 0

Past 7 Days: 5

Past 30 Days: 26

All Time: 1,256