
Sony Ericsson Xperia X10 Display Assembly Replacement

Last updated on Jan 20, 2025
Views: 4.7K
View statistics:
- Past 24 Hours:
- 2
- Past 7 Days:
- 26
- Past 30 Days:
- 103
- All Time:
- 4,670
Comments: 1
1 comment on steps.
Completed: 3 4
3 people have marked this guide "completed." Will you be next?
4 people have marked this guide "completed." Including you — great job!
Favorites: 4 5
4 people have favorited (and subscribed to) this guide. Will you be next?
5 people have favorited (and subscribed to) this guide — including you!
Bullets!
Better coordination with markups and the color/type of bullets will help make this guide more clear!
Confusing Text
Some of this guide's text is confusing, duplicated, or off-topic. Clarify it by editing!
Incorrect Tools
Help make this guide better by using the correct tools in images and/or text.
Needs Better Images
Better photos will improve this guide. Help out by taking, editing, or uploading new ones!
Markup Mishap
This guide needs better markups. Help out by correcting or making some markup annotations.
Needs More Images
A few more images would make this guide's procedures crystal clear.
Introduction
Go to step 1 ↓This guide will show how to replace the broken display assembly of your Sony Ericsson Xperia X10 smartphone. This guide will not show how to replace the glass.
What you need
Tools


-
-
-
Place the phone with the back facing up. Remove the back cover and the battery.
 Ask FixBot
-
-
-
Remove the 5mm screws from back of the phone, image indicates where they are. There should be 8 screws. Use a T-6 bit.
-
-
-
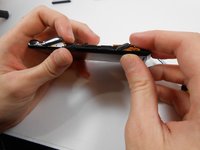
Use a case opening tool to release clips holding together the case. It should be easier starting at the bottom right side of the phone, as indicated in the image. Insert the tool and run it down the side of the phone, using a prying motion to pull it apart.
-
-
-
Case should be in two pieces. Take the side indicated in the left side of the image and put it out of the way.
-
-
-
-
Insert a flat head screw driver under the two clips and pry up. The chip should come loose with just a ribbon cable holding it to the rest of the phone.
-
-
-
Flip the chip to the left and remove the ribbon cable from the rest of the phone using a flat head screw driver. Gently insert the screw driver under the cable and pry up.
-
-
-
If the volume rocker and camera button haven't fallen off yet, remove them and put them off to the side. Using your fingers or a screwdriver, pull off the black plastic piece on the very top of the phone. This is the audio jack.
-
-
-
Using a flat head screw driver, undo the ribbon cables connected to the phone. There should be two on the left, one on the right, and one on the top.
-
-
-
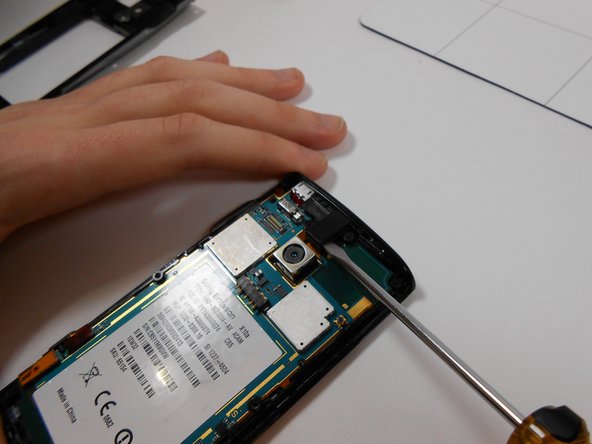
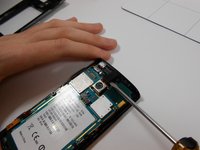
Gently insert a flat head screw driver under the logic board and pry to remove it from the phone casing. There should be a notch where a screw driver can fit as indicated in the image.
-
-
-
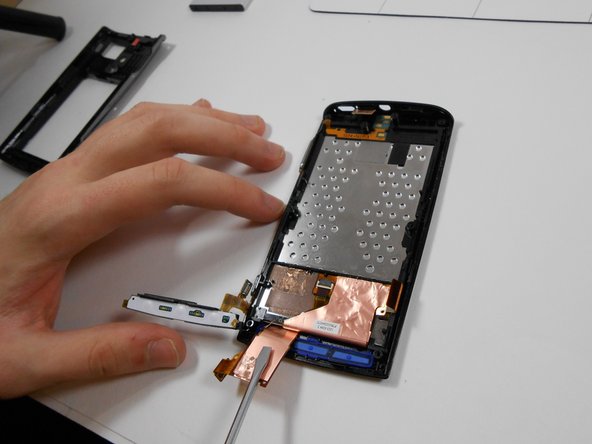
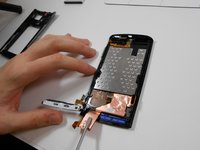
Using a flat head screw driver, disconnect the glue holding the left ribbon cable to the phone. Once unglued, the cable should flip back and still be connected to the phone. Pull up the black plastic piece being pointed to in the image.
-
-
-
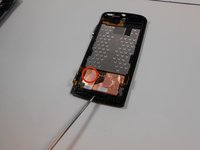
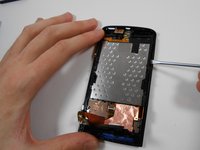
Using a flat head screwdriver, pry up the board. Should have to pry from the left and from the right. Nothing is holding in the power button on the top of the phone, go ahead and remove it.
-
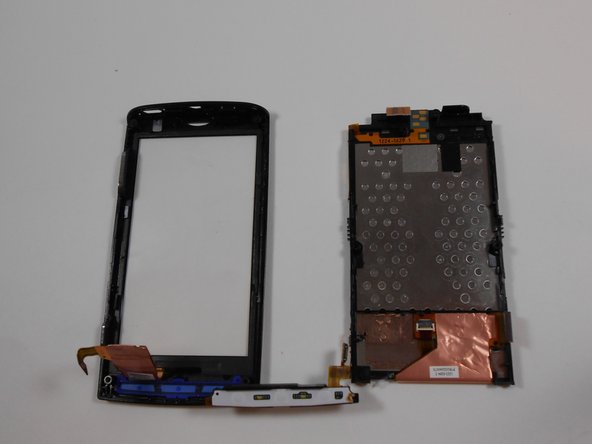
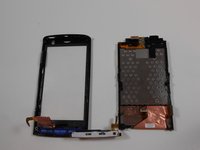
The piece on the right side of the picture is the LCD screen. It appears that the speakers and other components are directly attached to the LCD and must be replace as one unit.
-
-





To reassemble your device, follow these instructions in reverse order. The pieces need to be placed exactly back into the phone as they came out or else they won't fit together correctly.
Cancel: I did not complete this guide.
3 other people completed this guide.

Team

UMass Dartmouth, Team 1-5, Shastany Fall 2013 Member of UMass Dartmouth, Team 1-5, Shastany Fall 2013
UMASSD-SHASTANY-F13S1G5
2 Members
36 Guides authored
