
Sony Dream Machine ICF-C717PJ Screen Replacement

Gurleen Powar and 6 other contributors
Last updated on Jan 6, 2021
Views: 1.8K
View statistics:
- Past 24 Hours:
- 0
- Past 7 Days:
- 11
- Past 30 Days:
- 69
- All Time:
- 1,829
Comments: 1
1 comment on steps.
Completed: 0 1
No one has marked this guide "completed." Will you be the first?
1 person has marked this guide "completed." It's you — great job!
Favorites: 0 1
No one has favorited (and subscribed to) this guide. Will you be the first?
1 person has favorited (and subscribed to) this guide — and that's you!
Action Shots
Be an action hero! This guide needs images that better demonstrate how to perform specific actions.
Needs Better Images
Better photos will improve this guide. Help out by taking, editing, or uploading new ones!
Introduction
Go to step 1 ↓If the display on the Sony Dream Machine is not showing up properly or has any similar issues, the display monitor may need to be adjusted. Please see the Sony Dream Machine ICF-C717PJ Troubleshooting page: Sony Dream Machine ICF-C717PJ to eliminate other possible issues before tampering with the screen/display.
What you need
Tools

-
-
-
Using a Phillips #0 screwdriver unscrew the three screws that connect the back panel to the device.
 Ask FixBot
-
-
-
-
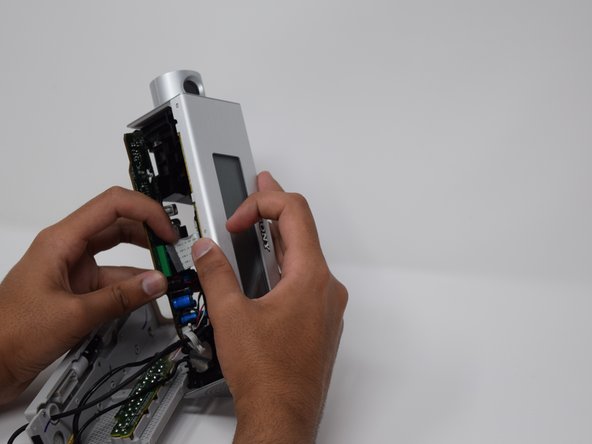
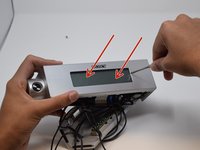
Flip the device around so that the display is facing you. Gently push the display towards the inside of the device.
-
-


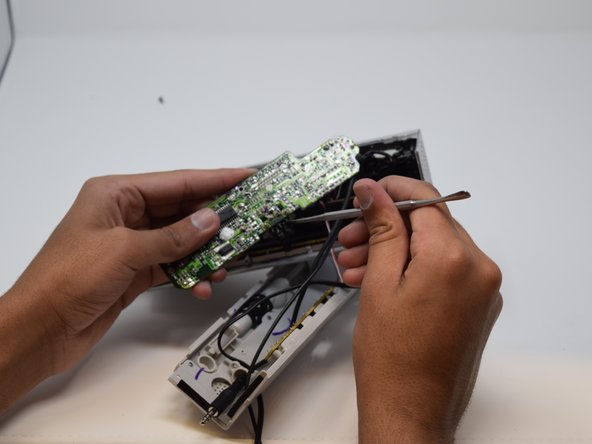

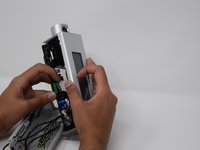
To reassemble your device, follow these instructions in reverse order.

