Free Shipping on Domestic Orders $75+

Sony DVP-NS325 Optical Drive Replacement

What you need

    1. Sony DVP-NS325 Optical Drive Replacement, Outer Case: step 1, image 1 of 3 Sony DVP-NS325 Optical Drive Replacement, Outer Case: step 1, image 2 of 3 Sony DVP-NS325 Optical Drive Replacement, Outer Case: step 1, image 3 of 3
      • Use a Phillips screwdriver to unscrew the five screws.

      Ask FixBot

      Add Comment

    2. Sony DVP-NS325 Optical Drive Replacement: step 2, image 1 of 3 Sony DVP-NS325 Optical Drive Replacement: step 2, image 2 of 3 Sony DVP-NS325 Optical Drive Replacement: step 2, image 3 of 3
      • Use the Philips screwdriver to remove the screws located on the sides and the back.

      • Not shown are the right side screw and the middle screw.

      Ask FixBot

      Add Comment

    3. Sony DVP-NS325 Optical Drive Replacement: step 3, image 1 of 1
      • Use a spudger to separate the case from the chassis.

      • Remove the case.

      Ask FixBot

      Add Comment

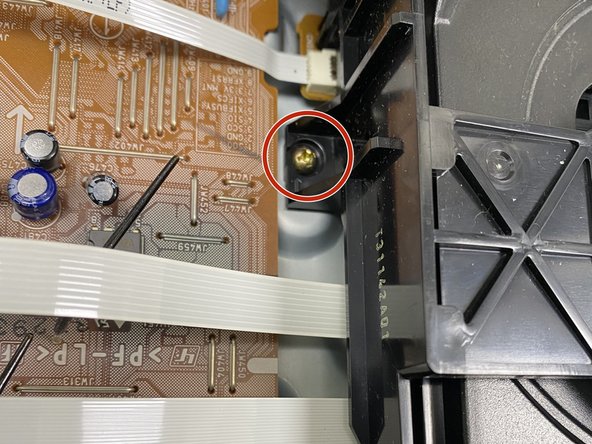
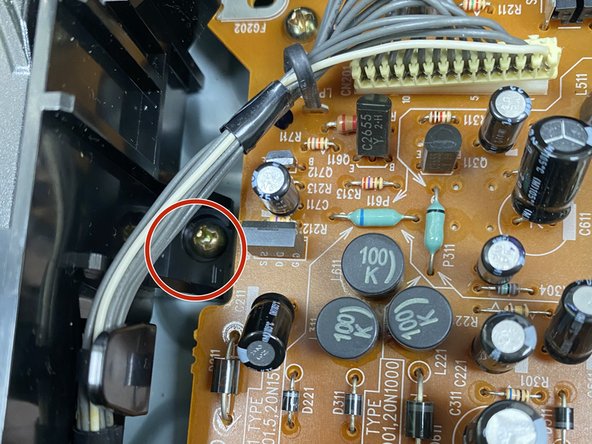
    1. Sony DVP-NS325 Optical Drive Replacement, Optical Drive: step 4, image 1 of 3 Sony DVP-NS325 Optical Drive Replacement, Optical Drive: step 4, image 2 of 3 Sony DVP-NS325 Optical Drive Replacement, Optical Drive: step 4, image 3 of 3
      • The Location of the three screws holding the CD reader in place.

      Ask FixBot

      Add Comment

    2. Sony DVP-NS325 Optical Drive Replacement: step 5, image 1 of 1
      • Use a Phillips screwdriver to remove all three screws holding the CD reader in position.

      • Two screws not shown.

      Ask FixBot

      Add Comment

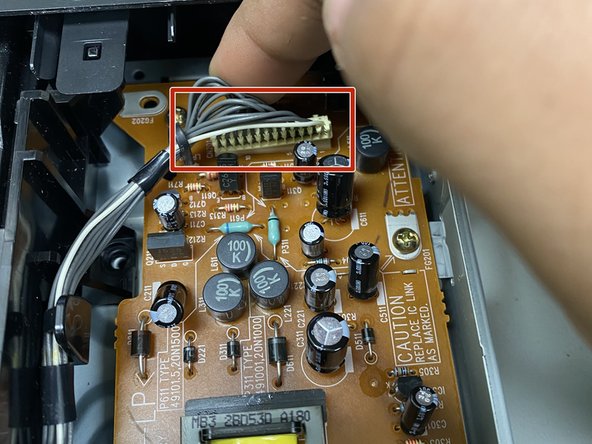
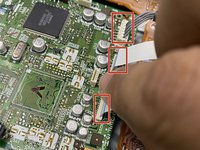
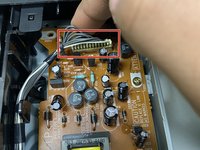
    3. Sony DVP-NS325 Optical Drive Replacement: step 6, image 1 of 2 Sony DVP-NS325 Optical Drive Replacement: step 6, image 2 of 2
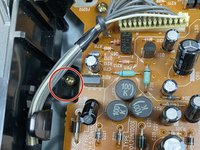
      • Disconnect all of the optical drive motherboard connections.

      Ask FixBot

      Add Comment

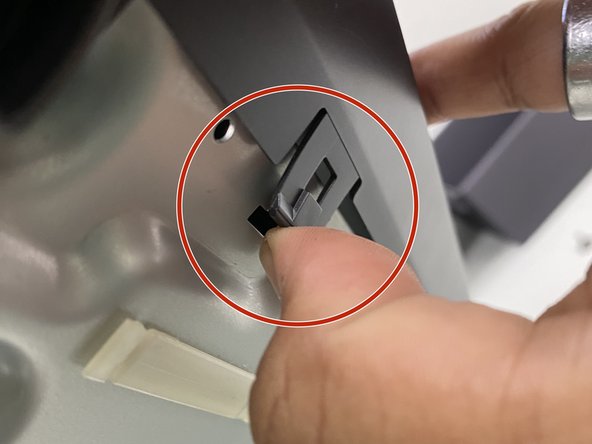
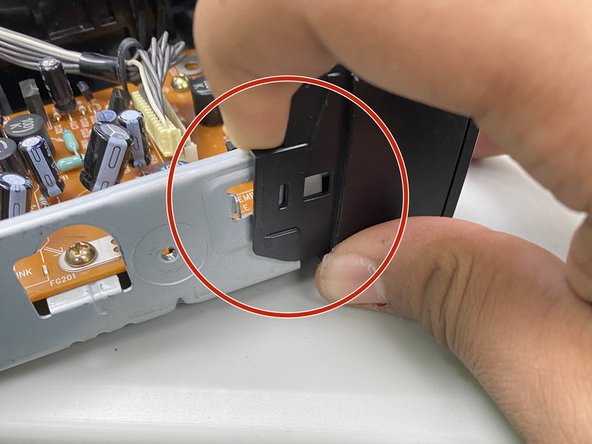
    4. Sony DVP-NS325 Optical Drive Replacement: step 7, image 1 of 3 Sony DVP-NS325 Optical Drive Replacement: step 7, image 2 of 3 Sony DVP-NS325 Optical Drive Replacement: step 7, image 3 of 3
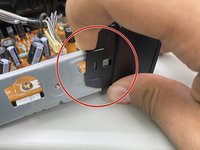
      • Lift the four retention clips holding the face of the DVD player in place.

      • Two clips are not shown, left and bottom right side clips.

      Ask FixBot

      Add Comment

    5. Sony DVP-NS325 Optical Drive Replacement: step 8, image 1 of 1
      • Remove the front face of the DVD player by pulling it away from the device.

      Ask FixBot

      Add Comment

    6. Sony DVP-NS325 Optical Drive Replacement: step 9, image 1 of 1
      • Remove the optical drive.

      Ask FixBot

      Add Comment

Conclusion

To reassemble your device, follow these instructions in reverse order.

Cancel: I did not complete this guide.

0 Guide Comments

Add Comment

View Statistics:

Past 24 Hours: 2

Past 7 Days: 9

Past 30 Days: 38

All Time: 479