Free Shipping on Domestic Orders $75+

Sony DVP-FX730 Screen Replacement

Views: 3.6K

View statistics:

Past 24 Hours:
5
Past 7 Days:
25
Past 30 Days:
121
All Time:
3,613
Comments: 1

1 guide comment.

Go to guide comments
Completed: 3

3 people have marked this guide "completed." Will you be next?

Favorites: 1

1 person has favorited (and subscribed to) this guide. Will you be next?

Time Required: 15 minutes
Difficulty: Moderate
Action Shots

Be an action hero! This guide needs images that better demonstrate how to perform specific actions.

Needs Better Images

Better photos will improve this guide. Help out by taking, editing, or uploading new ones!

Sony DVP-FX730 Screen Replacement

Introduction

Go to step 1 ↓

If the device is on but nothing shows up on the screen, the screen may need to be replaced.

What you need

Tools

  • Phillips #00 Screwdriver
    4.9
  • Spudger
    4.9
    1. Sony DVP-FX730 Screen Replacement, Monitor: step 1, image 1 of 2 Sony DVP-FX730 Screen Replacement, Monitor: step 1, image 2 of 2
      • Use your hand to remove the small back cover by gently pulling upward.

      Ask FixBot

      Add Comment

    2. Sony DVP-FX730 Screen Replacement: step 2, image 1 of 1
      • Using a screwdriver, remove the two 12 mm pan head screws.

      Ask FixBot

      Add Comment

    3. Sony DVP-FX730 Screen Replacement: step 3, image 1 of 1
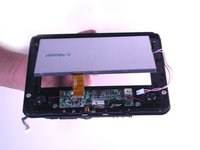
      • The screen should now detach from the primary device.

      • The wires, indicated with a blue box, will still connect the screen.

      Ask FixBot

      Add Comment

    4. Sony DVP-FX730 Screen Replacement: step 4, image 1 of 2 Sony DVP-FX730 Screen Replacement: step 4, image 2 of 2
      Tool used on this step:
      Tweezers
      $4.99
      Buy
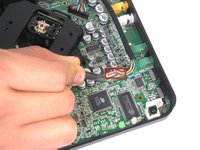
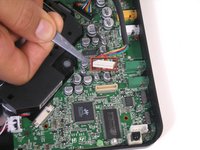
      • Remove the wires attached to the white base using tweezers to pull them up.

      Ask FixBot

      Add Comment

    5. Sony DVP-FX730 Screen Replacement: step 5, image 1 of 2 Sony DVP-FX730 Screen Replacement: step 5, image 2 of 2
      • Referring back to Step 8, do the same with the wires attached to the black base.

      Ask FixBot

      Add Comment

    6. Sony DVP-FX730 Screen Replacement: step 6, image 1 of 1
      • The screen should now be completely separated from the main device.

      Ask FixBot

      Add Comment

    1. Sony DVP-FX730 Screen Replacement, Screen: step 7, image 1 of 1
      • Remove the four rubber feet and the screws beneath.

      • Remove the two exposed screws on the left side.

      • Pull back the cables until the screw is visible.

      Ask FixBot

      Add Comment

    2. Sony DVP-FX730 Screen Replacement: step 8, image 1 of 1
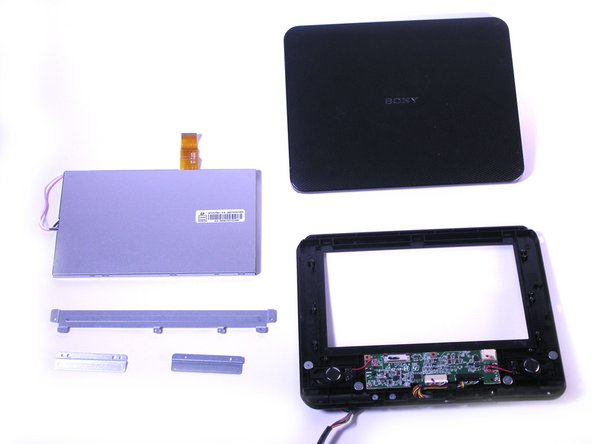
      • Using the spudger, separate the top and bottom covers.

      Ask FixBot

      Add Comment

    3. Sony DVP-FX730 Screen Replacement: step 9, image 1 of 1
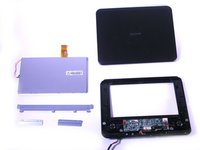
      • Identify the gray back of the screen.

      Ask FixBot

      Add Comment

    4. Sony DVP-FX730 Screen Replacement: step 10, image 1 of 1
      • Remove the screws.

      Ask FixBot

      Add Comment

    5. Sony DVP-FX730 Screen Replacement: step 11, image 1 of 1
      • Remove the metal plates.

      Ask FixBot

      Add Comment

    6. Sony DVP-FX730 Screen Replacement: step 12, image 1 of 2 Sony DVP-FX730 Screen Replacement: step 12, image 2 of 2
      Tool used on this step:
      Tweezers
      $4.99
      Buy
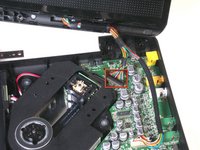
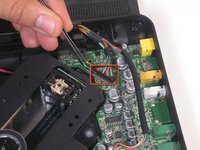
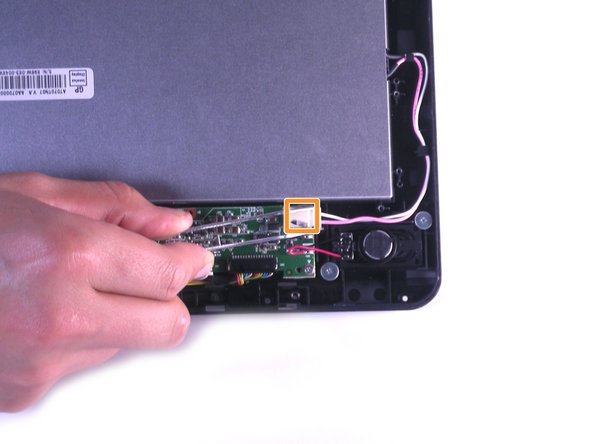
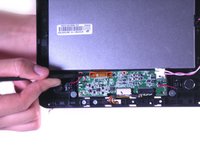
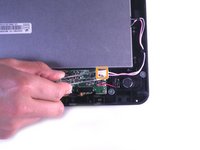
      • Using spudger, push the lock clips to unlock the ribbon cable.

      • Using tweezers, pull the connector loose.

      Ask FixBot

      Add Comment

    7. Sony DVP-FX730 Screen Replacement: step 13, image 1 of 2 Sony DVP-FX730 Screen Replacement: step 13, image 2 of 2
      • Place your hand on the front of the screen and push upwards.

      Ask FixBot

      Add Comment

Conclusion

To reassemble your device, follow these instructions in reverse order.

Cancel: I did not complete this guide.

3 other people completed this guide.

Oliver Woolsoncroft

Member since: 01/20/12

99 Reputation

2 Guides authored

Team

Cal Poly, Team 11-21, Maness Winter 2012 Member of Cal Poly, Team 11-21, Maness Winter 2012

CPSU-MANESS-W12S11G21

4 Members

60 Guides authored

1 Guide Comment

I found this device on vinted in pristine condition. I really liked it. It‘s great for watching my Stargate SG-1 DVD‘s. But the sound was a little too harsh in the highs so I replaced the stock loudspeakers with two iPhone 16 Pro Max loudspeakers. And now it sounds much better! That‘s what I needed this guide for. Thank you very much!

Dieter - Reply Share

Add Comment

View Statistics:

Past 24 Hours: 5

Past 7 Days: 25

Past 30 Days: 121

All Time: 3,613