
Sony DSC-RX10M3 Viewfinder Replacement

Salman Hersi and 3 other contributors
Last updated on May 7, 2024
Views: 2.2K
View statistics:
- Past 24 Hours:
- 1
- Past 7 Days:
- 20
- Past 30 Days:
- 85
- All Time:
- 2,174
Comments: 1
1 comment on steps.
Completed: 2 3
2 people have marked this guide "completed." Will you be next?
3 people have marked this guide "completed." Including you — great job!
Favorites: 0 1
No one has favorited (and subscribed to) this guide. Will you be the first?
1 person has favorited (and subscribed to) this guide — and that's you!
Introduction
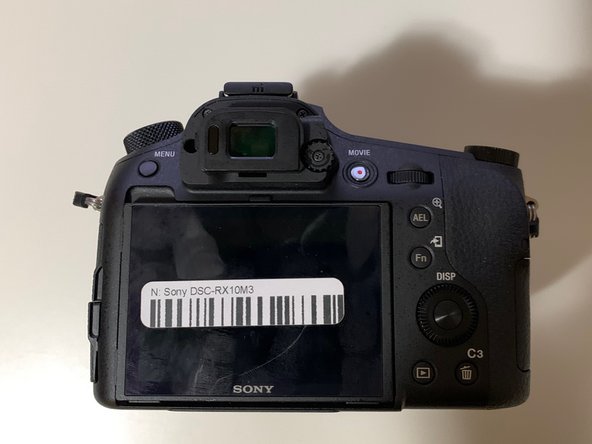
Go to step 1 ↓If your Sony DSC-RX10M3 is not displaying accurate pictures, this guide will help you replace the viewfinder, which is the component that you look through when trying to capture a shot. You will need to completely remove the back panel of the camera before proceeding to replace the viewfinder. It is important that you are wary of the ribbon cable in the last step and make sure that you don’t apply too much pressure or it might cause damage. There are a lot of screws in this device, and it’s recommended that you use iFixit’s magnetic project mat to place your screws in.
For this guide, you are not required to remove the side panel in step 6.
What you need
Tools


-
-
-
Remove the twelve 0.7mm Phillips #000 screws from the bottom case.
 Ask FixBot
-
-
-
Remove the two 0.7mm screws that secure the right side of the camera.
-
Remove the two 0.7mm screws that secure the left side of the camera, near the Wi-Fi logo and charging port.
-
-
-
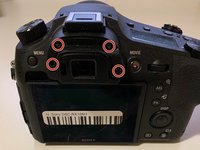
Use a Phillips #000 screwdriver to remove the four 0.4mm screws located under the rubber eye guard.
-
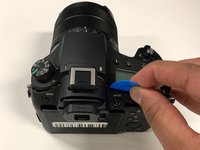
Use a plastic opening tool to detach the back panel of the camera.
-
-
Tool used on this step:Tweezers$4.99
-
Using tweezers, disconnect the ribbon cable connecting the LCD to the circuit board.
-
-
-
-
-
Tool used on this step:Tweezers$4.99
-
Use tweezers to detach the ribbon cable from the motherboard.
-








To reassemble your device, follow these instructions in reverse order.
Cancel: I did not complete this guide.
2 other people completed this guide.

Team

York University, Team S4-G4, Woodhouse Winter 2020 Member of York University, Team S4-G4, Woodhouse Winter 2020
YORK-WOODHOUSE-W20S4G4
3 Members
36 Guides authored
