Free Shipping on Domestic Orders $75+

Sony DSC-RX100MA SD Motherboard Replacement

What you need

    1. Sony DSC-RX100MA SD Motherboard Replacement, Back Cover: step 1, image 1 of 3 Sony DSC-RX100MA SD Motherboard Replacement, Back Cover: step 1, image 2 of 3 Sony DSC-RX100MA SD Motherboard Replacement, Back Cover: step 1, image 3 of 3
      • Remove battery by sliding the tab to open the cover

      Ask FixBot

      Add Comment

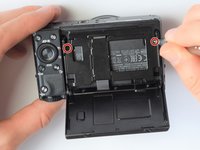
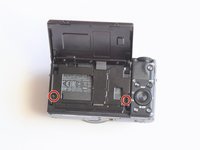
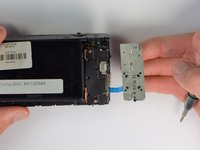
    2. Sony DSC-RX100MA SD Motherboard Replacement: step 2, image 1 of 3 Sony DSC-RX100MA SD Motherboard Replacement: step 2, image 2 of 3 Sony DSC-RX100MA SD Motherboard Replacement: step 2, image 3 of 3
      • Using the screwdriver, remove all screws (black 2.5mm) from outermost layer of the assembly.

      • All screws in the camera can be removed with the PH 0 driver head.

      Ask FixBot
      Add Comment

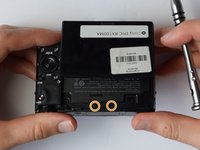
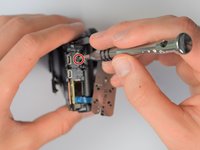
    3. Sony DSC-RX100MA SD Motherboard Replacement: step 3, image 1 of 3 Sony DSC-RX100MA SD Motherboard Replacement: step 3, image 2 of 3 Sony DSC-RX100MA SD Motherboard Replacement: step 3, image 3 of 3
      • Also using the screwdriver, remove screws (black 1mm) underneath articulated LCD screen.

      • Remove the marked 2.5 mm screws with the screwdriver

      Ask FixBot
      Add Comment

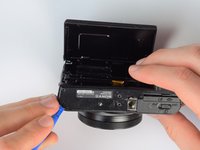
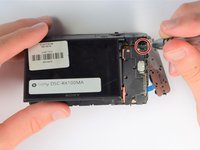
    4. Sony DSC-RX100MA SD Motherboard Replacement: step 4, image 1 of 2 Sony DSC-RX100MA SD Motherboard Replacement: step 4, image 2 of 2
      • Using the plastic opening tools, carefully pry off the bottom plate.

      • Do not pull too hard as you may break the plastic casing.

      Ask FixBot
      Add Comment

    5. Sony DSC-RX100MA SD Motherboard Replacement: step 5, image 1 of 3 Sony DSC-RX100MA SD Motherboard Replacement: step 5, image 2 of 3 Sony DSC-RX100MA SD Motherboard Replacement: step 5, image 3 of 3
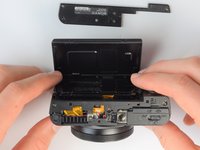
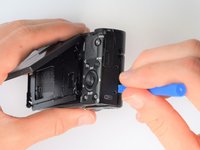
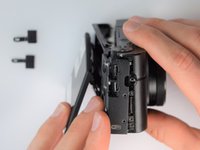
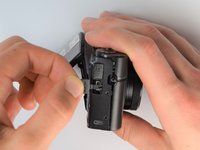
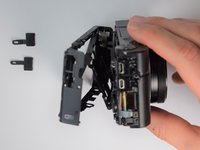
      • Using the same plastic opening tools, separate the screen and back assembly from the front portion of the camera

      • Once the back assembly is slightly detached, pull the media covers for the HDMI and Multimedia ports

      Ask FixBot

      Add Comment

    6. Sony DSC-RX100MA SD Motherboard Replacement: step 6, image 1 of 2 Sony DSC-RX100MA SD Motherboard Replacement: step 6, image 2 of 2
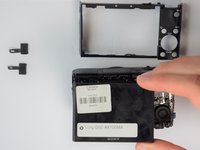
      • Remove the back cover

      Ask FixBot

      Add Comment

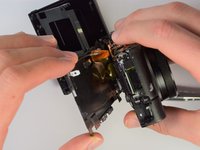
    1. Sony DSC-RX100MA SD Motherboard Replacement, Screen: step 7, image 1 of 3 Sony DSC-RX100MA SD Motherboard Replacement, Screen: step 7, image 2 of 3 Sony DSC-RX100MA SD Motherboard Replacement, Screen: step 7, image 3 of 3
      • Move side panel to get access to screws

      • Remove two screws (black 2.5mm) with PH #0 screwdriver

      Ask FixBot
      Add Comment

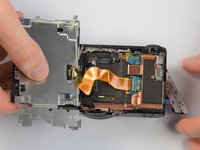
    2. Sony DSC-RX100MA SD Motherboard Replacement: step 8, image 1 of 2 Sony DSC-RX100MA SD Motherboard Replacement: step 8, image 2 of 2
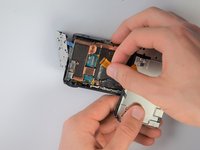
      • Remove back panel assembly while still keeping ribbon cable attached

      • Be very gentle and care not to tear the gold ribbon cable. This will be a common theme throughout these replacement guides.

      Ask FixBot
      Add Comment

    3. Sony DSC-RX100MA SD Motherboard Replacement: step 9, image 1 of 2 Sony DSC-RX100MA SD Motherboard Replacement: step 9, image 2 of 2
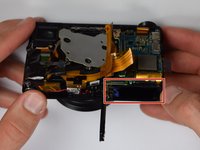
      • Carefully unplug ribbon connector to fully detach LCD screen assembly from camera

      Ask FixBot

      Add Comment

    1. Sony DSC-RX100MA SD Motherboard Replacement, SD Card Holder: step 10, image 1 of 2 Sony DSC-RX100MA SD Motherboard Replacement, SD Card Holder: step 10, image 2 of 2
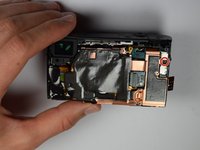
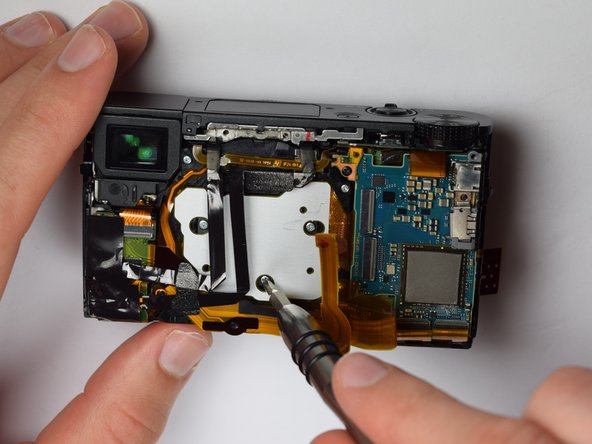
      • Remove remaining screw which holds the copper casing in the camera

      Ask FixBot

      Add Comment
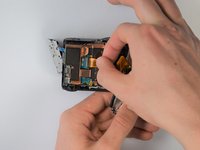
    2. Sony DSC-RX100MA SD Motherboard Replacement: step 11, image 1 of 3 Sony DSC-RX100MA SD Motherboard Replacement: step 11, image 2 of 3 Sony DSC-RX100MA SD Motherboard Replacement: step 11, image 3 of 3
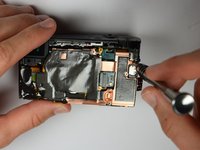
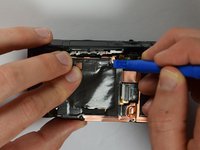
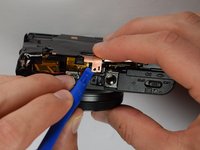
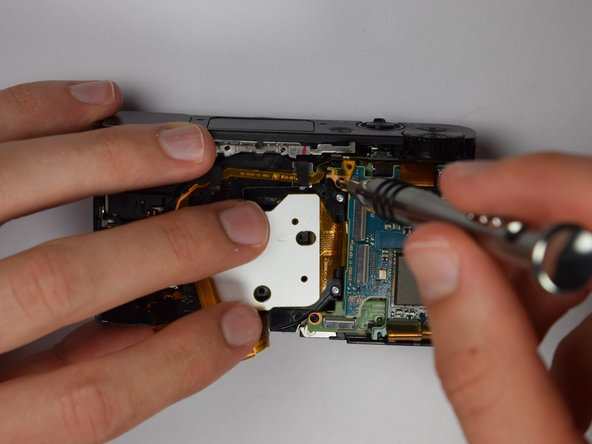
      • Using the plastic opening tools, carefully pry off the copper casing at the two pictured points.

      • Remove casing

      Ask FixBot

      Add Comment

    3. Sony DSC-RX100MA SD Motherboard Replacement: step 12, image 1 of 3 Sony DSC-RX100MA SD Motherboard Replacement: step 12, image 2 of 3 Sony DSC-RX100MA SD Motherboard Replacement: step 12, image 3 of 3
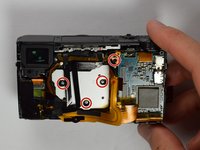
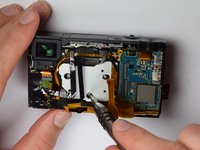
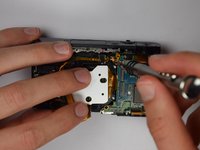
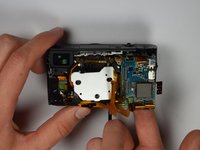
      • Using Philips Screwdriver, remove the four screws as marked on the picture

      Ask FixBot

      Add Comment

    4. Sony DSC-RX100MA SD Motherboard Replacement: step 13, image 1 of 3 Sony DSC-RX100MA SD Motherboard Replacement: step 13, image 2 of 3 Sony DSC-RX100MA SD Motherboard Replacement: step 13, image 3 of 3
      • Place your finger into the battery port and push up on the SD card holder to push it out of its socket.

      • Give it a little wiggle and you should feel the SD card holder come out.

      Ask FixBot

      Add Comment

    5. Sony DSC-RX100MA SD Motherboard Replacement: step 14, image 1 of 1
      Tool used on this step:
      Tweezers
      $4.99
      Buy
      • Carefully remove the gold ribbons from the ports of the motherboard by lifting the gray tabs and pulling away the ribbon

      • You may want to use tweezers to remove the gold ribbons as a more delicate and safe approach, but this is not required

      • Do not pull away motherboard too hard as the ribbons are very fragile

      Ask FixBot

      Add Comment

    6. Sony DSC-RX100MA SD Motherboard Replacement: step 15, image 1 of 1
      • Remove the SD card holder. It should easily come out because all of the prerequisite screws were already removed.

      Ask FixBot

      Add Comment

    1. Sony DSC-RX100MA SD Motherboard Replacement, SD Motherboard: step 16, image 1 of 1
      • Carefully remove the last gold ribbon by lifting the gray tab and sliding out the ribbon.

      • Be sure to use extreme caution because if this ribbon breaks, you will need to buy a new camera.

      Ask FixBot

      Add Comment

    2. Sony DSC-RX100MA SD Motherboard Replacement: step 17, image 1 of 1
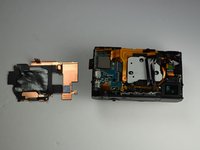
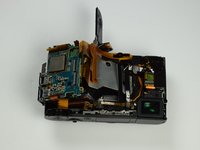
      • Viola! The motherboard is now removed and can be replaced with a new one.

      Ask FixBot

      Add Comment

Conclusion

To reassemble your device, follow these instructions in reverse order.

Cancel: I did not complete this guide.

4 other people completed this guide.

Isaiah De Leon

Member since: 01/29/17

442 Reputation

3 Guides authored

Team

Cal Poly, Team 21-1, Maness Winter 2017 Member of Cal Poly, Team 21-1, Maness Winter 2017

CPSU-MANESS-W17S21G1

5 Members

60 Guides authored

0 Guide Comments

Add Comment

View Statistics:

Past 24 Hours: 3

Past 7 Days: 19

Past 30 Days: 73

All Time: 3,795