Free Shipping on Domestic Orders $75+

Sony Cyber-shot DSC-W5 Lens Replacement

What you need

  1. Sony Cyber-shot DSC-W5 Lens Replacement, Back Cover: step 1, image 1 of 1
    • Remove Memory Stick Pro from the card reader slot on the bottom of the camera.

    • Remove both batteries.

    Ask FixBot

    Add Comment

  2. Sony Cyber-shot DSC-W5 Lens Replacement: step 2, image 1 of 2 Sony Cyber-shot DSC-W5 Lens Replacement: step 2, image 2 of 2
    • Remove the single visible screw from both sides of the camera.

    • Remove the two screws that are adjacent to the warning label, which is on the underside of the camera.

    • Do NOT remove all four screws from the bottom.

    Ask FixBot

    Add Comment

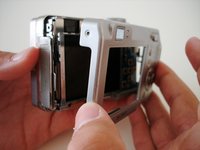
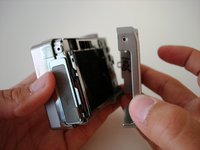
  3. Sony Cyber-shot DSC-W5 Lens Replacement: step 3, image 1 of 2 Sony Cyber-shot DSC-W5 Lens Replacement: step 3, image 2 of 2
    • Gently remove the back cover from the camera.

    • The first time the case is removed, it will be stiff. Be patient and gently rock the cover back and forth until it slides free.

    Ask FixBot

    Add Comment

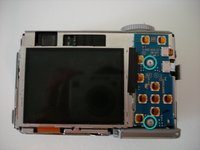
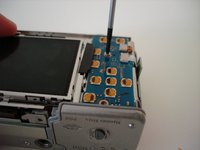
  4. Sony Cyber-shot DSC-W5 Lens Replacement, LCD Screen: step 4, image 1 of 2 Sony Cyber-shot DSC-W5 Lens Replacement, LCD Screen: step 4, image 2 of 2
    • Remove the two screws holding the circuit board down.

    Ask FixBot

    Add Comment

  5. Sony Cyber-shot DSC-W5 Lens Replacement: step 5, image 1 of 1
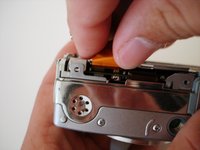
    • Detach the orange cable from the board.

    • Use a thin object, like a paperclip, to gently pry the cable off the connector.

    Ask FixBot

    Add Comment

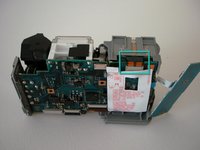
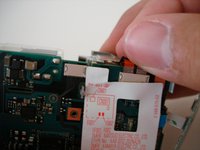
  6. Sony Cyber-shot DSC-W5 Lens Replacement: step 6, image 1 of 2 Sony Cyber-shot DSC-W5 Lens Replacement: step 6, image 2 of 2
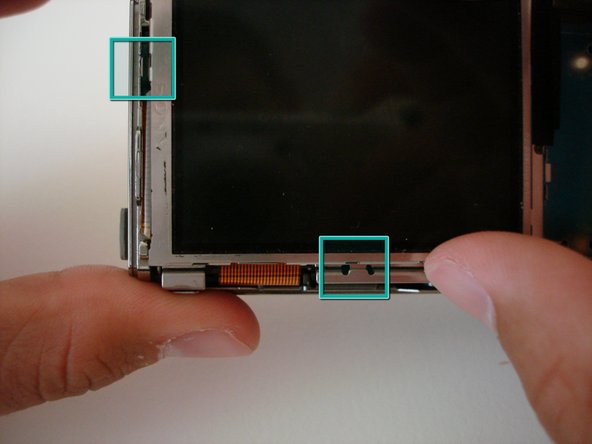
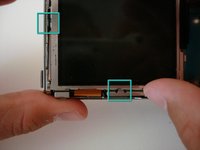
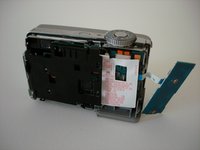
    • The LCD screen sits in two slots; one on the bottom, and one on the left edge.

    • Slide LCD screen from the two slots.

    • Do not attempt to completely remove the screen, as it is still attached to the camera.

    Ask FixBot

    Add Comment

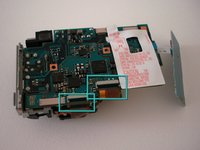
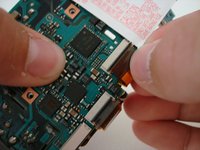
  7. Sony Cyber-shot DSC-W5 Lens Replacement: step 7, image 1 of 3 Sony Cyber-shot DSC-W5 Lens Replacement: step 7, image 2 of 3 Sony Cyber-shot DSC-W5 Lens Replacement: step 7, image 3 of 3
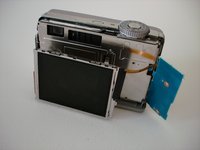
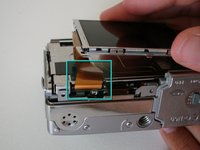
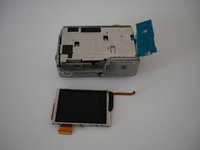
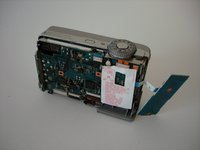
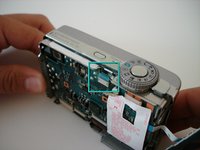
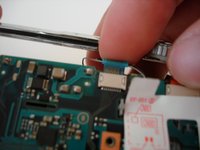
    • To remove the LCD screen, detach the orange cable from the board.

    • If needed, replace the LCD screen.

    Ask FixBot

    Add Comment

  8. Sony Cyber-shot DSC-W5 Lens Replacement, Speaker: step 8, image 1 of 2 Sony Cyber-shot DSC-W5 Lens Replacement, Speaker: step 8, image 2 of 2
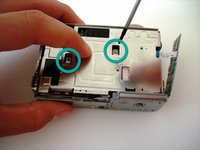
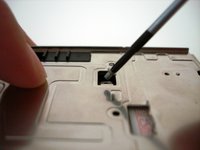
    • Remove the two screws holding down the steel back plate.

    • Remove steel back plate.

    Ask FixBot

    Add Comment

  9. Sony Cyber-shot DSC-W5 Lens Replacement: step 9, image 1 of 2 Sony Cyber-shot DSC-W5 Lens Replacement: step 9, image 2 of 2
    • Now remove the plastic plate that covers the motherboard.

    Ask FixBot

    Add Comment

  10. Sony Cyber-shot DSC-W5 Lens Replacement: step 10, image 1 of 2 Sony Cyber-shot DSC-W5 Lens Replacement: step 10, image 2 of 2
    • Warning: Electric Shock From this point on, hold the camera by the chrome edges ONLY. Capacitors store electric charge even if the batteries are removed.

    • Remove the blue cable.

    Ask FixBot

    Add Comment

  11. Sony Cyber-shot DSC-W5 Lens Replacement: step 11, image 1 of 2 Sony Cyber-shot DSC-W5 Lens Replacement: step 11, image 2 of 2
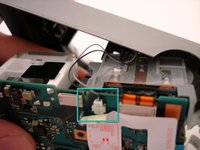
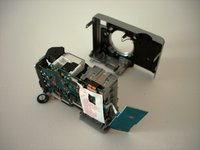
    • Disconnect the flash cable (black and white wires) before completely removing the front case.

    • Gently start to remove the case.

    • Once the cable is free, set aside the front case.

    Ask FixBot

    Add Comment

  12. Sony Cyber-shot DSC-W5 Lens Replacement: step 12, image 1 of 2 Sony Cyber-shot DSC-W5 Lens Replacement: step 12, image 2 of 2
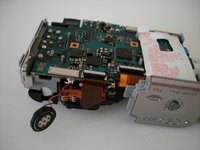
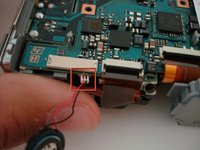
    • The speaker should now be clearly seen on the underside of the camera.

    • Gently unplug the speaker from the motherboard.

    • Replace the speaker.

    Ask FixBot

    Add Comment

  13. Sony Cyber-shot DSC-W5 Lens Replacement, Battery Terminal: step 13, image 1 of 2 Sony Cyber-shot DSC-W5 Lens Replacement, Battery Terminal: step 13, image 2 of 2
    • Remove the orange cable connecting the battery terminal to the motherboard.

    Ask FixBot

    Add Comment

  14. Sony Cyber-shot DSC-W5 Lens Replacement: step 14, image 1 of 1
    • The battery terminal is now free from the board and can be slid out.

    Ask FixBot

    Add Comment

  15. Sony Cyber-shot DSC-W5 Lens Replacement, Lens: step 15, image 1 of 3 Sony Cyber-shot DSC-W5 Lens Replacement, Lens: step 15, image 2 of 3 Sony Cyber-shot DSC-W5 Lens Replacement, Lens: step 15, image 3 of 3
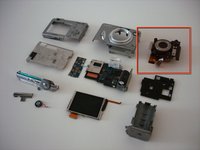
    • Detach two cables that go from the motherboard to the lens.

    • Remove lens.

    Ask FixBot

    Add Comment

Conclusion

To reassemble your device, follow these instructions in reverse order.

Cancel: I did not complete this guide.

7 other people completed this guide.

Thomas

Member since: 04/14/10

157 Reputation

6 Guides authored

Team

Cal Poly, Team 15-50, Garner Spring 2010 Member of Cal Poly, Team 15-50, Garner Spring 2010

CPSU-GARNER-S10S15G50

5 Members

12 Guides authored

1 Guide Comment

Ifixit it's so awesome... For a guy who loves to bring things apart but is scared of how to do it ifixit is wonderful

ogunkayodesamuel - Reply Share

Add Comment

View Statistics:

Past 24 Hours: 4

Past 7 Days: 16

Past 30 Days: 62

All Time: 22,900