Free Shipping on Domestic Orders $75+

Sony Cyber-shot DSC-TX7 Back Cover Replacement

What you need

  1. Sony Cyber-shot DSC-TX7 Back Cover Replacement, Battery: step 1, image 1 of 2 Sony Cyber-shot DSC-TX7 Back Cover Replacement, Battery: step 1, image 2 of 2
    • The battery compartment is located on the bottom of camera.

    • Move the slider from the 'lock' position to the 'open' position.

    Ask FixBot

    Add Comment

  2. Sony Cyber-shot DSC-TX7 Back Cover Replacement: step 2, image 1 of 3 Sony Cyber-shot DSC-TX7 Back Cover Replacement: step 2, image 2 of 3 Sony Cyber-shot DSC-TX7 Back Cover Replacement: step 2, image 3 of 3
    • Battery not shown.

    • Pull battery from compartment.

    • Insert newly charged battery into compartment, as shown in diagram (located in compartment).

    • Shut compartment door.

    • Move the slider back to the 'lock' position.

    Ask FixBot

    Add Comment

  3. Sony Cyber-shot DSC-TX7 Back Cover Replacement, Front Cover: step 3, image 1 of 1
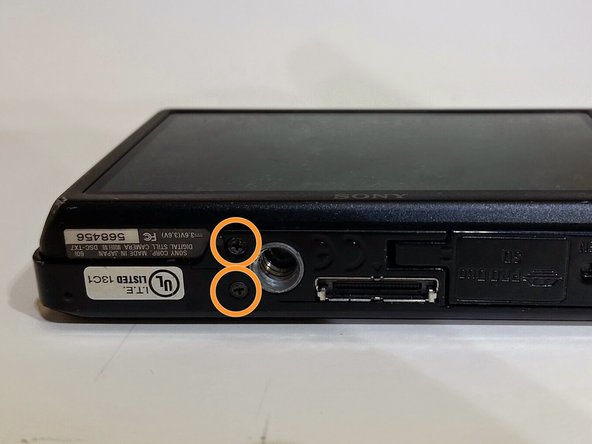
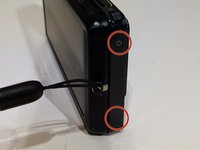
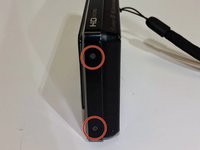
    • Use the Phillips #00 screwdriver to remove the 4mm length screws. There are 6 screws total.

    Ask FixBot

    Add Comment

  4. Sony Cyber-shot DSC-TX7 Back Cover Replacement: step 4, image 1 of 3 Sony Cyber-shot DSC-TX7 Back Cover Replacement: step 4, image 2 of 3 Sony Cyber-shot DSC-TX7 Back Cover Replacement: step 4, image 3 of 3
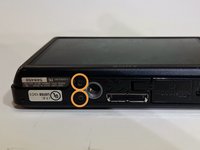
    • The 4 mm length screws are located on each side and on the bottom of the camera.

    • 2 screws on each side (4 total).

    • 2 screws on bottom.

    Ask FixBot

    Add Comment

  5. Sony Cyber-shot DSC-TX7 Back Cover Replacement: step 5, image 1 of 1
    • Gently pry around the front cover using the plastic opening tool.

    • Carefully separate front cover from body of camera.

    Ask FixBot

    Add Comment

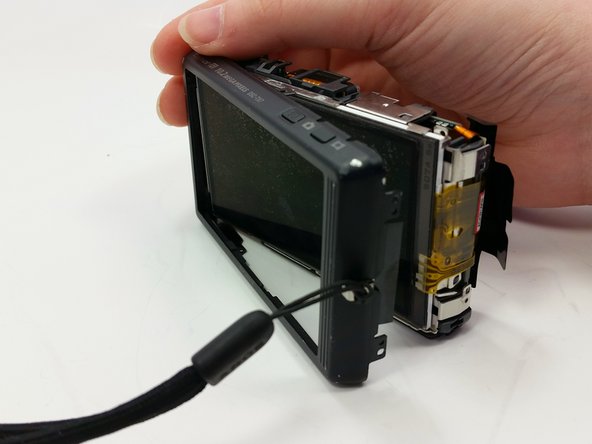
  6. Sony Cyber-shot DSC-TX7 Back Cover Replacement: step 6, image 1 of 1
    • The front cover is now removed from the camera and the internal hardware is now visible.

    • They front cover will still be connected by a ribbon. Be careful not to break the ribbon.

    Ask FixBot

    Add Comment

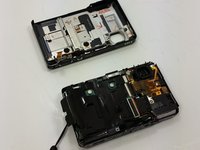
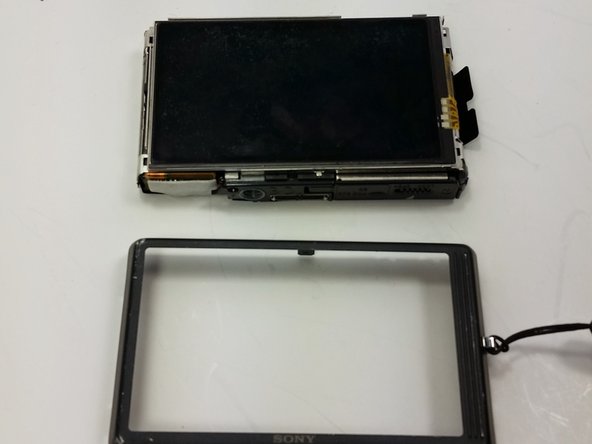
  7. Sony Cyber-shot DSC-TX7 Back Cover Replacement, Back Cover: step 7, image 1 of 1
    • This is the camera with the front cover unscrewed and partially removed.

    Ask FixBot

    Add Comment

  8. Sony Cyber-shot DSC-TX7 Back Cover Replacement: step 8, image 1 of 2 Sony Cyber-shot DSC-TX7 Back Cover Replacement: step 8, image 2 of 2
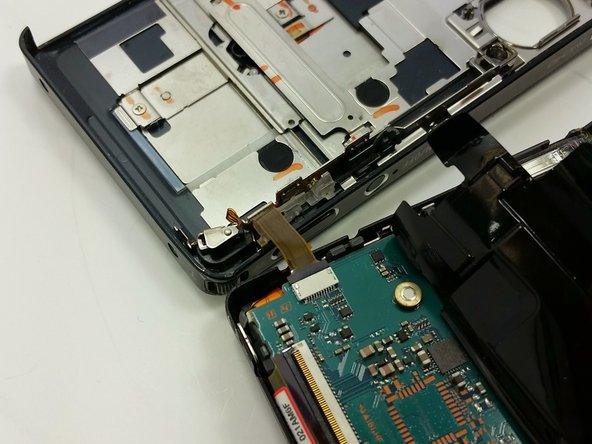
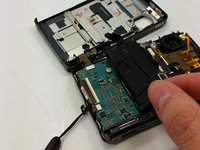
    • Peel the black sticker from the motherboard.

    • Locate the connection ribbon between the front cover and the body of the device.

    Ask FixBot

    Add Comment

  9. Sony Cyber-shot DSC-TX7 Back Cover Replacement: step 9, image 1 of 2 Sony Cyber-shot DSC-TX7 Back Cover Replacement: step 9, image 2 of 2
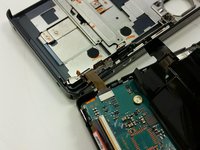
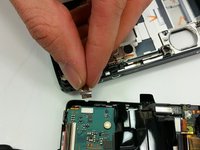
    • Pull the ribbon out of the connection port so that they are completely disconnected.

    Ask FixBot

    Add Comment

  10. Sony Cyber-shot DSC-TX7 Back Cover Replacement: step 10, image 1 of 2 Sony Cyber-shot DSC-TX7 Back Cover Replacement: step 10, image 2 of 2
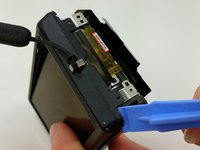
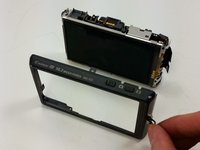
    • Use the plastic opening tool to separate the back cover from the inner hardware.

    • Continue until back cover can be pulled away from inner hardware.

    Ask FixBot

    Add Comment

  11. Sony Cyber-shot DSC-TX7 Back Cover Replacement: step 11, image 1 of 2 Sony Cyber-shot DSC-TX7 Back Cover Replacement: step 11, image 2 of 2
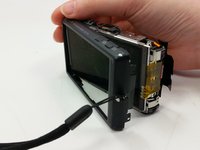
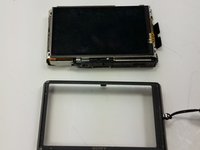
    • Remove the back cover so that the back cover is now completely separate from the body of the device.

    Ask FixBot

    Add Comment

Conclusion

To reassemble your device, follow these instructions in reverse order.

Cancel: I did not complete this guide.

Leslie Mundell

Member since: 03/18/15

414 Reputation

4 Guides authored

Team

0 Guide Comments

Add Comment

View Statistics:

Past 24 Hours: 0

Past 7 Days: 7

Past 30 Days: 35

All Time: 1,195