Introduction
This guide shows the user how to remove the Sony Clie’s rear cover case, which exposes the inside of the device to replace its internal components.
What you need
-
-
-
Use the Phillips #1 screwdriver to remove the four screws from the back of the rear cover.
-
Use the Phillips #1 screwdriver to remove the screw on the right side of the rear cover.
-
Use the Phillips #1 screwdriver to remove the screw on the top of the rear cover.
 Ask FixBot
-
-
-
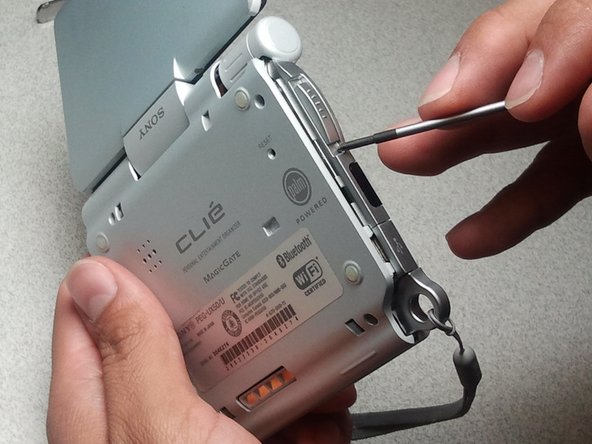
Gently pry the rear cover case off to remove both the USB port cover and the hold switch.
-
-
-
-
Remove the side cover.
-
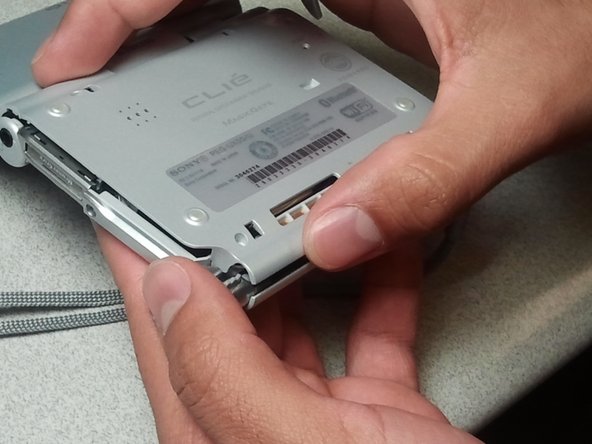
Slowly pull on the rear cover case to separate it from the rest of the device. The case should not come off completely.
-
-
-
Gently remove the speaker wire from the device.
-
The rear cover case should now be completely separate from the device.
-
-





To reassemble your device, follow these instructions in reverse order.
Cancel: I did not complete this guide.
2 other people completed this guide.

Team

CSU Los Angeles, Team 1-4, Nelson Spring 2011 Member of CSU Los Angeles, Team 1-4, Nelson Spring 2011
CSULA-NELSON-S11S1G4
5 Members
8 Guides authored
